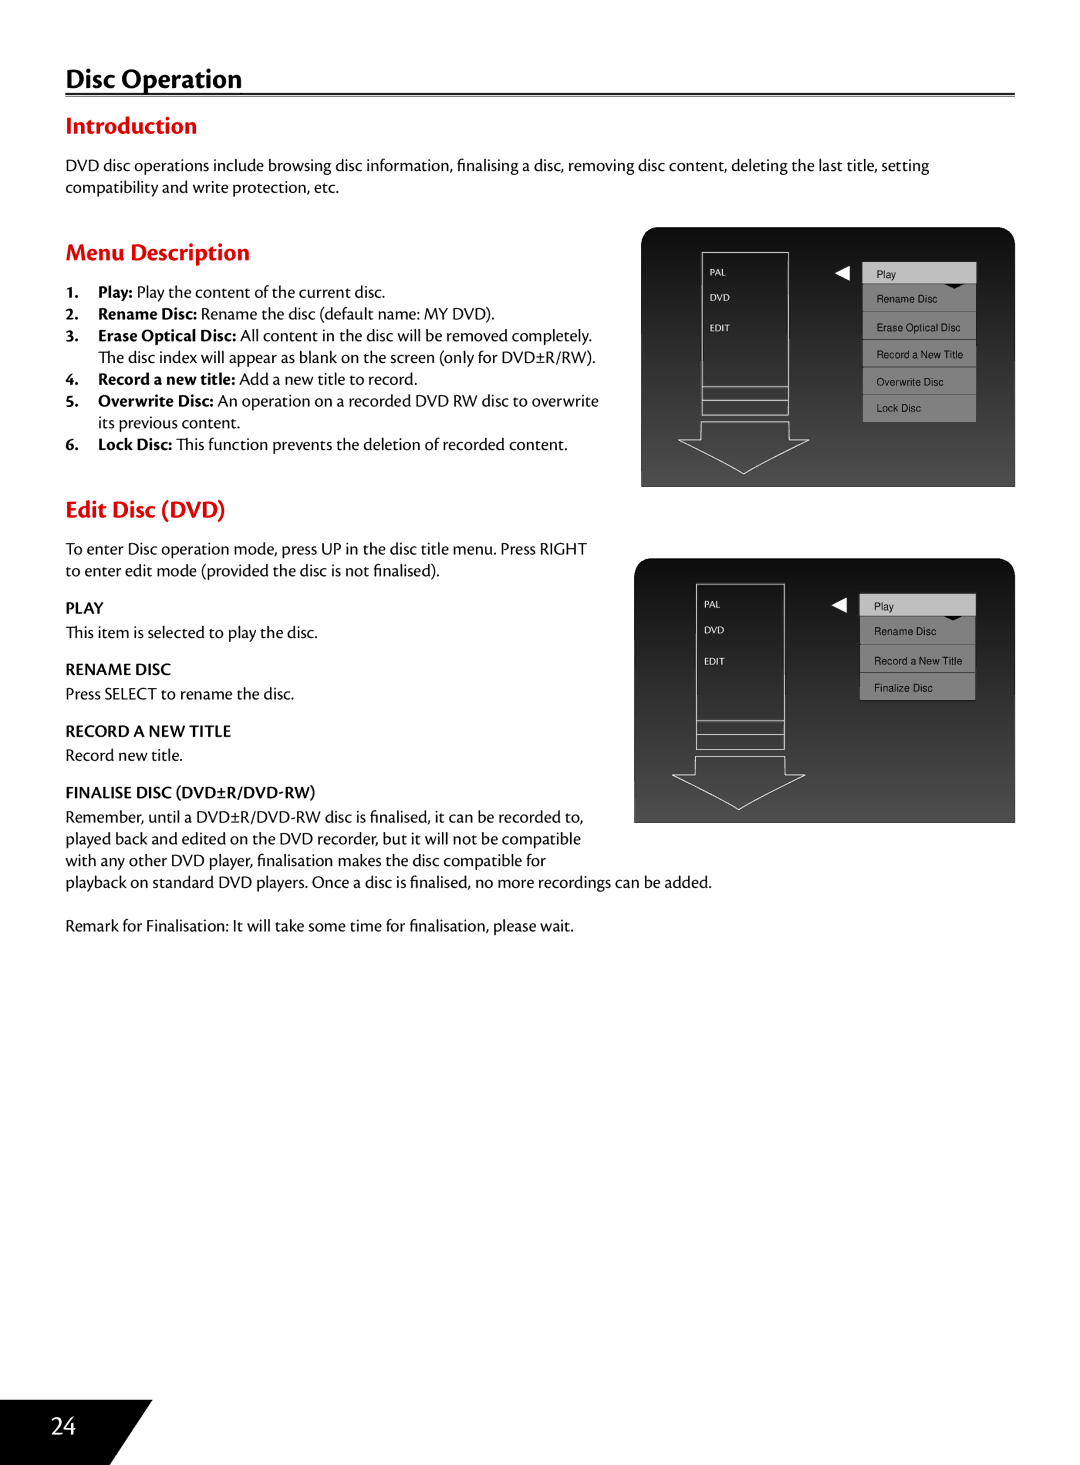
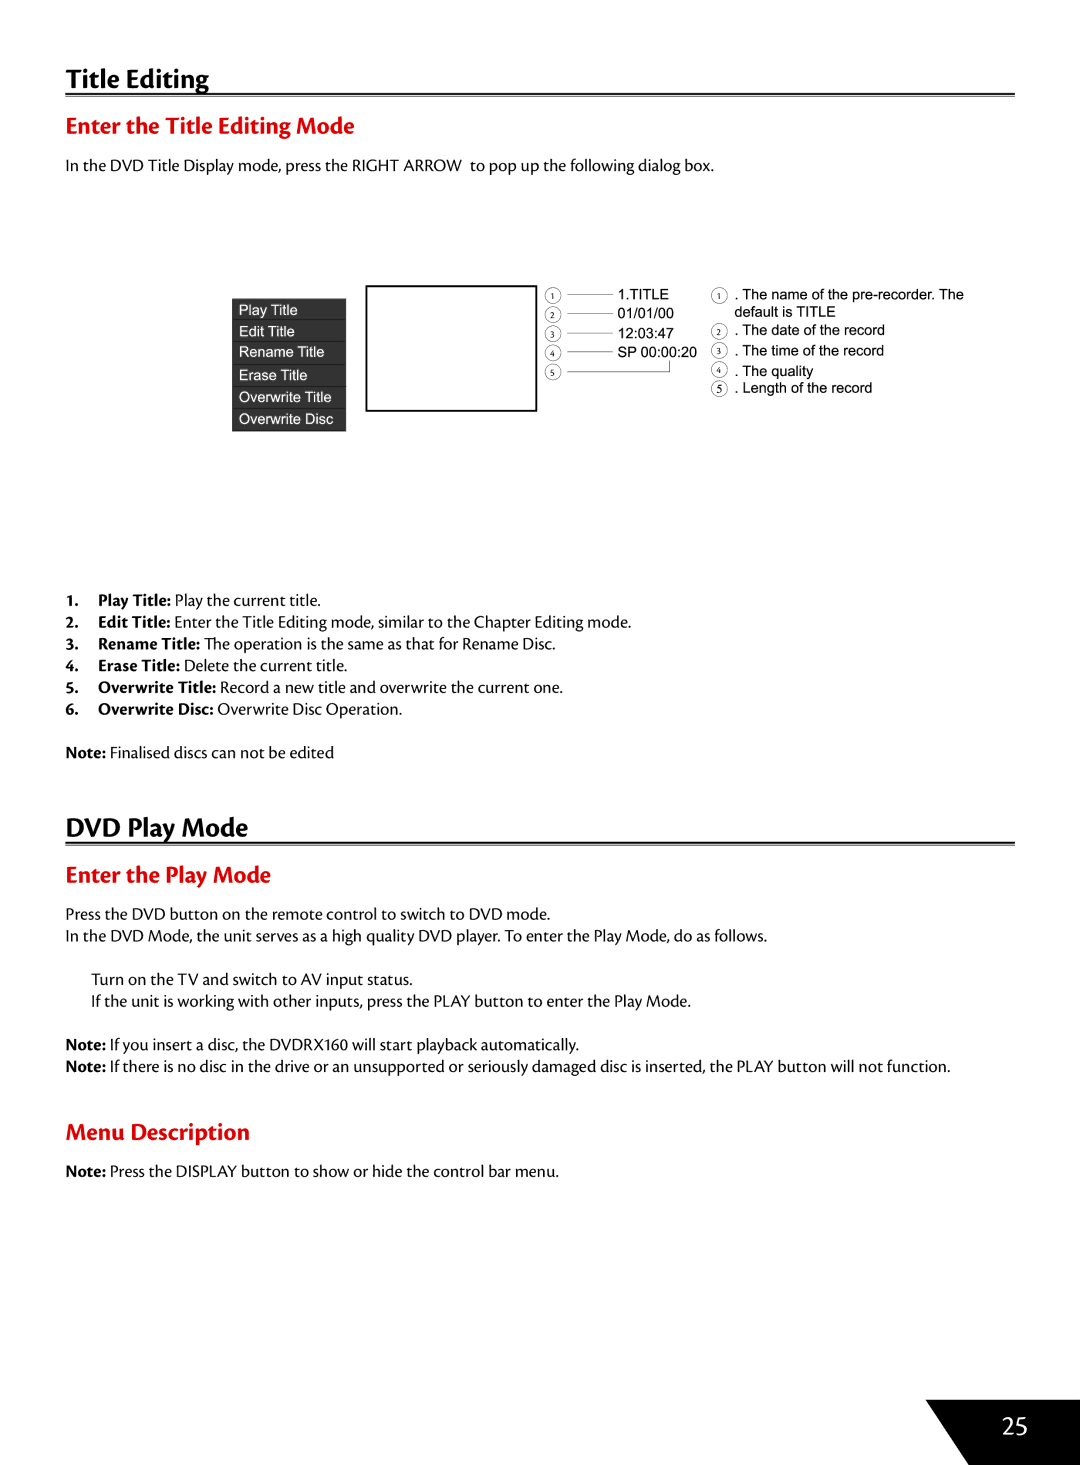
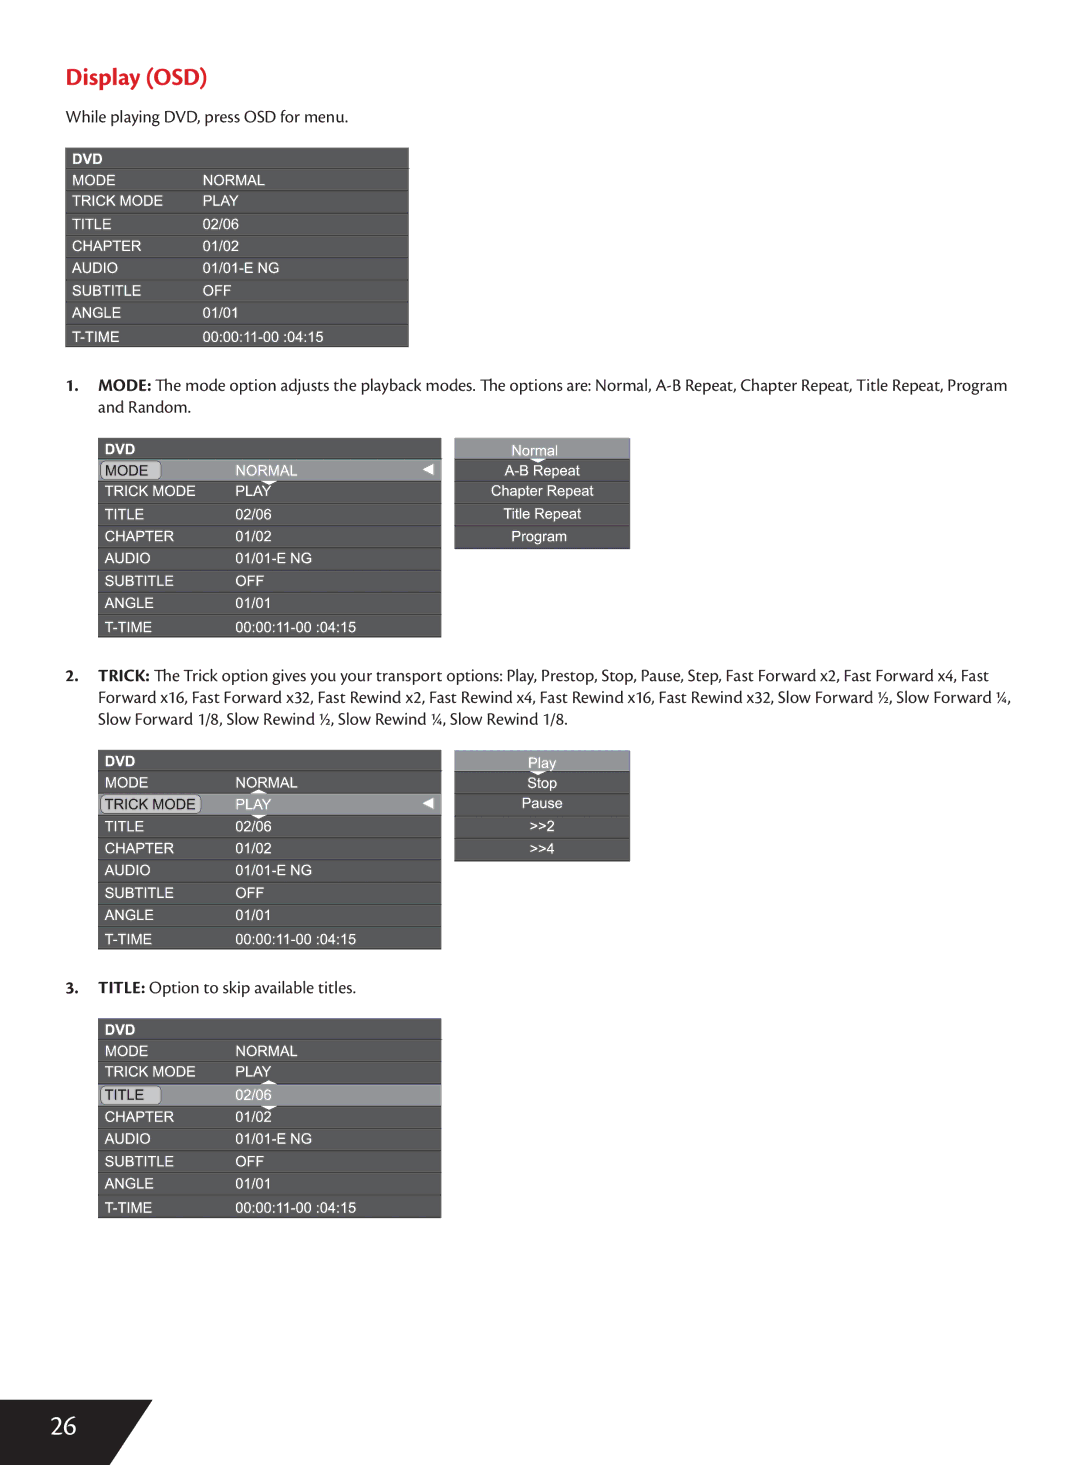
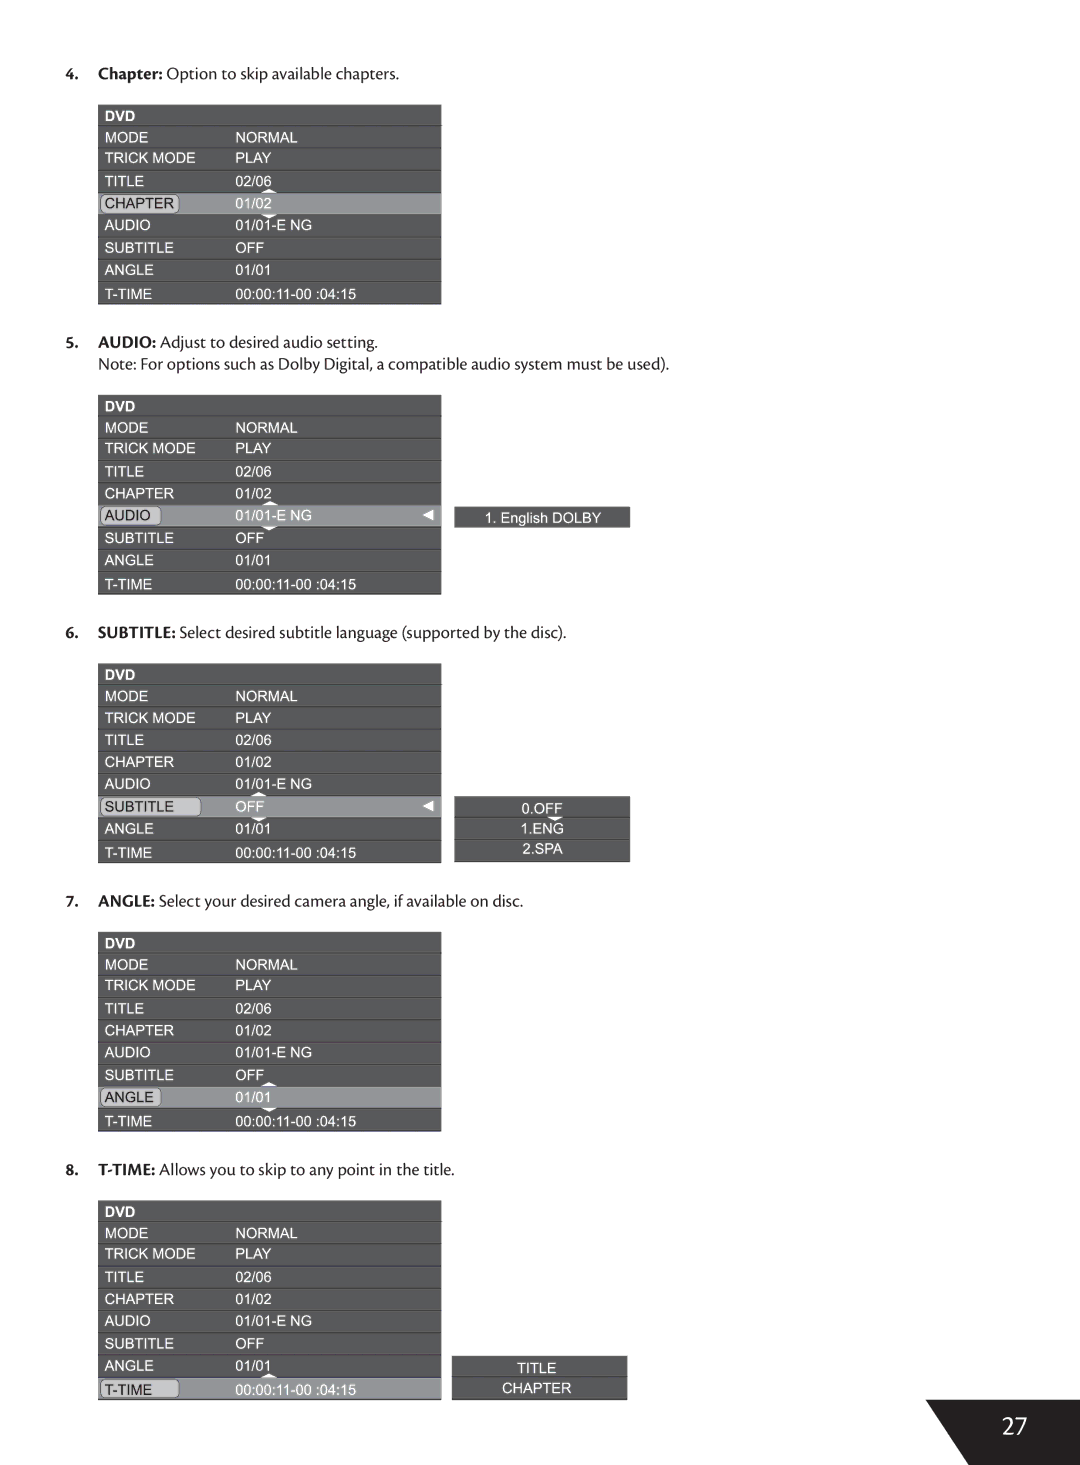
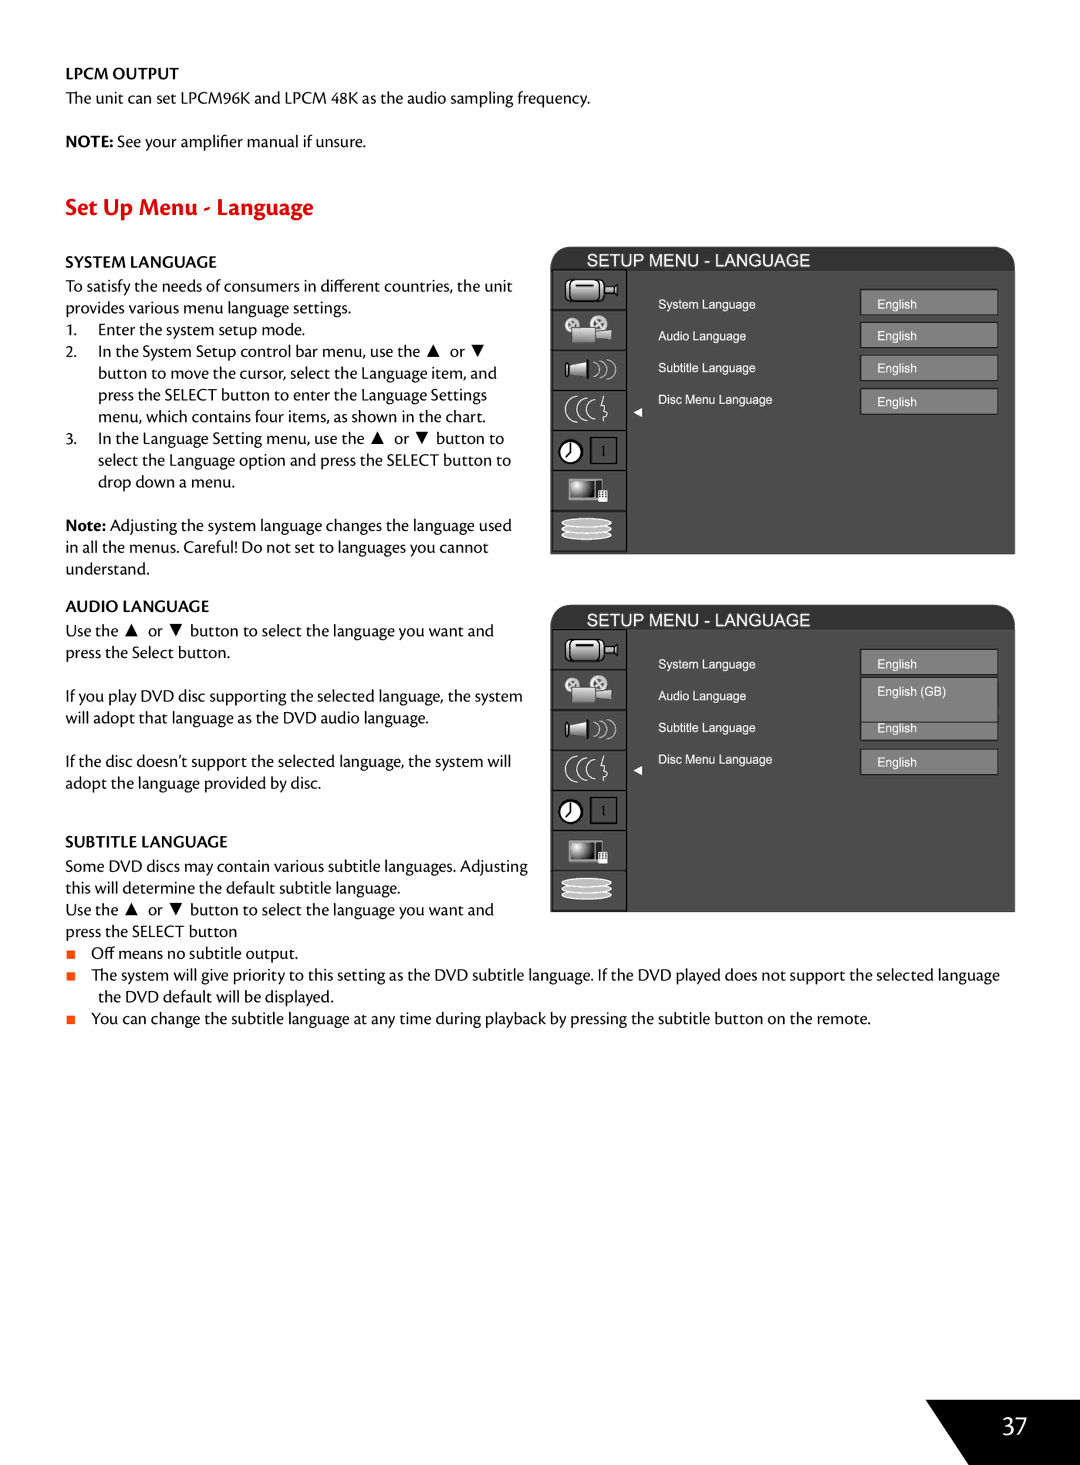
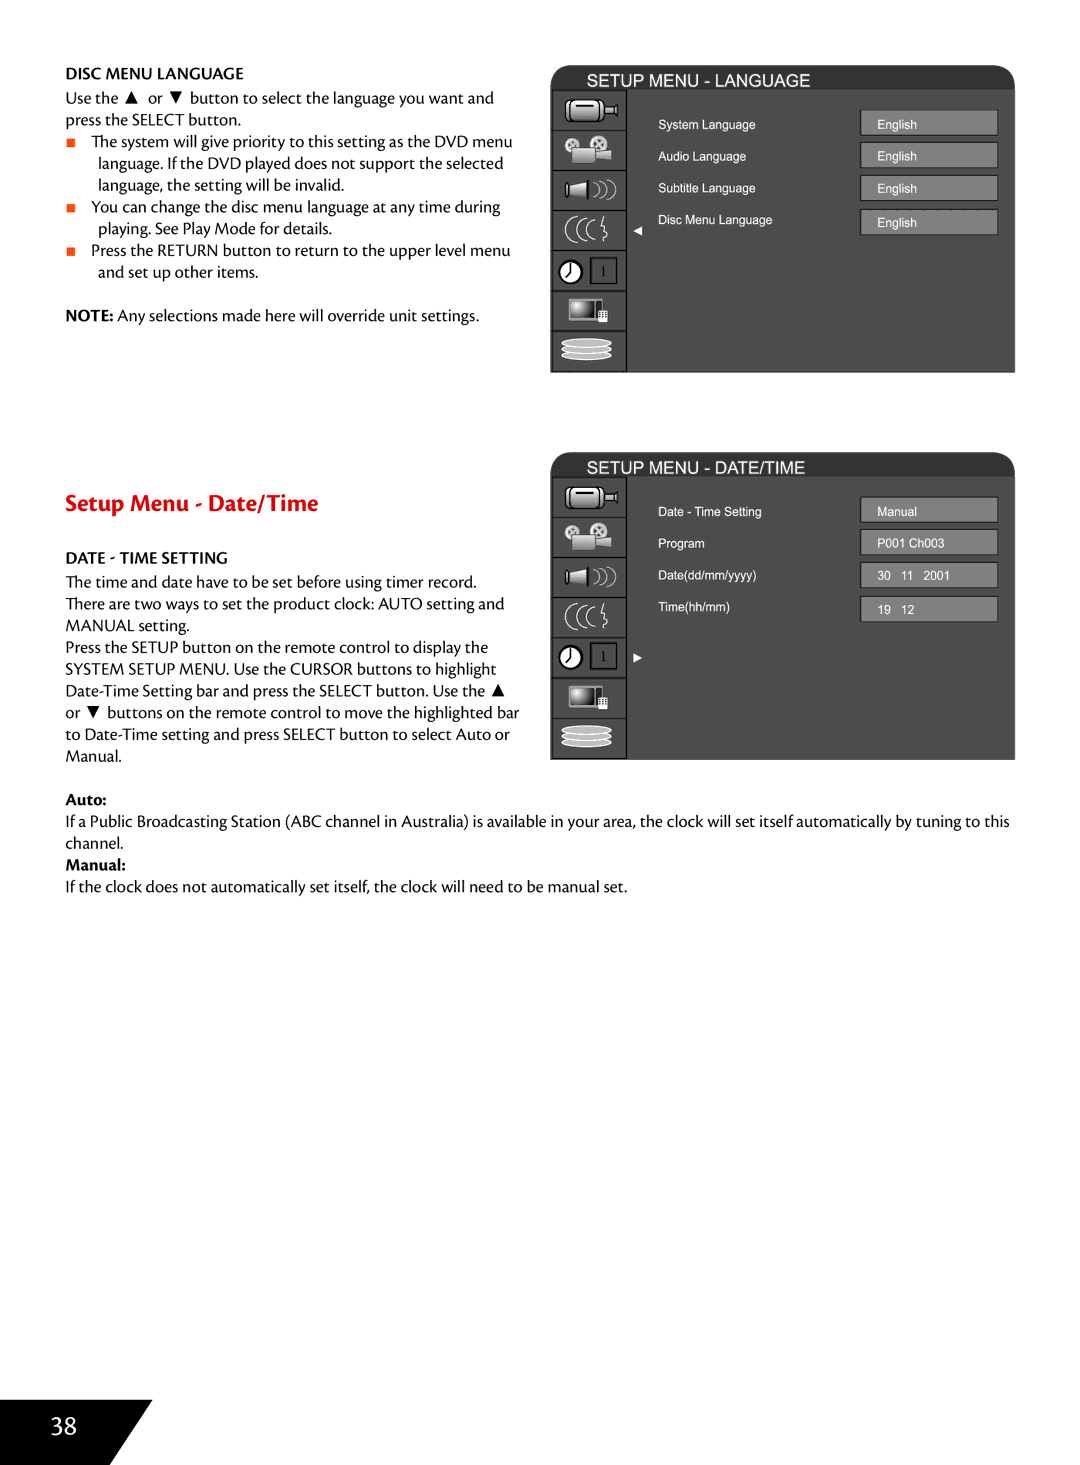
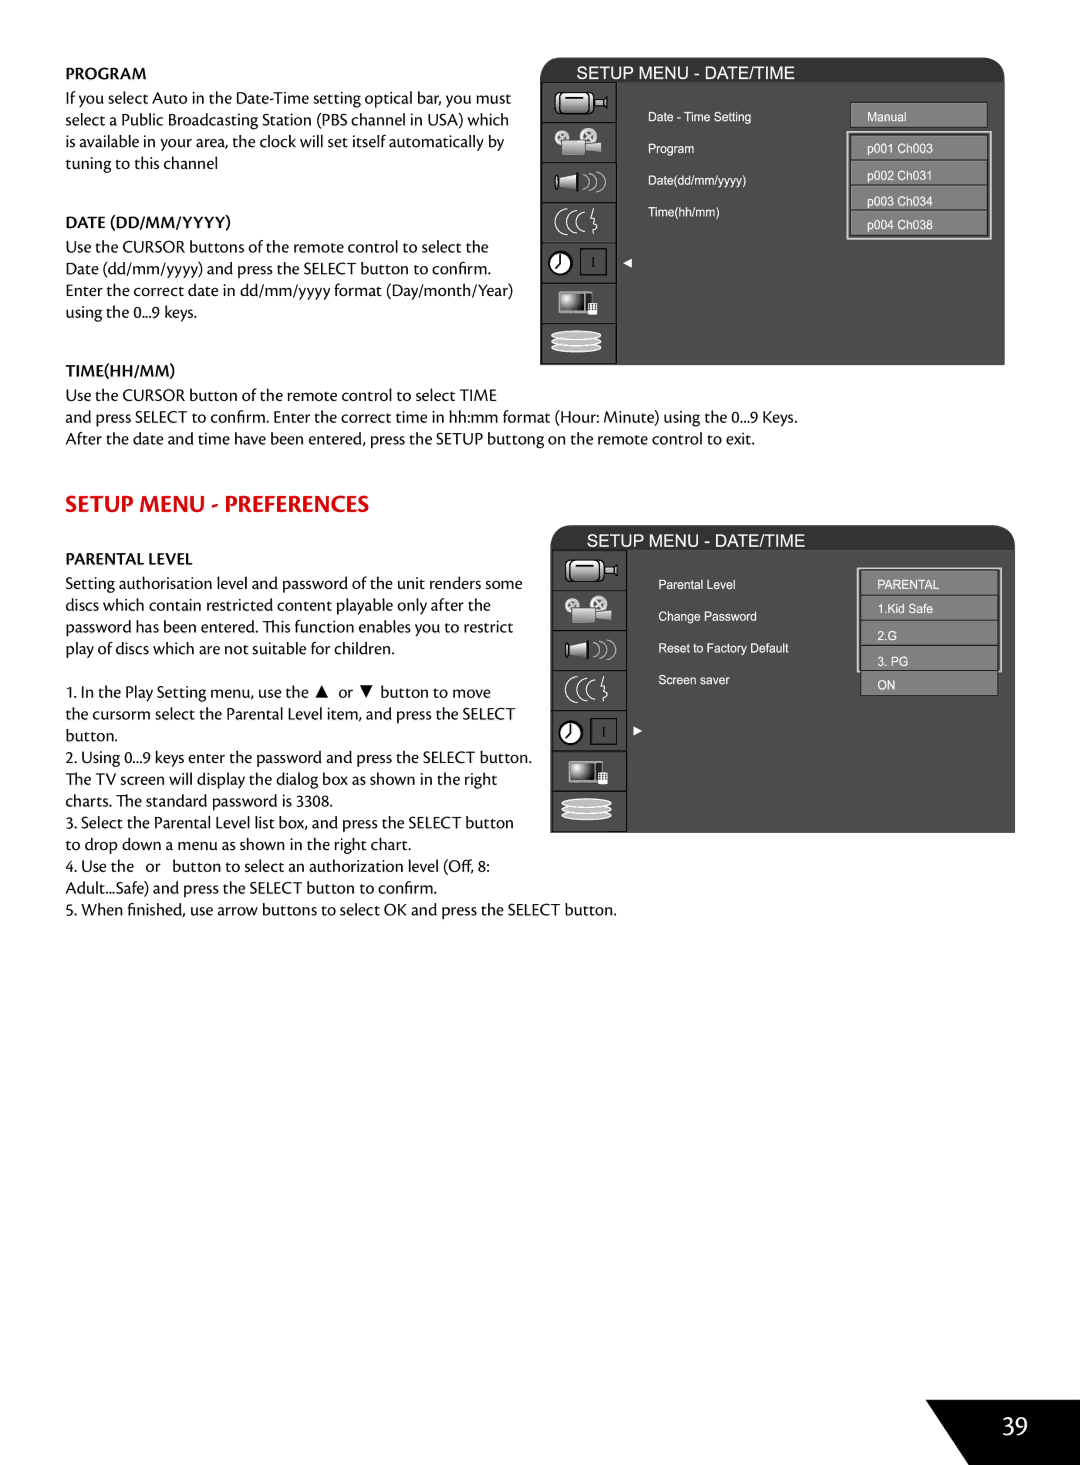
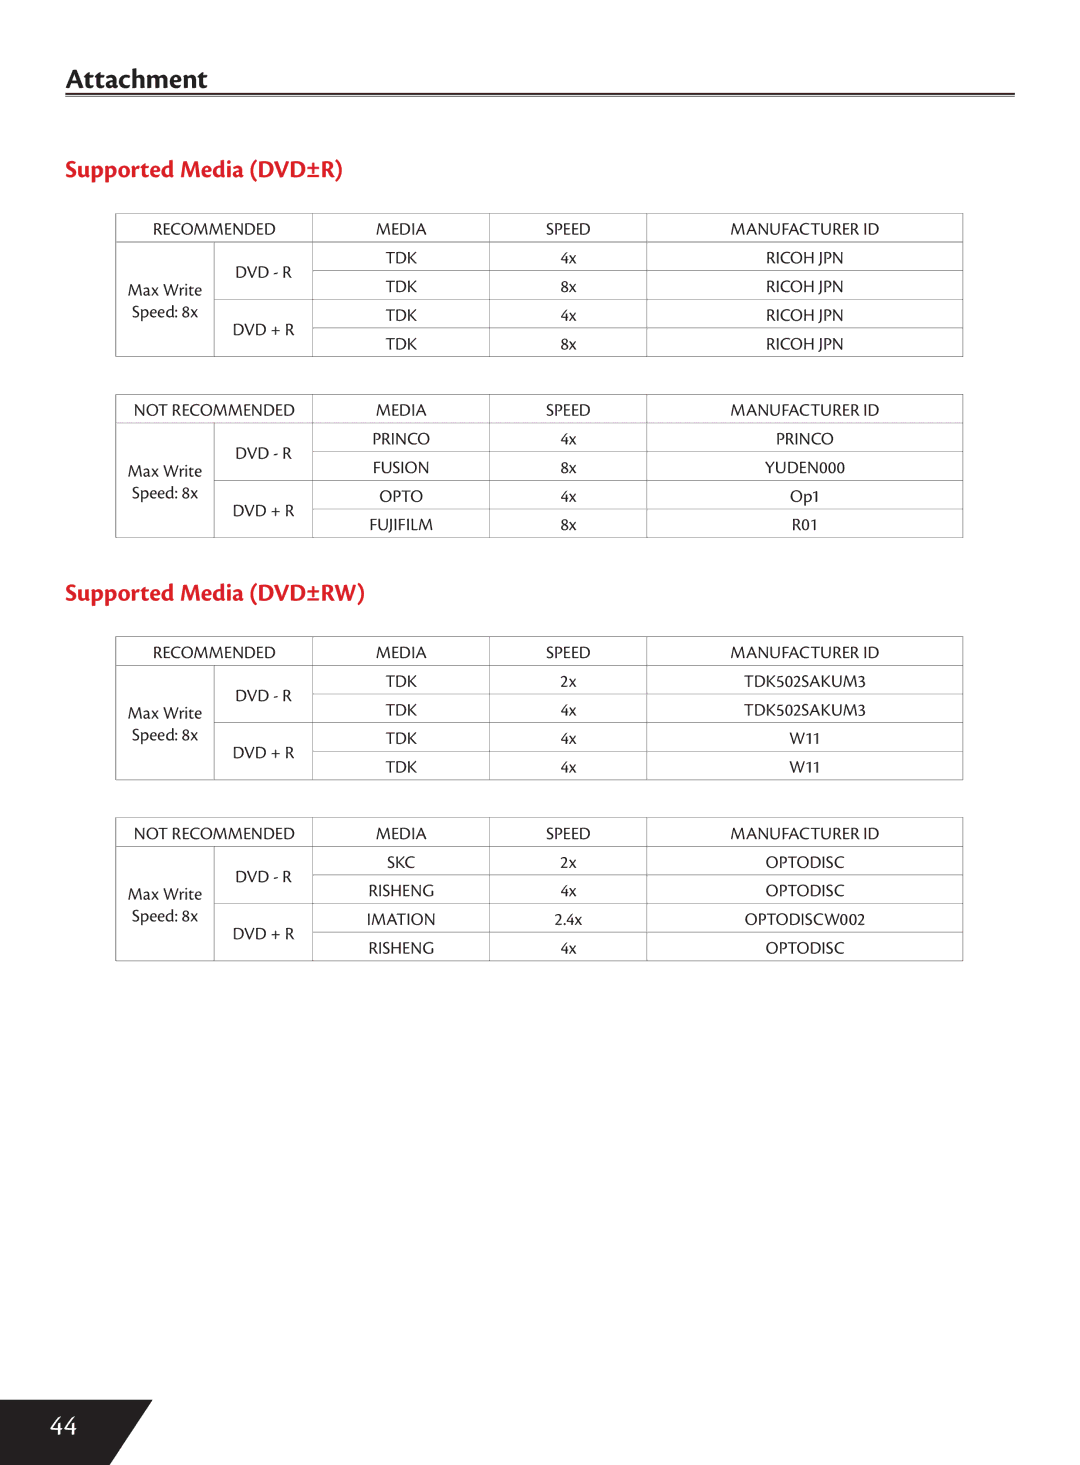
Wintal DVDRX160 manual Set Up Menu Video, Select PAL or Ntsc, TV Display

Page 36

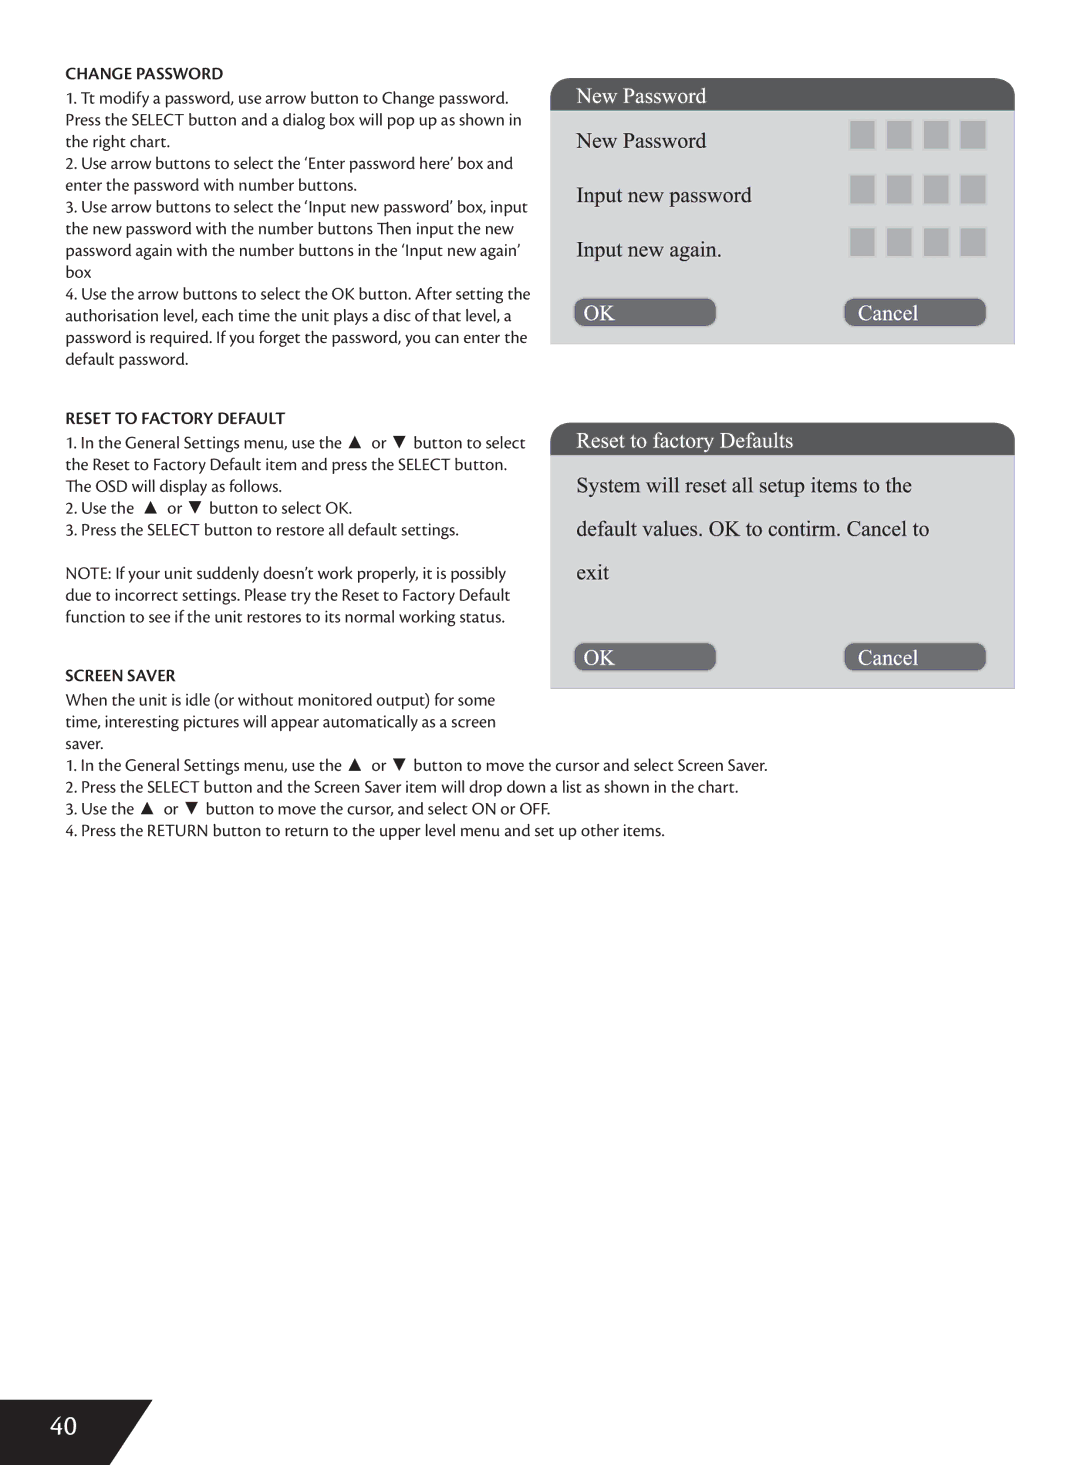
Set Up Menu - Video

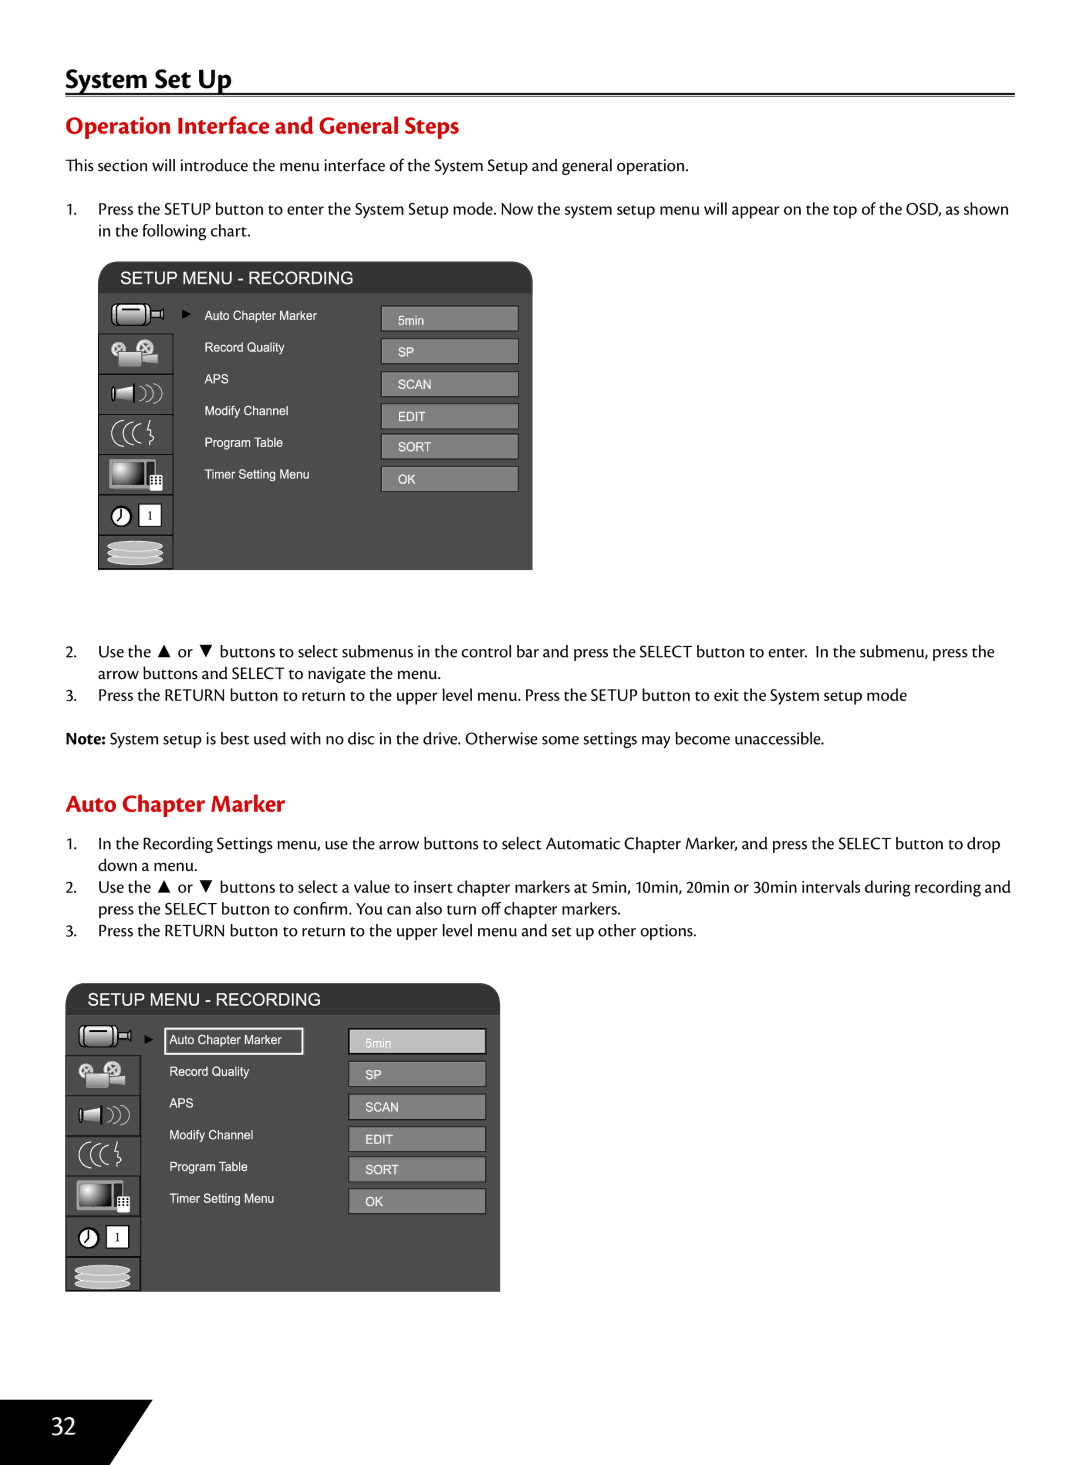
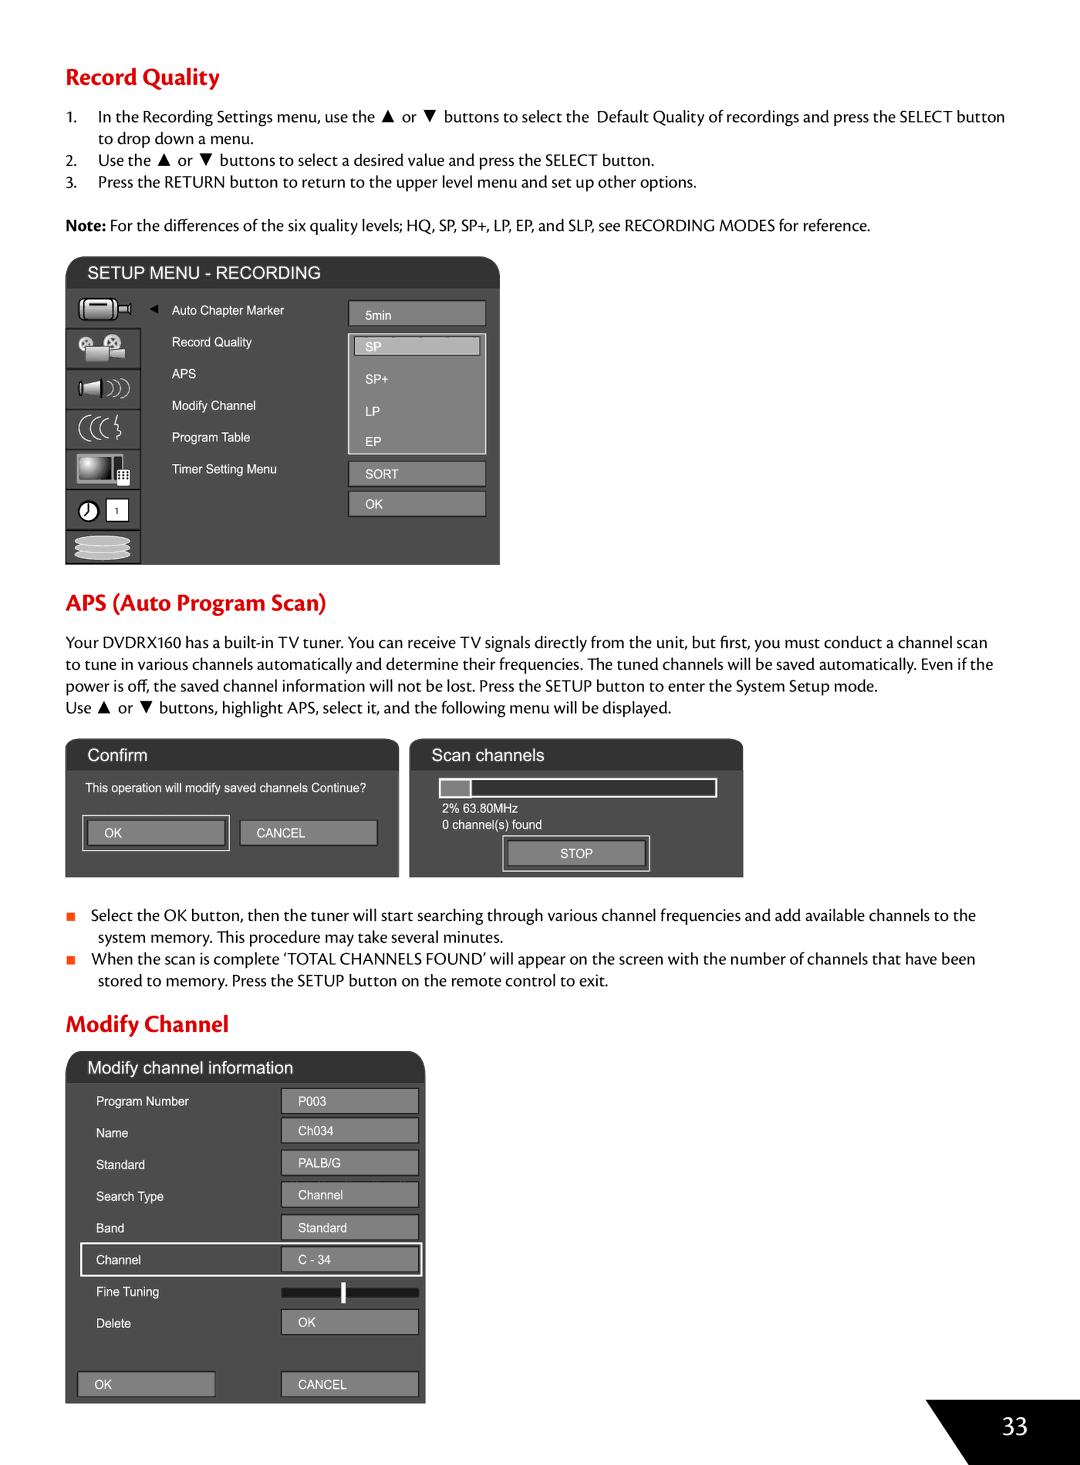
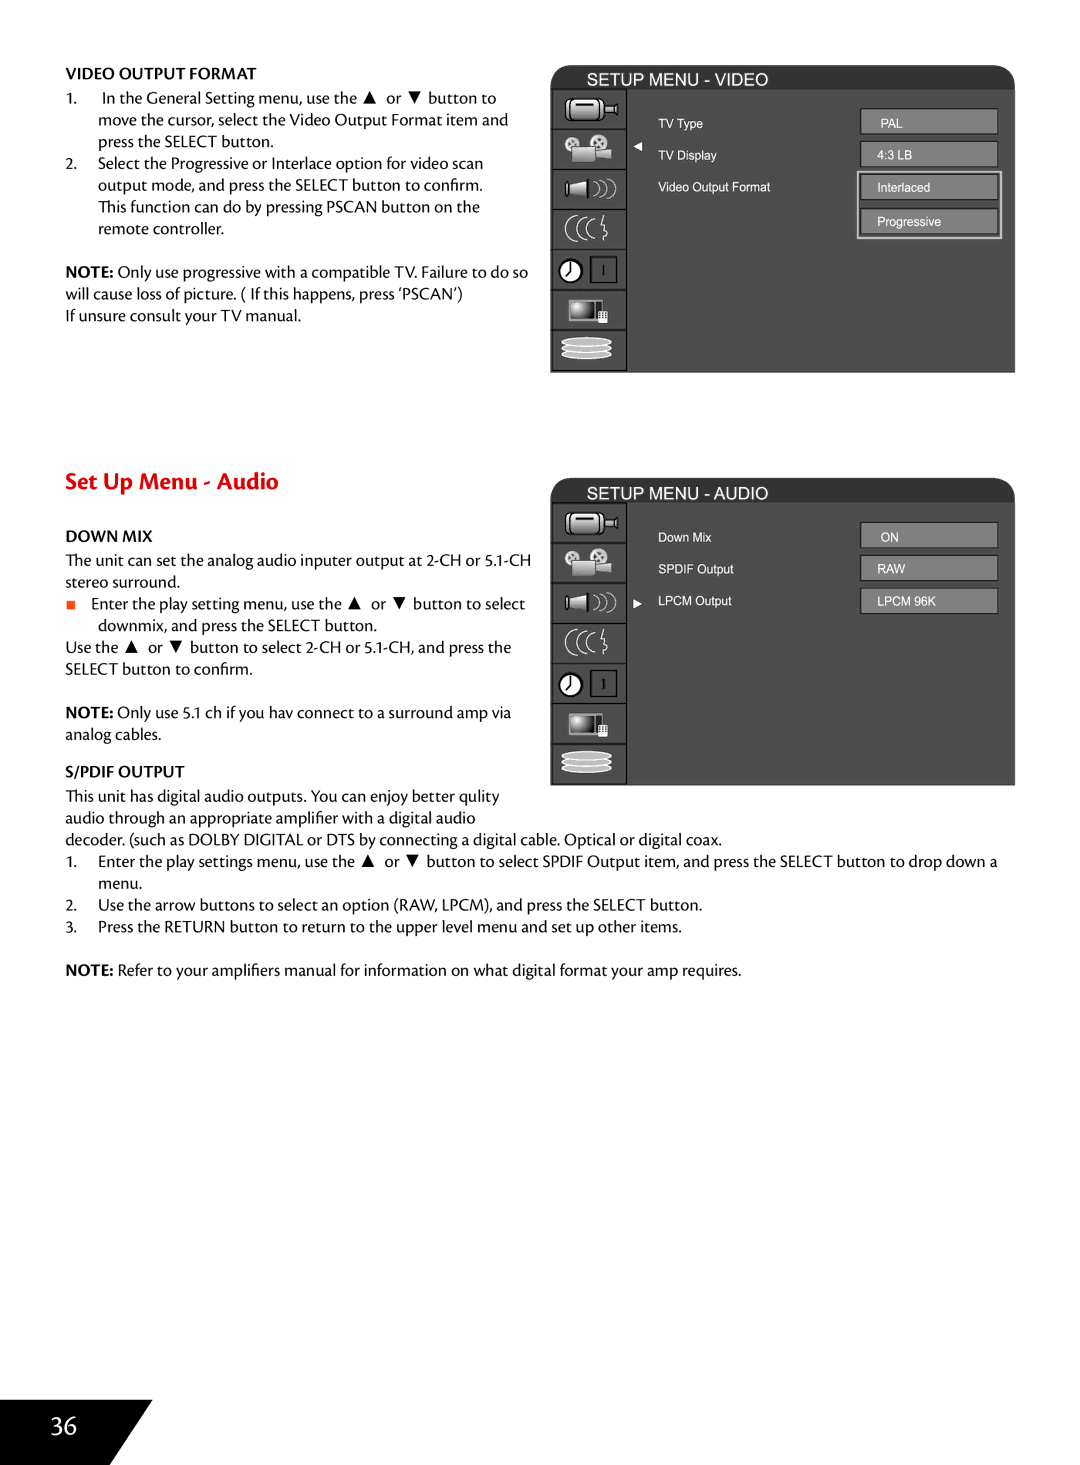
TV TYPE

The unit supports two different television systems. NTSC is the television system that is adopted in the North American region. PAL is the television system this is adopted typically in the rest of the world especially in Europe, and Australasia.

1.In the General Setting menu, select the TV Type item and press the SELECT button to drop down menu.

2. Select PAL or NTSC

3. Press the SELECT button to confirm. Check your TV system first otherwise you may lose picture from the unit.

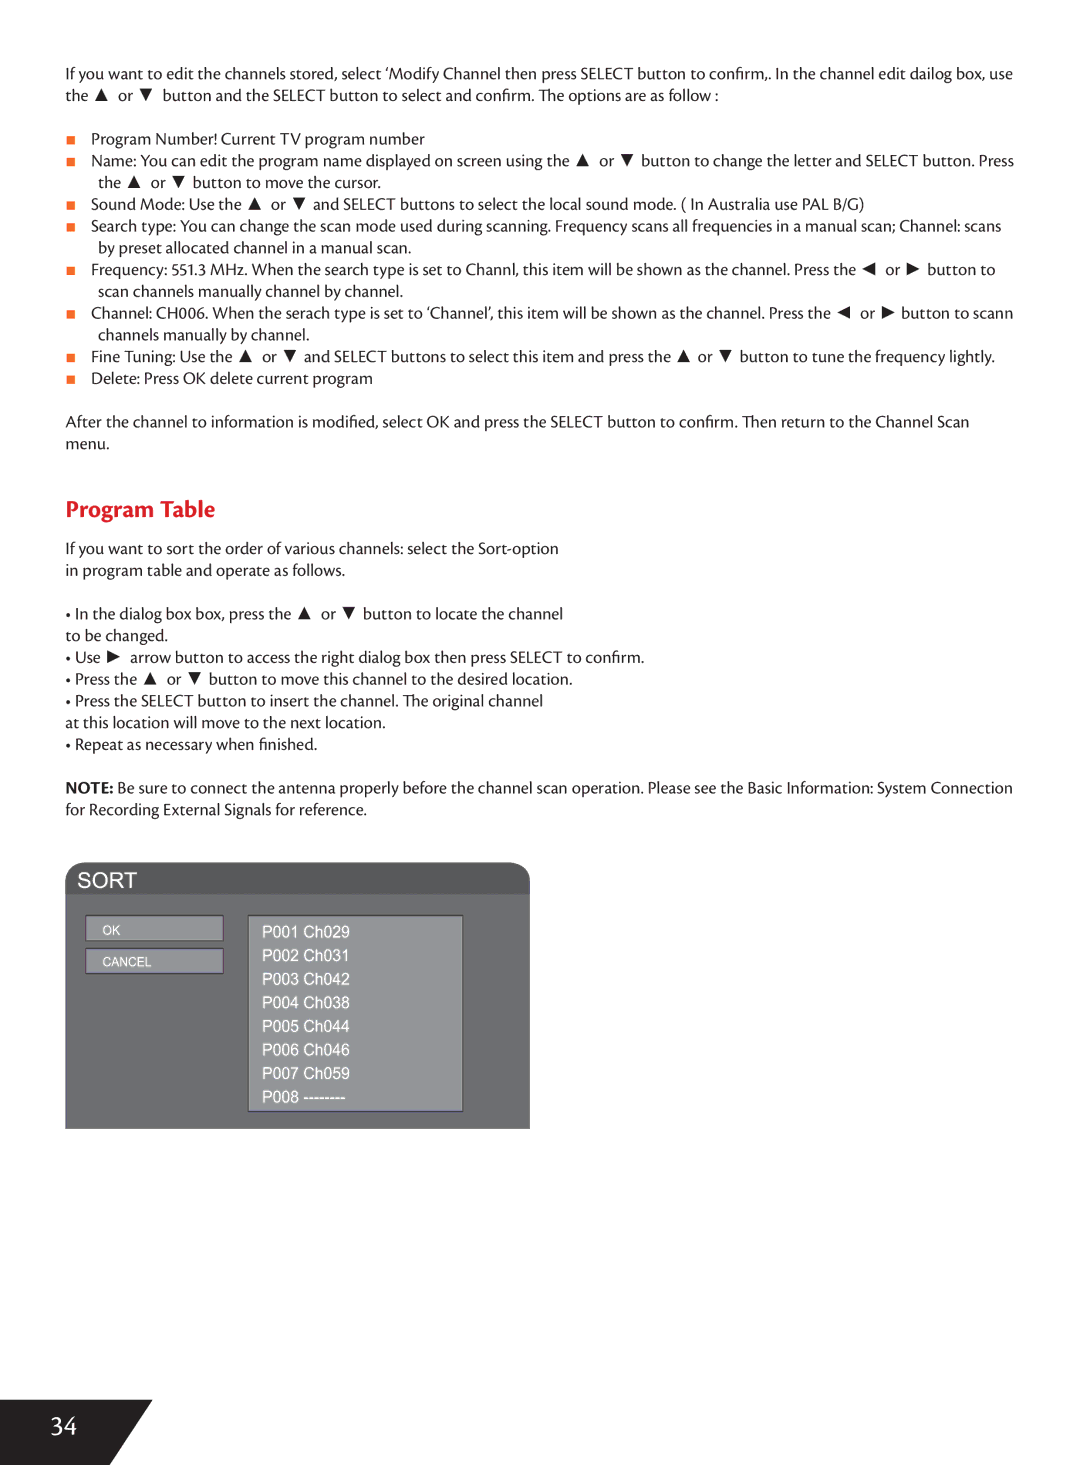
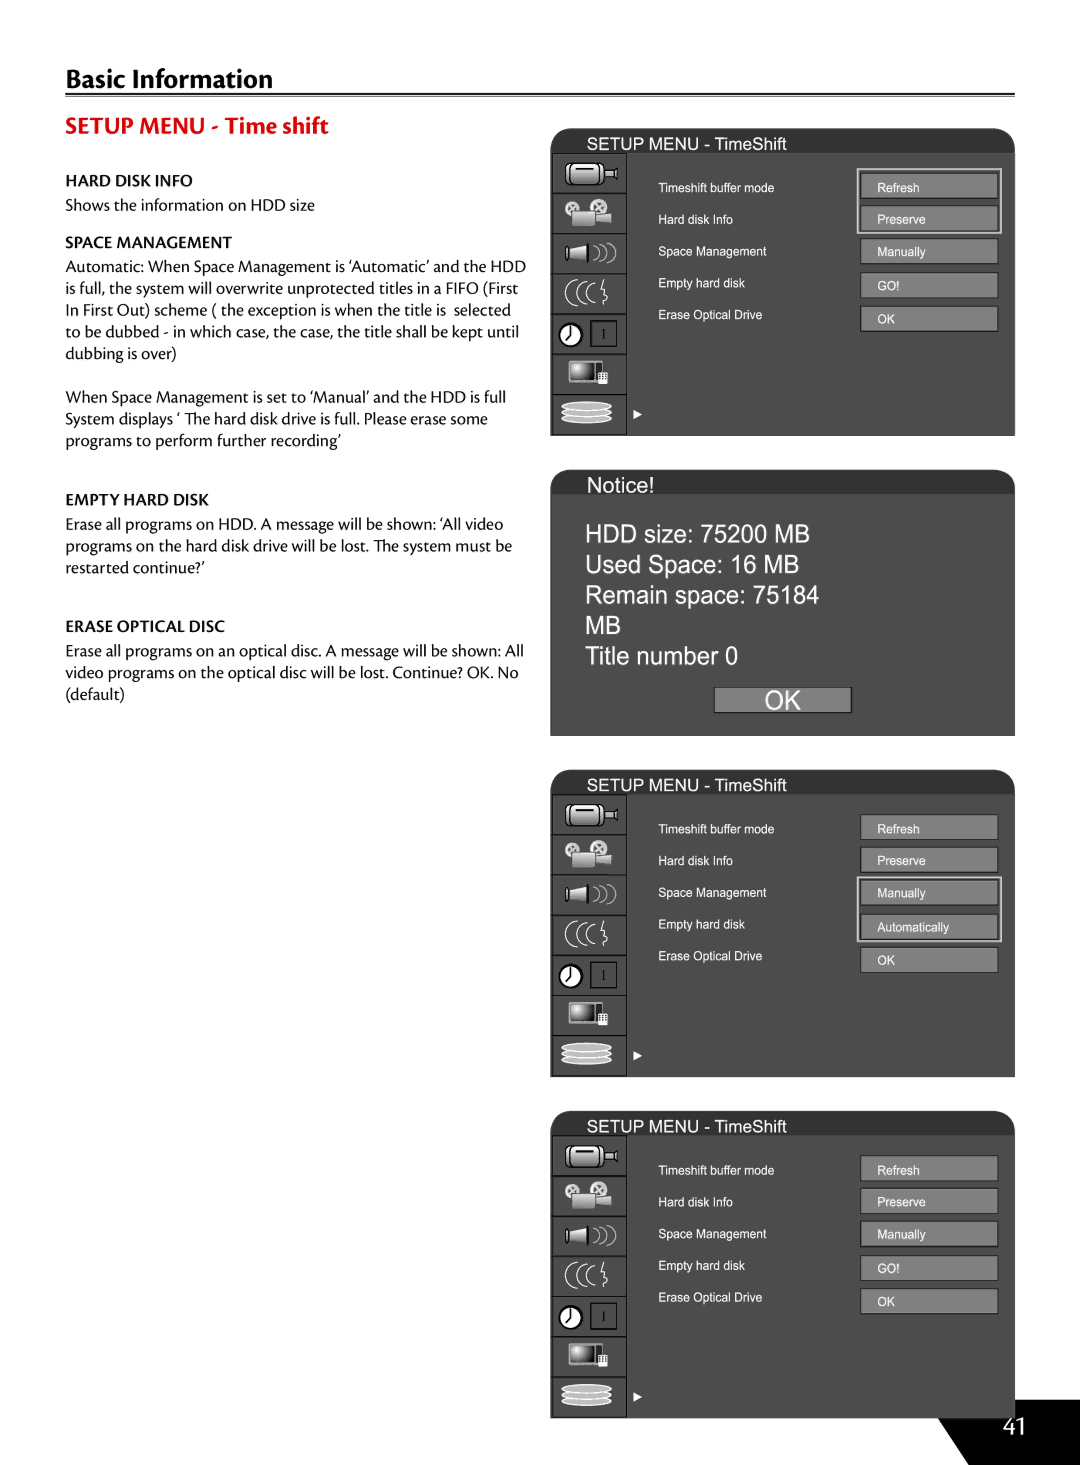
TV DISPLAY

1.Users are able to adjust the TV aspect ratio.

2.Use the UP and DOWN button to select a option. The options are: 16:WS suitable for wide screen TV. 4:3PS (pan+scan) is suitable for a standard TV with ordinary ratio (4:3).

When wide screen pictures are played, the left and right margin will be cut and the picture will occupy the entire screen.

4:3 LB (Letterbox) for ordinary TV. When a wide screen picture is played, a black frame will appear at the top and bottom of the TV screen.

3.Press the RETURN button to return to the upper level menu and set up other items.

NOTE:

The playing effect depends on the recorded picture size.

Some picture might not be played under the screen format you select.

For those discs recorded as 4:3, no matter how the screen format is set, the screen format played is always 4:3.

1

1

1

35
Image 36
Contents DVDRX160 Safety Instructions Maintenance NoticePower Sources CleaningPower Cord Protection Read this ManualAccessories Replacement PartsSafety Check Battery UsageContents Setup Menu  Time Shift HDD Playback Time ShiftSupported Media DVD± R Supported Media DVD± RW Features of the Recorder Basic InformationTerms 7GB DVD 160GB HDD Quality SLP 6HRSLOW 4HRSIdentification of Controls Front PanelRear Panel Remote Control PAL/NTSC Set the video system to PAL, Ntsc or multi systemRemote Control Instructions Remote ControlConnecting the video output to your TV System ConnectionComposite Video Typical Connection Television Composite VideoDVDRX160 Progressive Scan Resetting the Video Output Video ConnectionComponent Video Connection VIDEO Connection TelevisionAudio Output Connections Antenna & TV ConnectionsTelevision AV Receiver with Digital Audio Input DVDRX160 Front AV Inputs Video In, S-Video Recording Mode IntroductionManual Recording Selecting Tuner Channel Recording to DVD or HDDRecording Quality One Touch Recording OTRDV Digital Video Recording File ManagerHDD-to-DVD Recording Timer Recording Set up Recording TimeSet up Recording Date Record toSet up the start time of the recording Set up the end time of the recordingChapter Editing Mode Chapter EditingMenu Description Exit the Chapter EditingHDD Editing HDD EditDelete Be careful, once deleted, titles cannot be retrievedSegment There is a segment end for eachWill not be saved Change Index PictureRename LockProtect Disc Operation Edit Disc DVDDVD Play Mode Enter the Title Editing ModeEnter the Play Mode Title EditingDisplay OSD Page HDD Play Mode Goto ButtonUSB Playback HDD PlaybackTime Shift Save Save OptionSetup TimerHDD DVDSystem Set Up Operation Interface and General StepsAuto Chapter Marker Record Quality APS Auto Program ScanModify Channel Program Table Set Up Menu Video Select PAL or NtscTV Display Set Up Menu Audio Video Output FormatDown MIX Pdif OutputSet Up Menu Language Lpcm OutputSystem Language Audio LanguageSetup Menu Date/Time Date  Time SettingDisc Menu Language AutoUse the Cursor button of the remote control to select Time ProgramDate DD/MM/YYYY TIMEHH/MMChange Password Reset to Factory DefaultScreen Saver Setup Menu Time shift Hard Disk InfoSpace Management Empty Hard DiskAppendix Troubleshooting Guide Disordered subtitleSpecifications DVD Linear SoundComponent Video Out Attachment Supported Media DVD±RSpeed Page DVDRX160