GETTING STARTED
Instructions for operating menu
Before watching the TV, please familiarize yourself with this method to use the menu function of this TV.
Instructions in this manual are based on using the remote control unit. The words or symbols with frames
refer to the buttons on the remote control unit.
The Chinese characters on the TV screen are supplied by Rico Company. The logos and symbols used in
this instruction manual are intended to for explanation purposes, they might differ from those shown on the
TV.
1.Menu: After the power is on, press the MENU button to enter the menu screen which shows a list of optional main adjustment items, such as Picture, Audio, Timer, etc.
2.Adjustment items: After a main adjustment item is “selected” and “entered”, the screen will enter into the selection and show a list of related optional
Common symbols in menu display
|
|
|
|
|
|
|
|
|
|
|
|
|
|
|
|
|
|
|
|
|
|
|
|
|
|
|
| Symbols |
|
|
|
|
| Description |
| ||||||||||||||
|
|
|
|
|
|
|
|
|
|
|
|
|
|
|
|
|
|
|
|
| ||||
|
|
|
|
| This symbol is displayed at the bottom of the menu, indicating that you can select the |
| ||||||||||||||||||
| 1 |
| Select |
| adjustment item on the menu by pressing the | Ÿ | or | ź | cursor buttons on the remote |
| ||||||||||||||
|
|
|
|
| control unit. |
| ||||||||||||||||||
|
|
|
|
|
|
|
|
|
|
|
|
|
|
|
|
|
|
| ||||||
|
|
|
|
| This symbol is displayed at the bottom of the menu, indicating that you can enter the |
| ||||||||||||||||||
| 2 |
| Set |
| adjustment item highlighted by pressing the | ENTER | button on the remote control |
| ||||||||||||||||
|
|
|
|
| unit. |
| ||||||||||||||||||
|
|
|
|
|
|
|
|
|
|
|
|
|
|
| ||||||||||
| 3 |
| Set |
| This symbol is displayed at the bottom of the menu, indicating that you can adjust the |
| ||||||||||||||||||
|
|
| selected item by pressing the | Ż | or | Ź | cursor buttons on the remote control unit. |
| ||||||||||||||||
|
|
|
|
|
|
|
|
|
|
|
|
|
|
| ||||||||||
|
|
|
|
|
|
|
|
|
|
| ||||||||||||||
|
|
|
|
| This symbol is displayed at the bottom of the menu, indicating that you can enter the |
| ||||||||||||||||||
| 4 |
|
|
| number you desired when pressing the number buttons ( | 0 | – | 9 | ) on the remote |
| ||||||||||||||
|
|
| control unit. |
| ||||||||||||||||||||
|
|
|
|
|
| |||||||||||||||||||
|
|
|
|
|
|
|
|
| ||||||||||||||||
|
|
|
|
| The characters Reset is displayed in the menu, indicating that you can return the |
| ||||||||||||||||||
| 5 |
| Reset |
| current menu setting to the factory default setting by pressing the | ENTER | button on |
| ||||||||||||||||
|
|
|
|
| the remote control unit. |
| ||||||||||||||||||
|
|
|
|
|
|
| ||||||||||||||||||
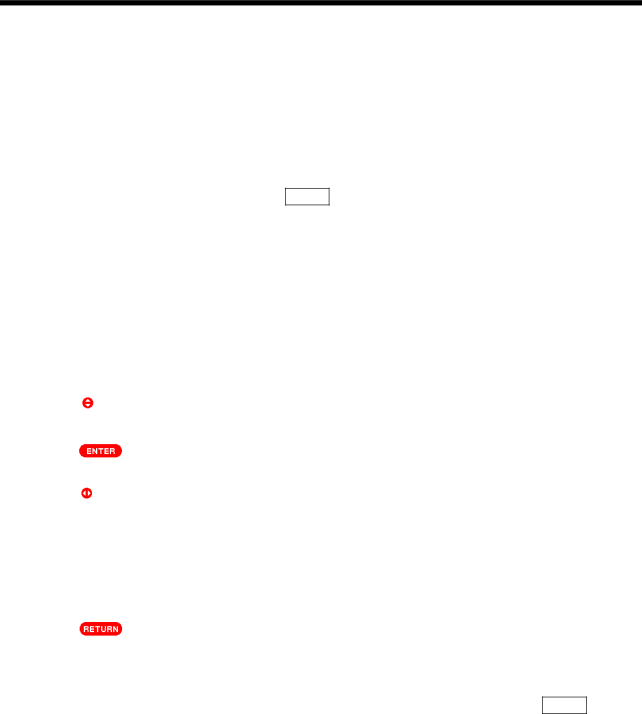
| 6 |
| Return |
| This symbol is displayed on the menu, indicating that you can return to the previous |
| ||||||||||||||||||
|
|
| page by pressing the | RETURN | button on the remote control unit. |
| ||||||||||||||||||
|
|
|
|
|
| |||||||||||||||||||
|
|
|
|
|
|
|
|
|
|
|
|
|
|
|
|
|
|
|
|
|
|
|
|
|
|
|
|
|
|
|
|
|
|
|
|
|
|
|
|
|
|
|
|
|
|
|
|
|
|
3.You can interrupt your menu operating and exit menu display mode by pressing the MENU button at any moment. In the process of menu display, the set will exit menu display mode if any new menu is not operated for a while.
4.If the item in the menu is shown in grey, it means that it can not be adjusted.
13