Installing the Dome Drive
1.Perform one of the following options:
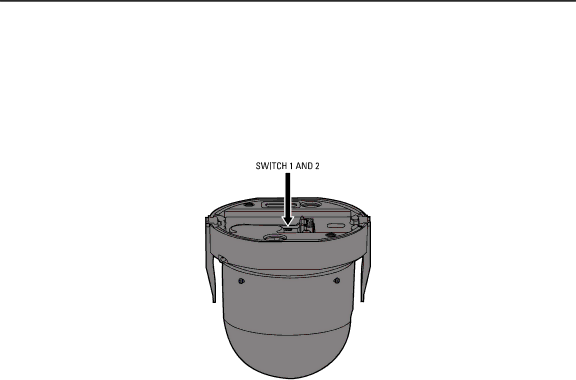
•View video using both analog and IP connections: Set the DIP switches on the top of the Spectra IV dome drive (refer to Figure 12). For DIP switch settings, refer to the labels located on the top of the dome drive, or refer to Switch Settings on page 3.
•View video using the IP connection: If your dome drive is part of a Spectra IV IP system, you do not need to set the DIP switches.
NOTE: When connecting more than one Spectra IV dome to a single controller, terminate the unit farthest from the controller. To terminate the dome drive set the
Figure 1. Setting the DIP Switches
2.Install the dome drive into the back box.
a.Align the blue and red tabs with the blue and red labels on the back box.
b.Push in the red tab and insert that side of the dome drive first.
c.Push in the blue tab and insert the dome drive into the back box the remainder of the way.
d.Continue pushing on the ends of the tabs until both sides click firmly into place.
2 | C3462M (9/09) |