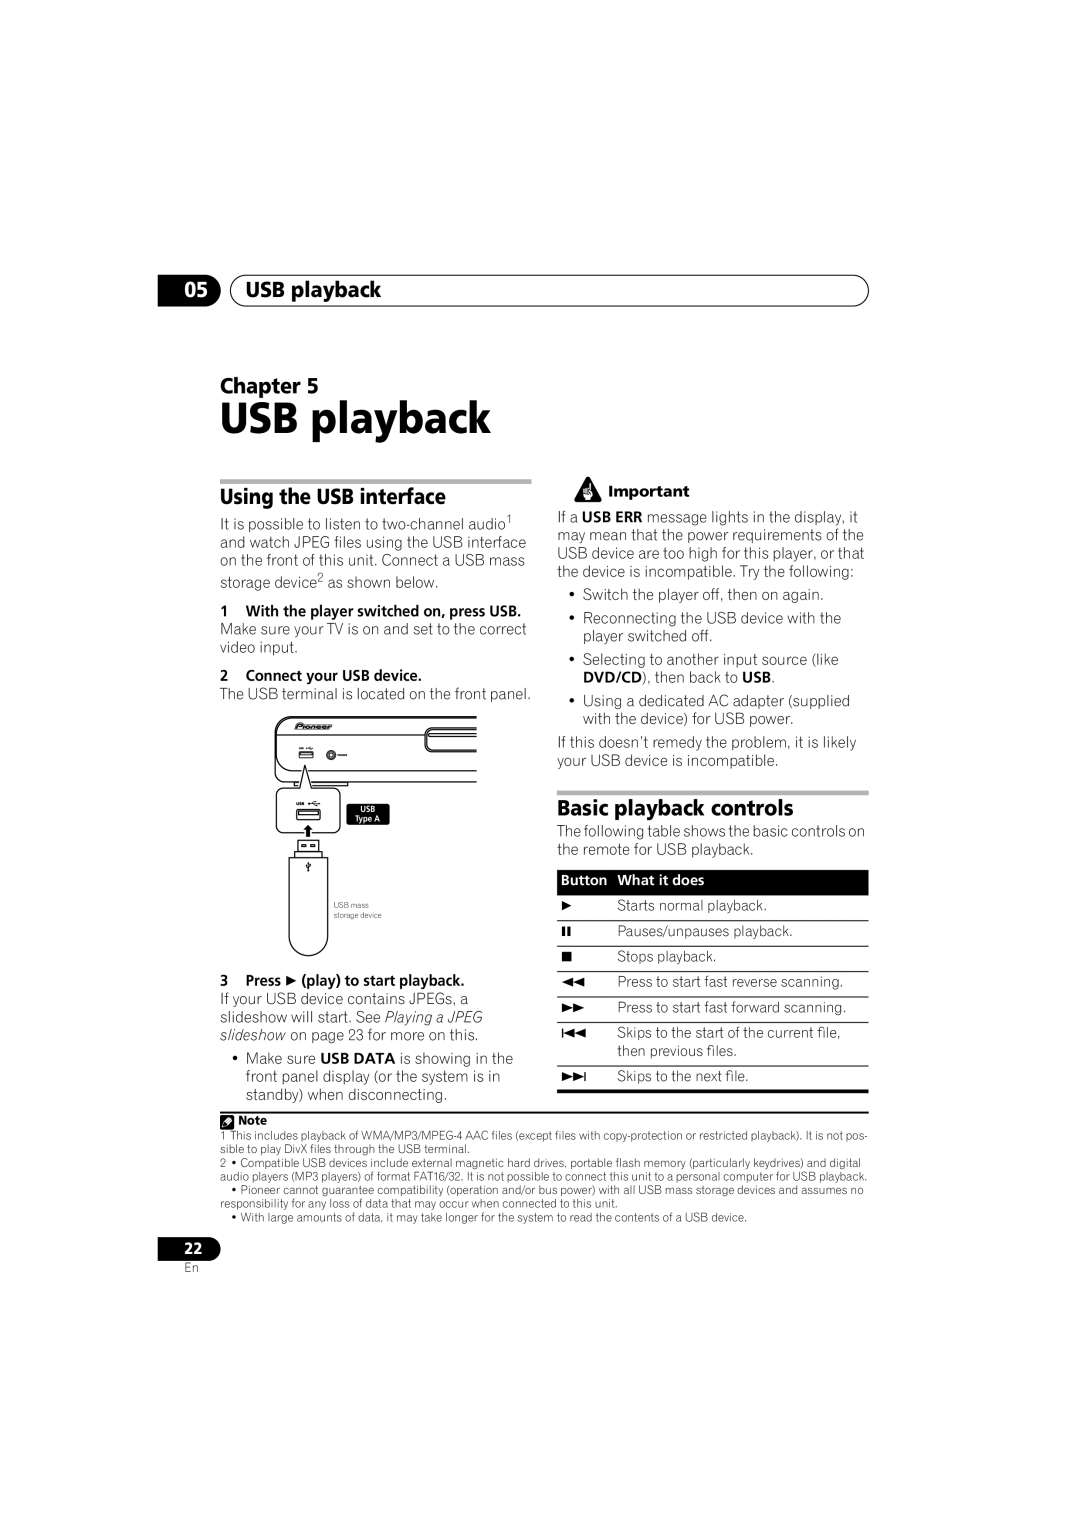
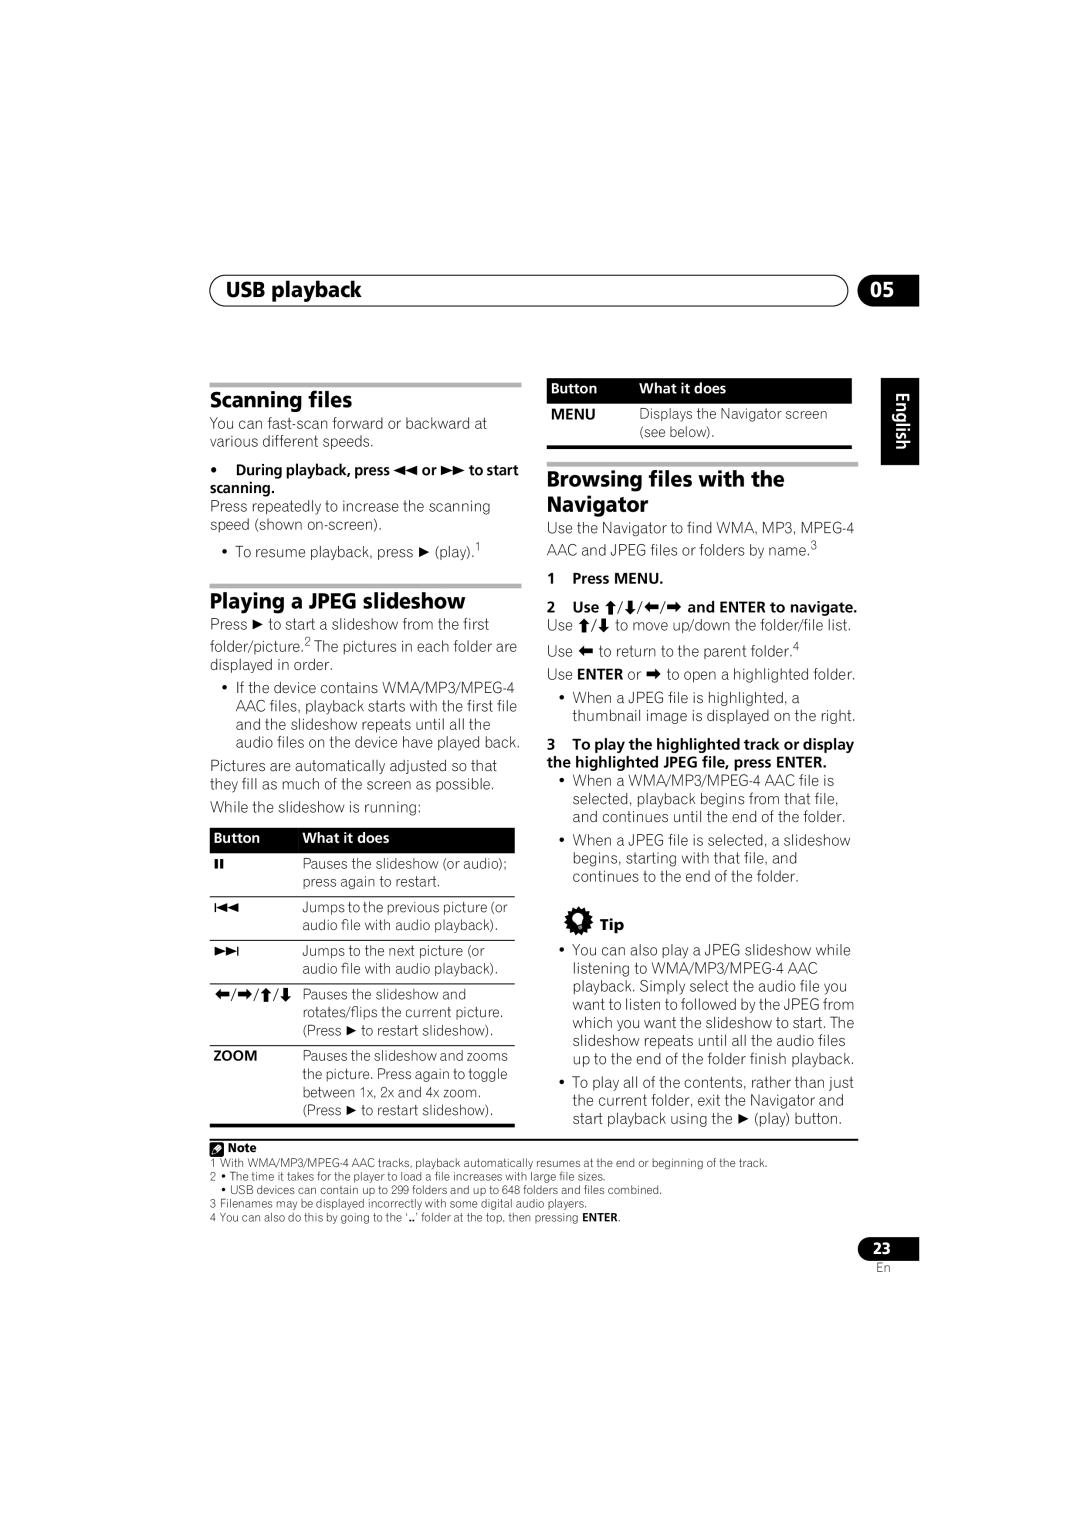
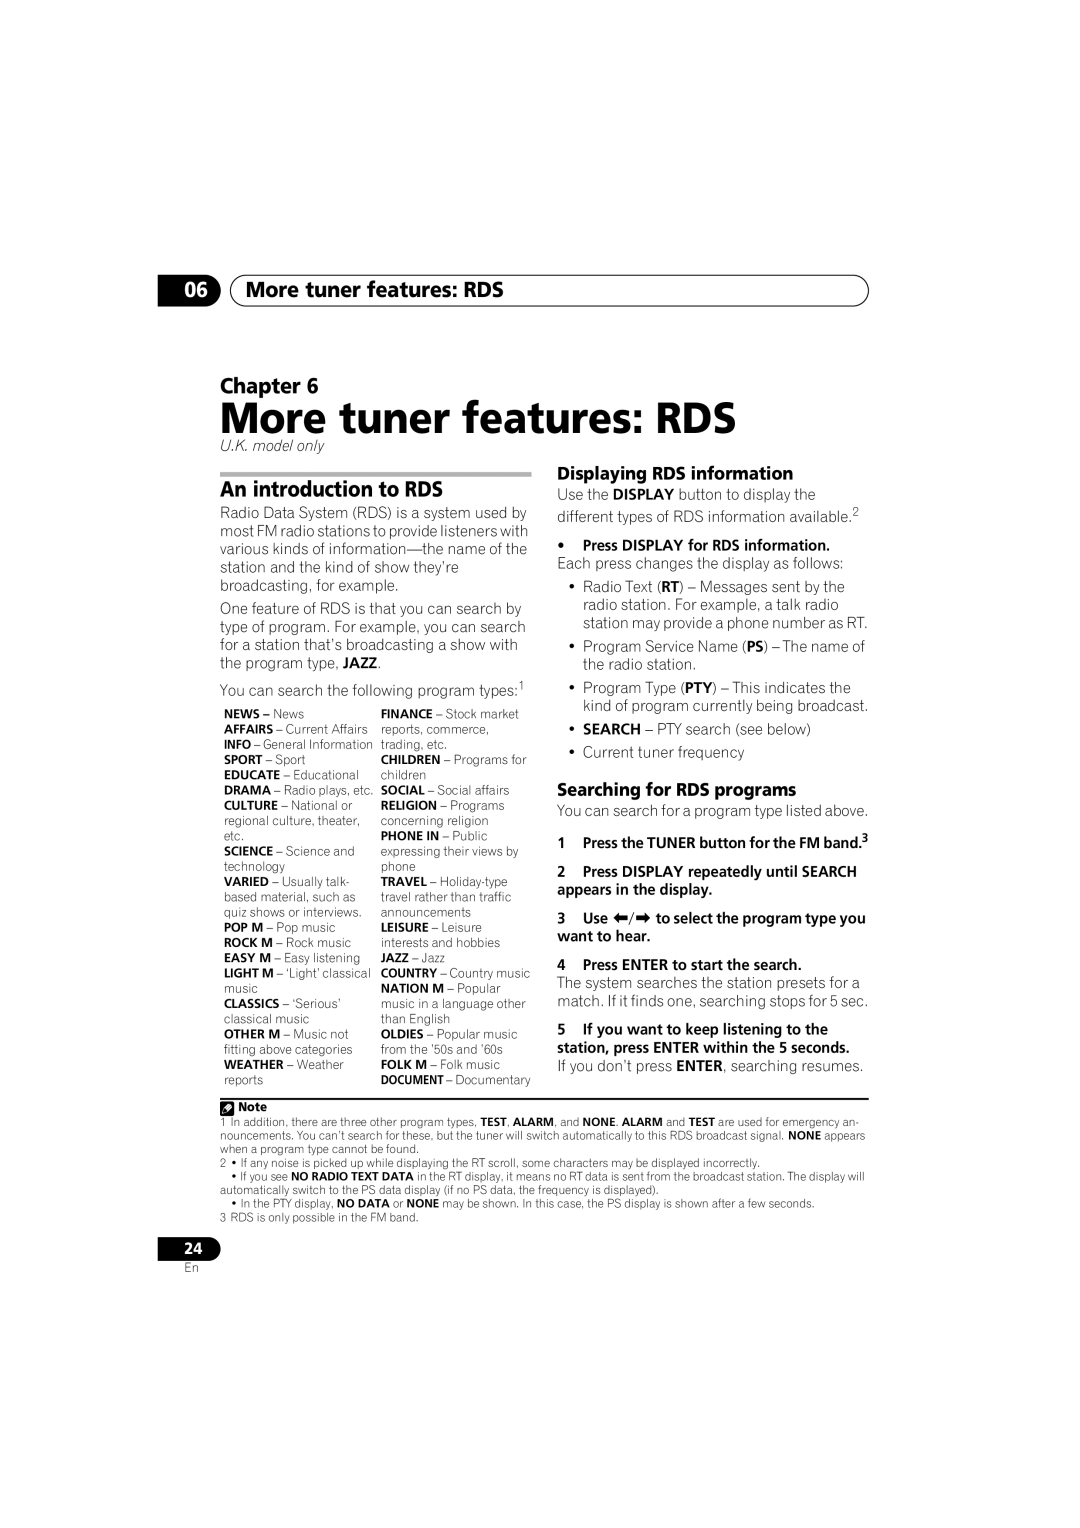
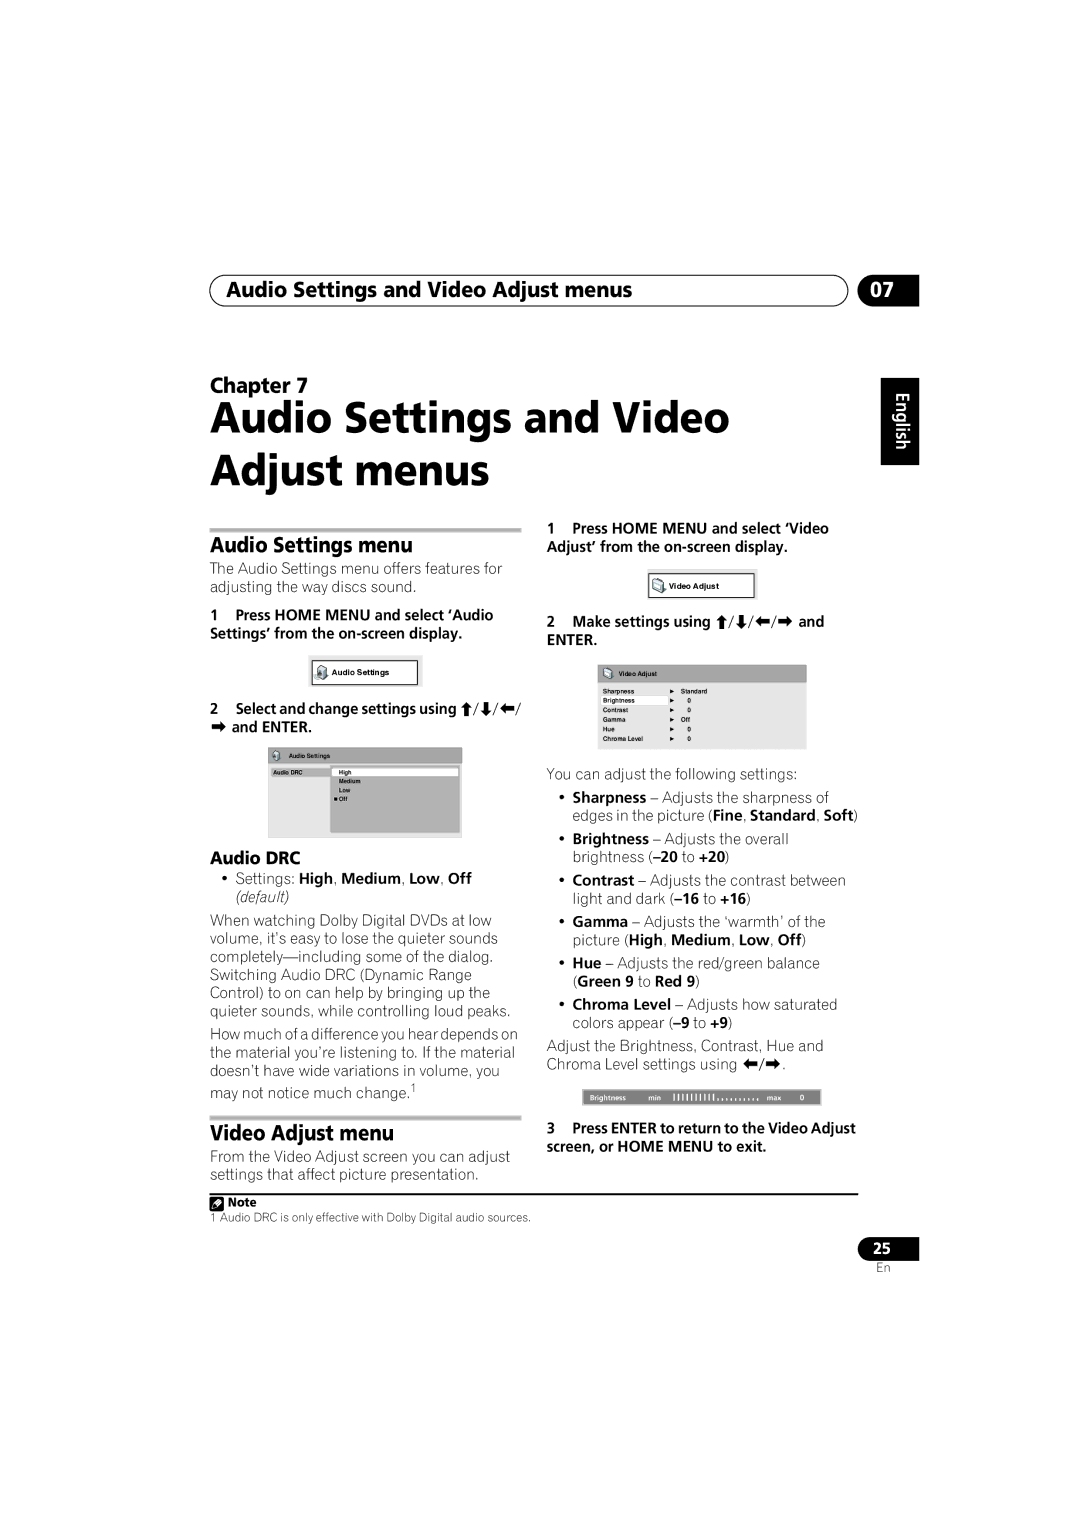
Pioneer DCS-353 operating instructions Connecting using Hdmi, Recording mode

Page 33

Other connections

09

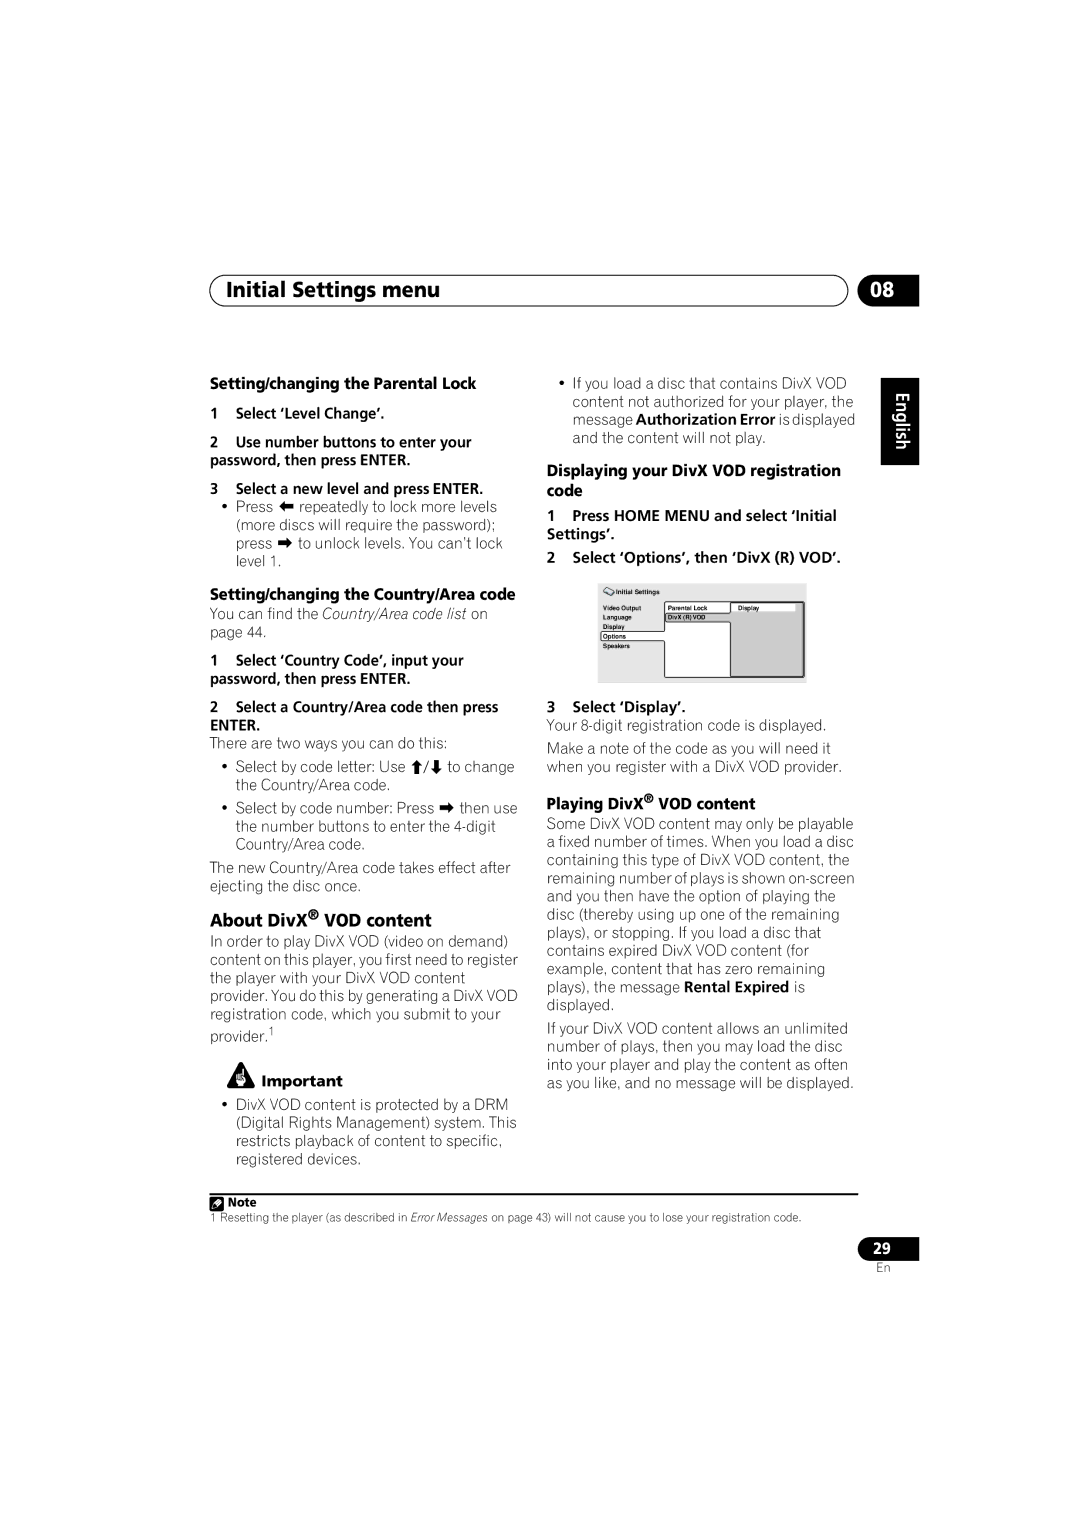
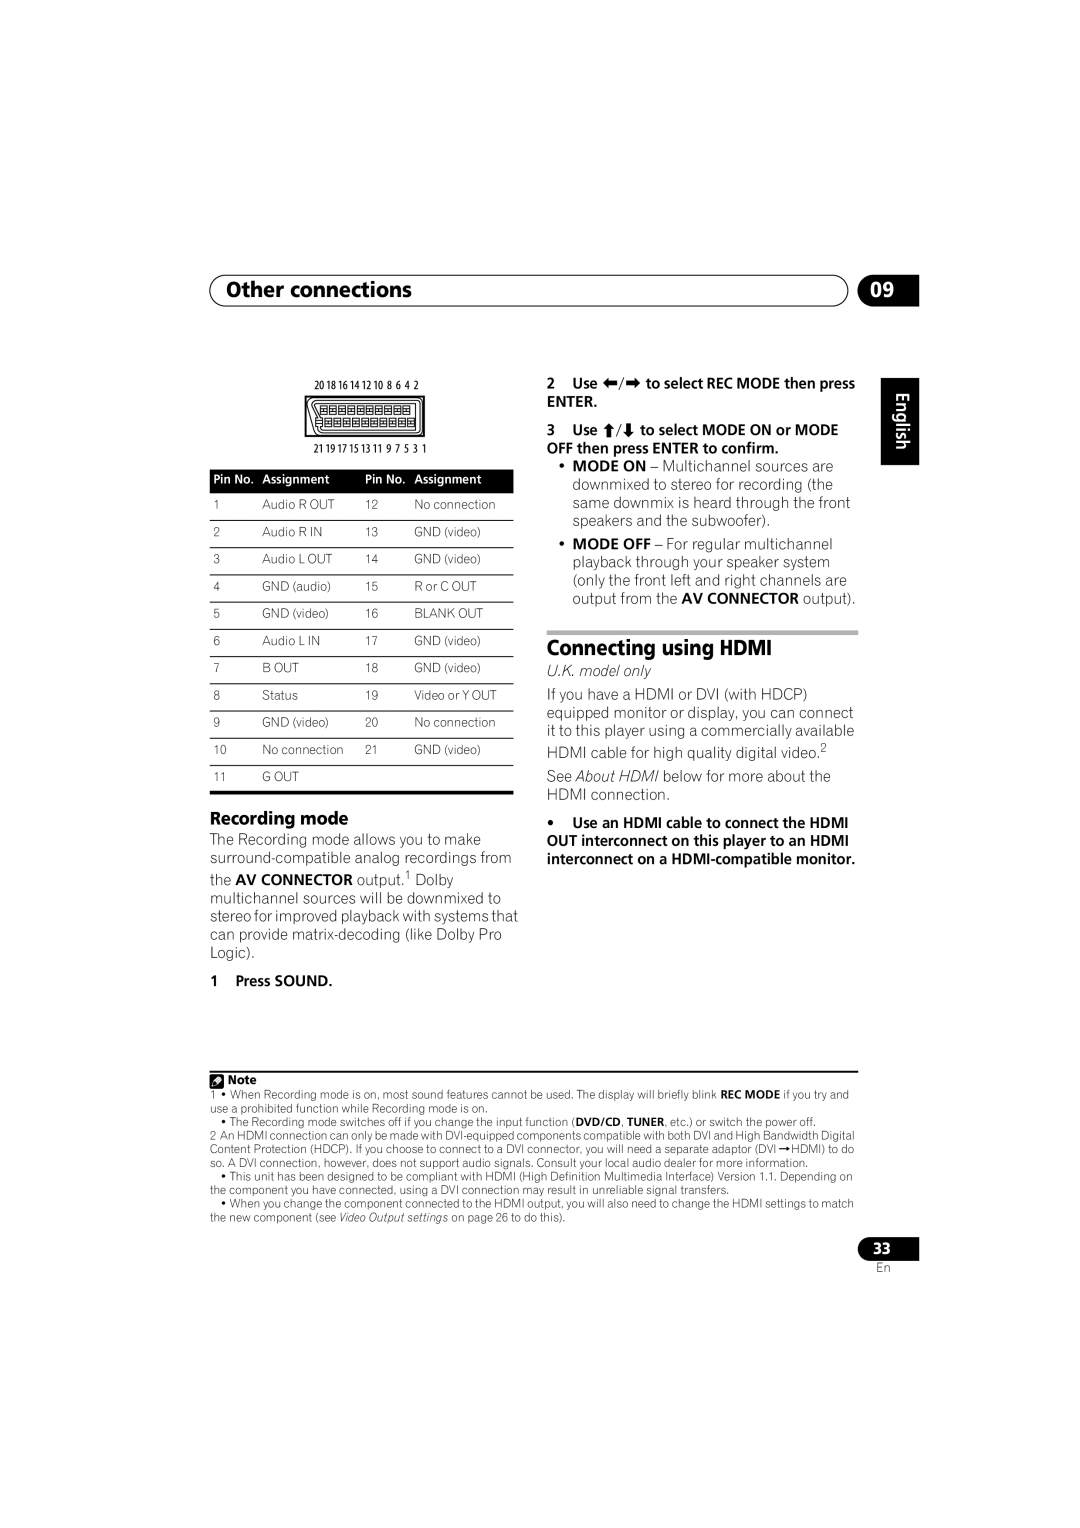
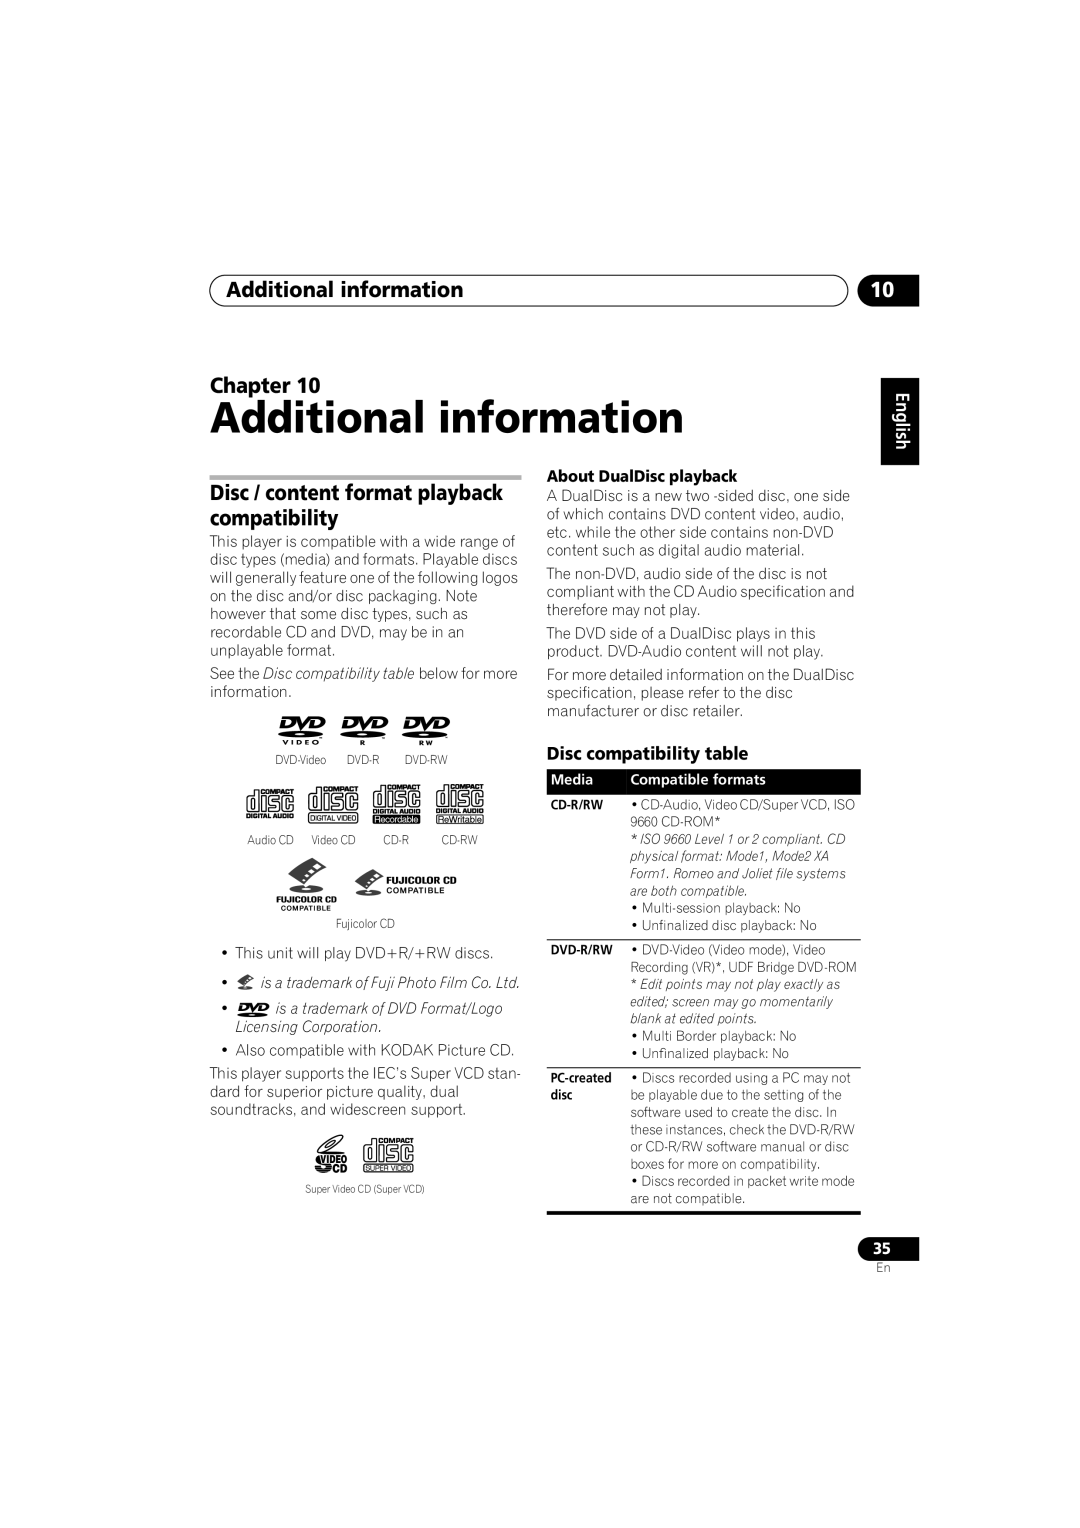
Pin No.

Assignment

Pin No.

Assignment

1

Audio R OUT

12

No connection


2

Audio R IN

13

GND (video)


3

Audio L OUT

14

GND (video)


4

GND (audio)

15

R or C OUT


5

GND (video)

16

BLANK OUT


6

Audio L IN

17

GND (video)


7

B OUT

18

GND (video)


8

Status

19

Video or Y OUT


9

GND (video)

20

No connection


10

No connection

21

GND (video)


11

G OUT


Recording mode

The Recording mode allows you to make surround-compatible analog recordings from

the AV CONNECTOR output.1 Dolby multichannel sources will be downmixed to stereo for improved playback with systems that can provide matrix-decoding (like Dolby Pro Logic).

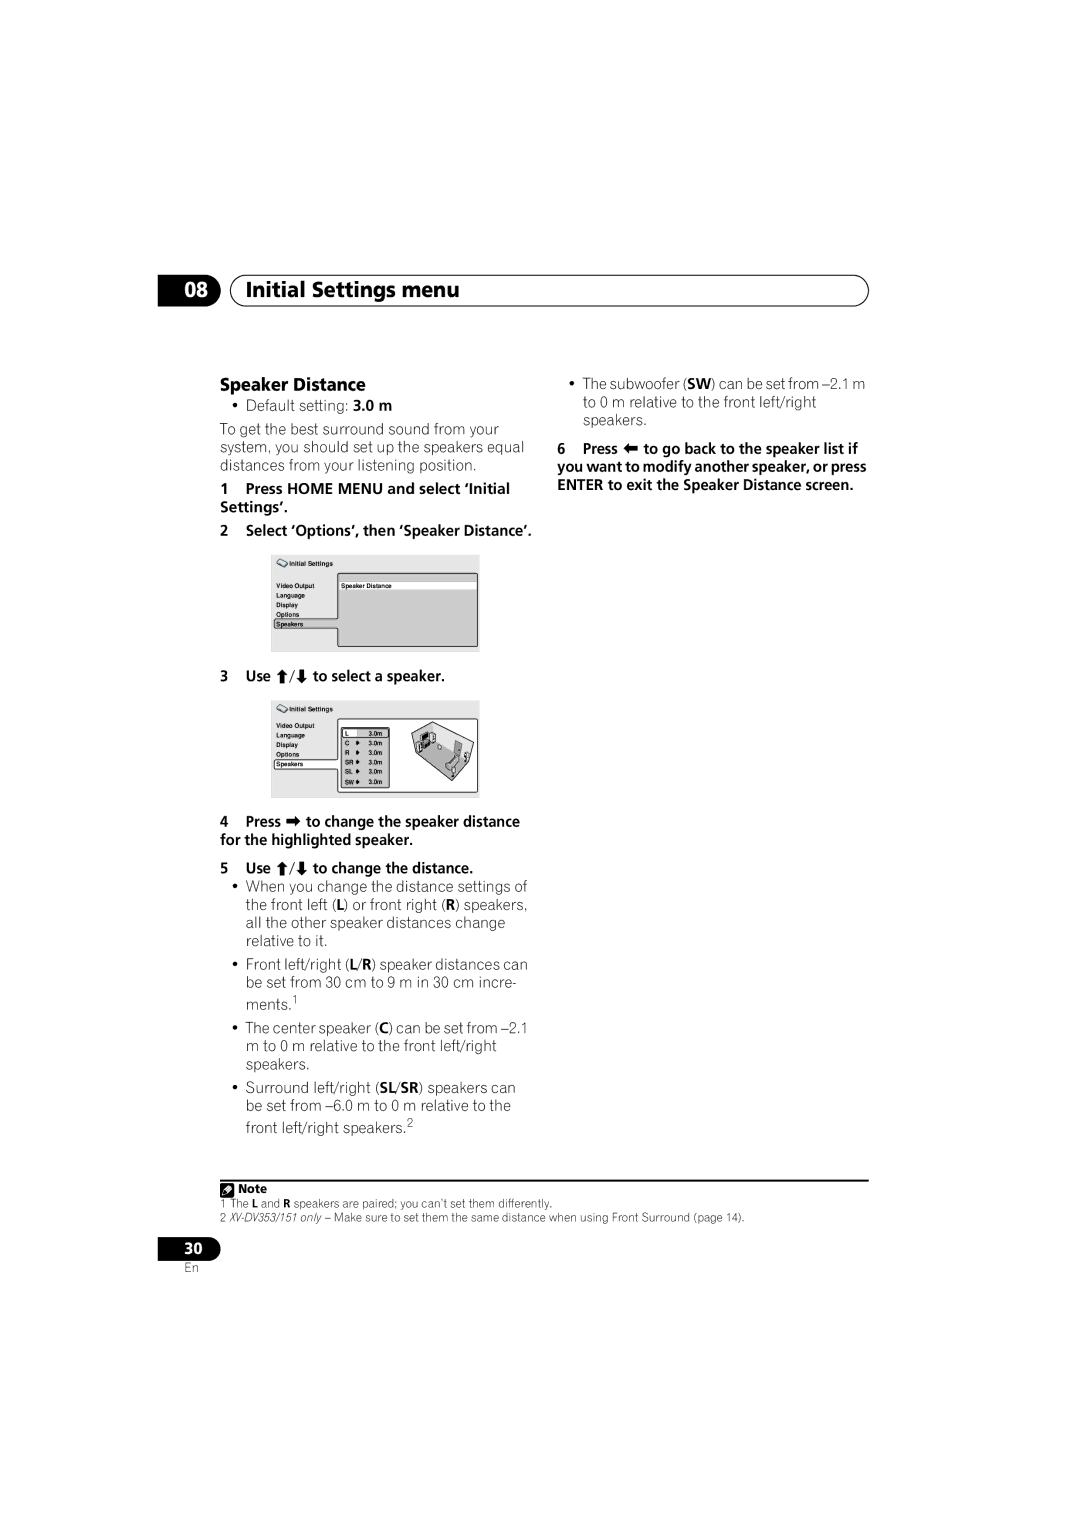
1Press SOUND.

2

Use

to select REC MODE then press

ENTER.


3

Use

to select MODE ON or MODE

OFF then press ENTER to confirm.

MODE ON – Multichannel sources are downmixed to stereo for recording (the same downmix is heard through the front speakers and the subwoofer).

MODE OFF – For regular multichannel playback through your speaker system (only the front left and right channels are output from the AV CONNECTOR output).

Connecting using HDMI

U.K. model only

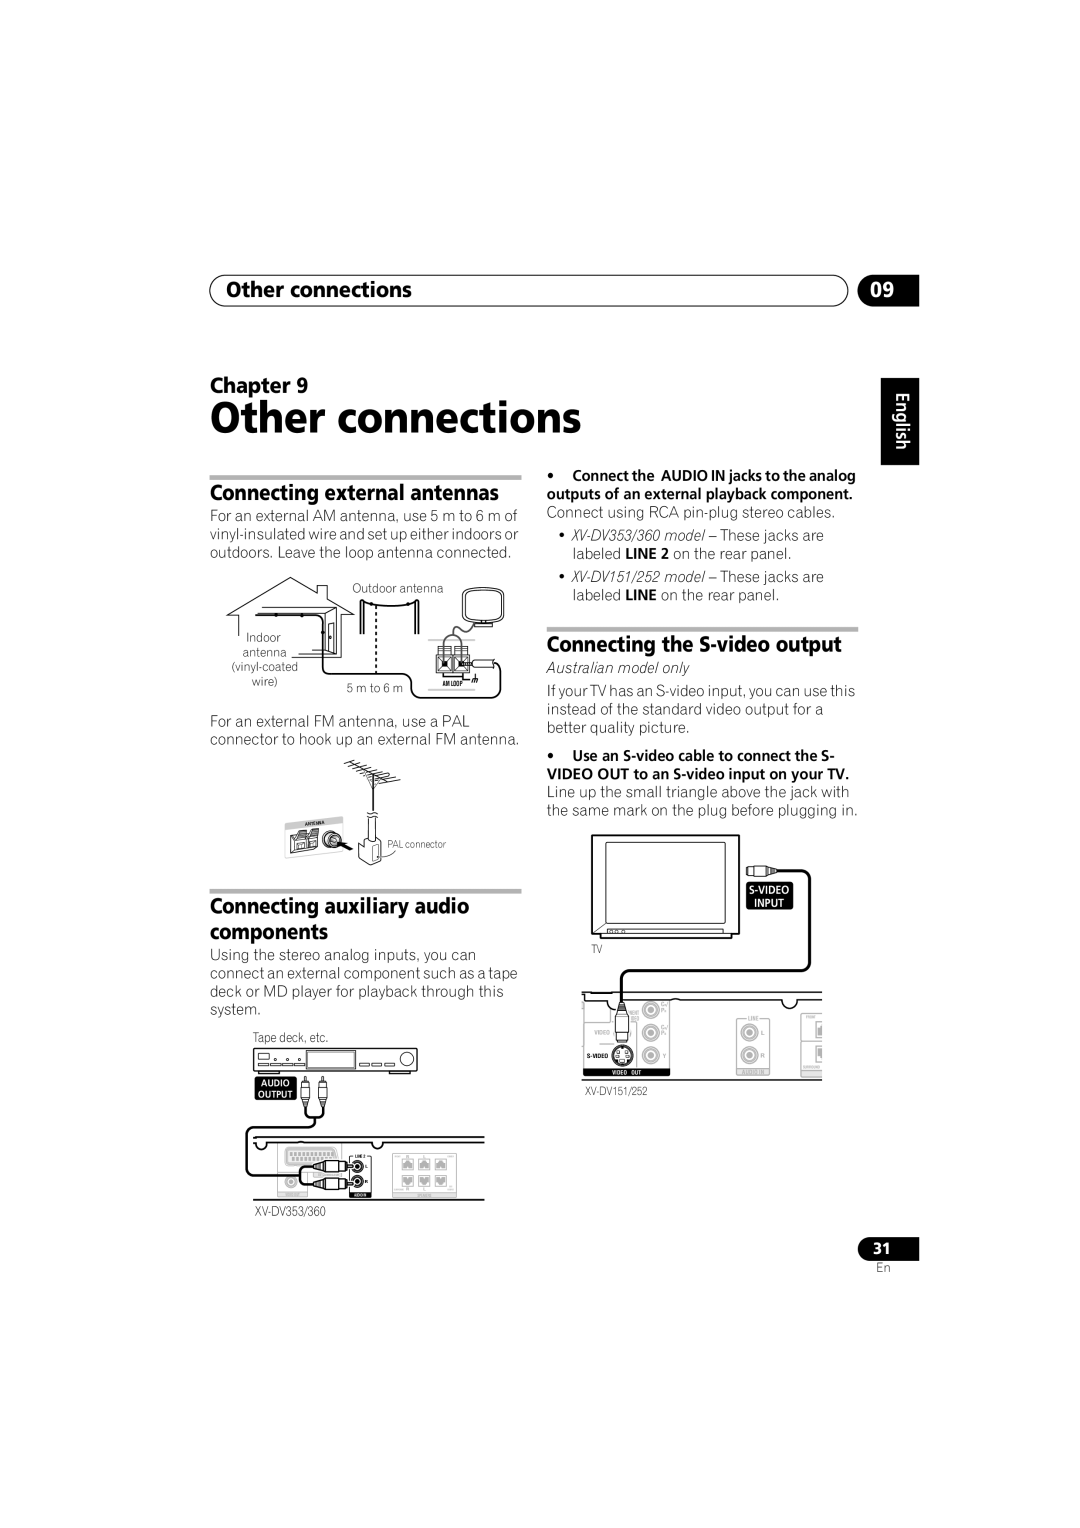
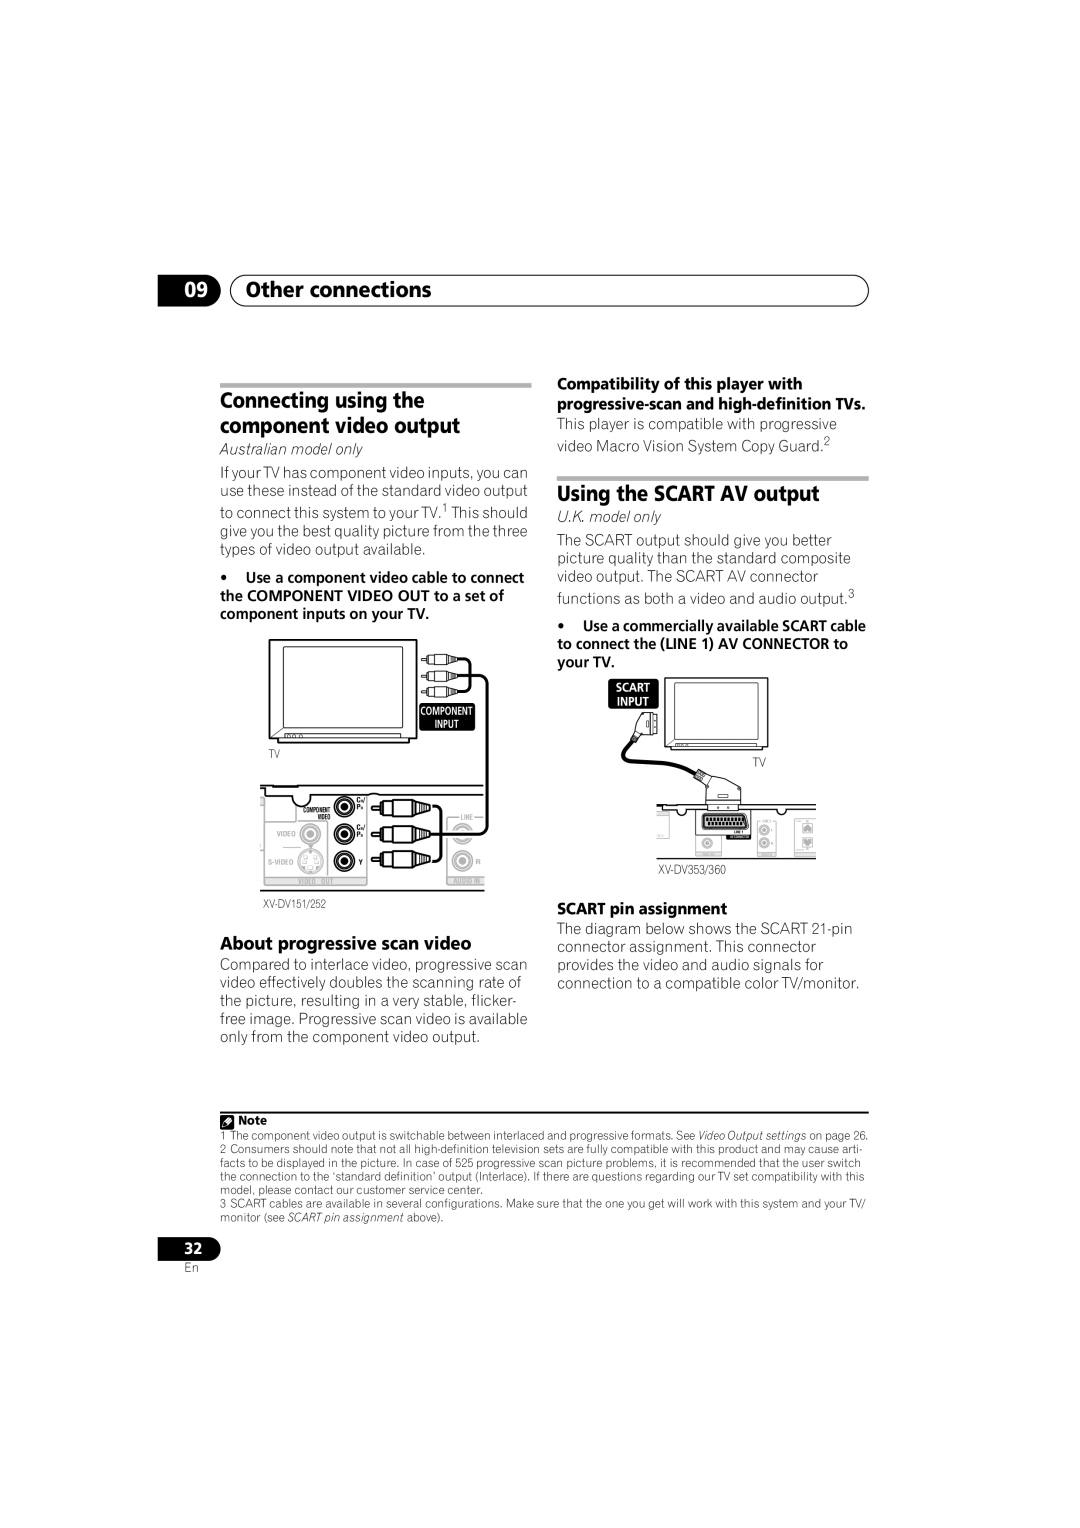
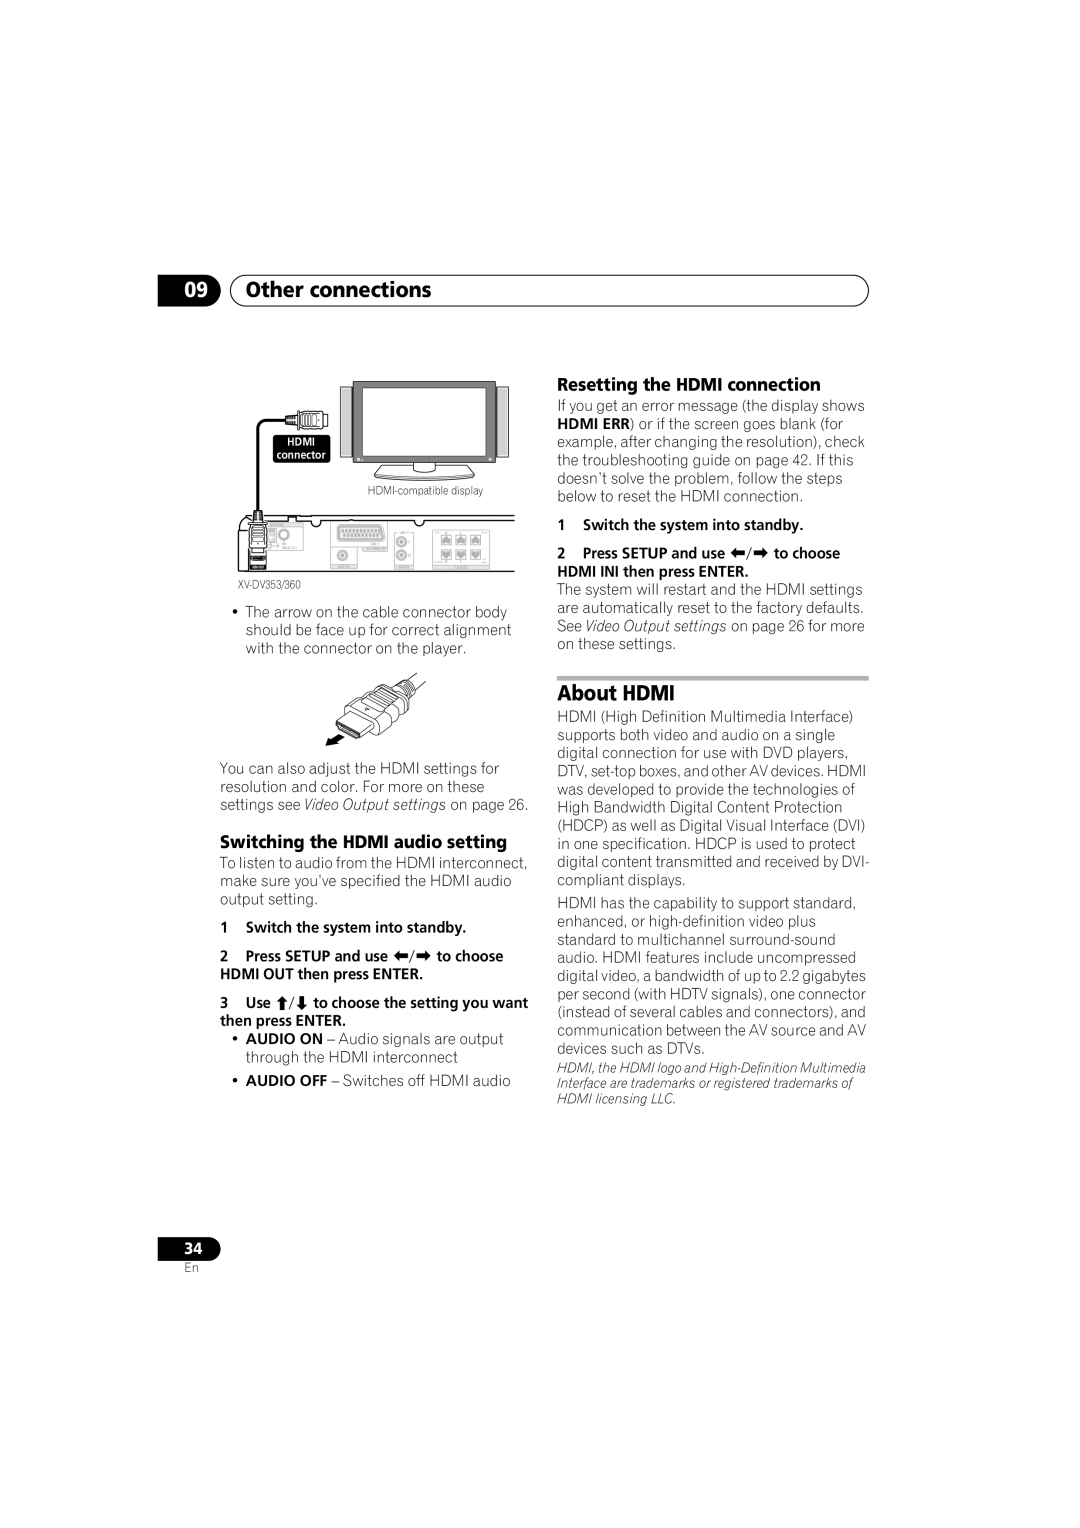
If you have a HDMI or DVI (with HDCP) equipped monitor or display, you can connect it to this player using a commercially available

HDMI cable for high quality digital video.2

See About HDMI below for more about the HDMI connection.

Use an HDMI cable to connect the HDMI OUT interconnect on this player to an HDMI interconnect on a HDMI-compatible monitor.

English Deutsch Français Italiano Nederlands Español

Note

1• When Recording mode is on, most sound features cannot be used. The display will briefly blink REC MODE if you try and use a prohibited function while Recording mode is on.

• The Recording mode switches off if you change the input function (DVD/CD, TUNER, etc.) or switch the power off.

2An HDMI connection can only be made with DVI-equipped components compatible with both DVI and High Bandwidth Digital

Content Protection (HDCP). If you choose to connect to a DVI connector, you will need a separate adaptor (DVI HDMI) to do so. A DVI connection, however, does not support audio signals. Consult your local audio dealer for more information.

This unit has been designed to be compliant with HDMI (High Definition Multimedia Interface) Version 1.1. Depending on the component you have connected, using a DVI connection may result in unreliable signal transfers.

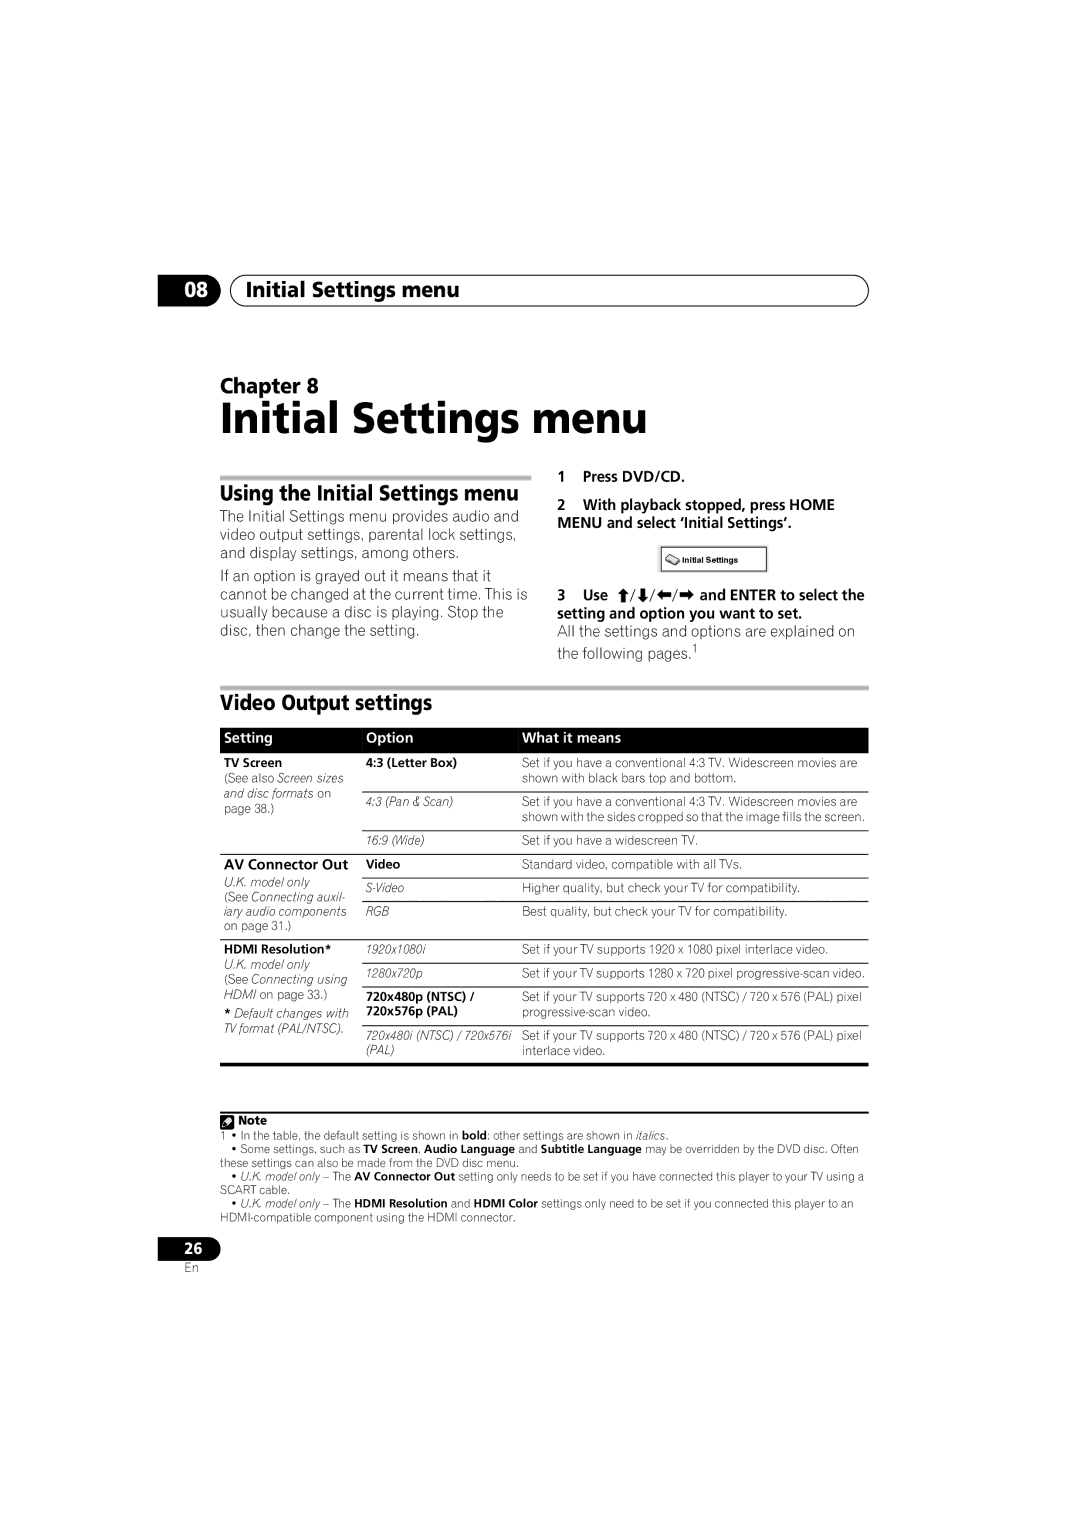
When you change the component connected to the HDMI output, you will also need to change the HDMI settings to match the new component (see Video Output settings on page 26 to do this).

33

En
Image 33
Contents HTZ151DVD For U.K. model Location rear of the unitImportant the Moulded Plug Ventilation CautionOperating Environment POWER-CORD CautionContents English Deutsch Français Italiano Nederlands Español Controls and displays Controls and displays ChapterFront panel Controls and displays PGM Controls and displays DisplaySetting the channel levels Home theater sound setupGetting started Getting started ChapterGetting started Using the on-screen displaysPlaying discs Button What it doesResume and Last Memory Basic playback controlsDVD-Video disc menus Video CD/Super VCD PBC menusListening to the radio Listening to station presetsImproving poor FM reception Memorizing stationsSetting the sleep timer Getting started Listening to other sourcesDimming the display Using Front Surround Auto listening modeListening to your system Listening to your system ChapterAdjusting the bass and treble Using the SFC modesListening with headphones Listening to your system Listening in stereoDisc playback features Disc playback features Select a view optionSelect the thumbnail image for what you want to play Looping a section of a disc Using repeat playUse Enter to navigate During playback, press Home Menu and select ‘Play Mode’Creating a program list Using random playVCD in a random order.2 Use the following controls during random playSearching a disc Switching subtitles Switching language / audio channelsOther functions available from the program menu Switching camera angles Disc playback features Zooming the screenDuring playback or when paused, press Angle to switch angle Displaying disc informationUSB playback Using the USB interfaceUSB playback Chapter Basic playback controlsUSB playback Scanning files Browsing files with the NavigatorPress Menu More tuner features RDS Chapter More tuner features RDSAn introduction to RDS Displaying RDS informationAudio Settings and Video Adjust menus Chapter Audio Settings and Video Adjust menusAudio Settings menu Video Adjust menuInitial Settings menu Chapter Initial Settings menuUsing the Initial Settings menu Video Output settingsLanguage settings Initial Settings menuOptions settings Initial Settings menu Display settingsSpeakers settings Parental LockSetting/changing the Parental Lock About DivX VOD contentSetting/changing the Country/Area code Playing DivX VOD contentSpeaker Distance For the highlighted speakerUse To change the distance Connecting auxiliary audio components Connecting external antennasConnecting the S-video output Other connectionsOther connections Using the Scart AV outputAbout progressive scan video Scart pin assignmentRecording mode Connecting using HdmiResetting the Hdmi connection Switching the Hdmi audio settingAbout Hdmi Additional information Disc / content format playback compatibilityAdditional information Chapter Disc compatibility tableAbout DivX Additional informationAbout DVD+R/DVD+RW compatibility DivX video compatibilityUsing and taking care of discs About MPEG-4 AACAbout WMA Screen sizes and disc formats Installation and maintenanceFrequency step setting TV system settingSwitching off the demo Auto Ntsc PALAdditional information Troubleshooting Problem RemedyGeneral STANDBY/ON button DVD/CD/Video CD playerProblemRemedy TunerUSB connection Setting the Key Lock Resetting the systemUsing the language code list Error MessagesCountry/Area code list Additional information Language code listLanguage Language code letter, Language code Country/Area, Country/Area code, Country/Area code letterDV353 Speaker system Additional information SpecificationsDV360 T / SW, S-DV1T, S-DV252SW Speaker system DV151 Speaker systemEnglish Deutsch Français Italiano Nederlands Español Pioneer Corporation