|
| English |
|
| CD Shuttle Operation |
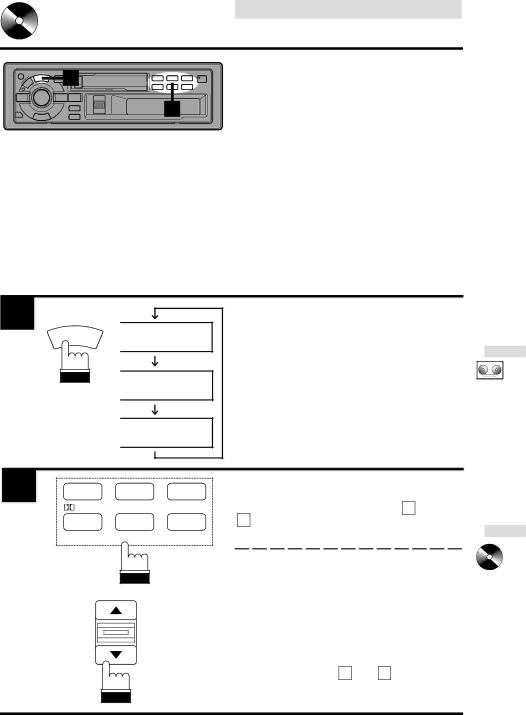
1 |
| Controlling CD Shuttle |
| (Optional) | |
| 2 | |
| An optional Alpine CD Shuttle may be con- | |
|
| nected to the |
|
| |
|
| be accessed through the head unit's front |
|
| panel. |
|
| The |
|
| multiple Alpine Shuttles when connected |
|
| through the |
|
| |
|
| section on page 42 for selecting the CD |
|
| Shuttles. |
|
| Note: The CD controls on the |
|
| |
|
| CD Shuttle is connected. |
1 |
| The display example shows when playing Track |
| 5 on Disc 3. | |
SOURCE | 90.10 |
|
A.S.U. | Press the SOURCE button to activate the CD | |
|
| |
|
| Shuttle. The display shows the disc number |
|
| and track number. |
| TAPE | Note: To start play or pause playback, press |
|
| |
|
| the :/J button. |
D-3 T05 2'58
2
D.A.P. 1 | MONO 2 | 3 |
M.I.X. 4 | RPT 5 | SCAN 6 |
B. SKIP |
|
|
When a 6-disc CD Shuttle is connected:
Make sure that the Function indicator illumi- nated. Press the Preset buttons or 8 and
9buttons to select the desired disc loaded in the CD Shuttle.
When a
You can also use the 8 and 9 buttons to select a desired disc.
33