Ryobi Jig Saw manual Operation, Applications

Page 11

OPERATION

WARNING:

Do not allow familiarity with your tool to make you careless. Remember that a careless fraction of a second is sufficient to inflict severe injury.

WARNING:

Always wear safety goggles or safety glasses with side shields when operating this tool. Failure to do so could result in objects being thrown into your eyes, resulting in possible serious injury.

APPLICATIONS

You may use the jig saw for the purposes listed below:

n Sawing non-ferrous metal, sheet steel, wood, plastic, and similar materials.

SWITCH

See Figure 4.

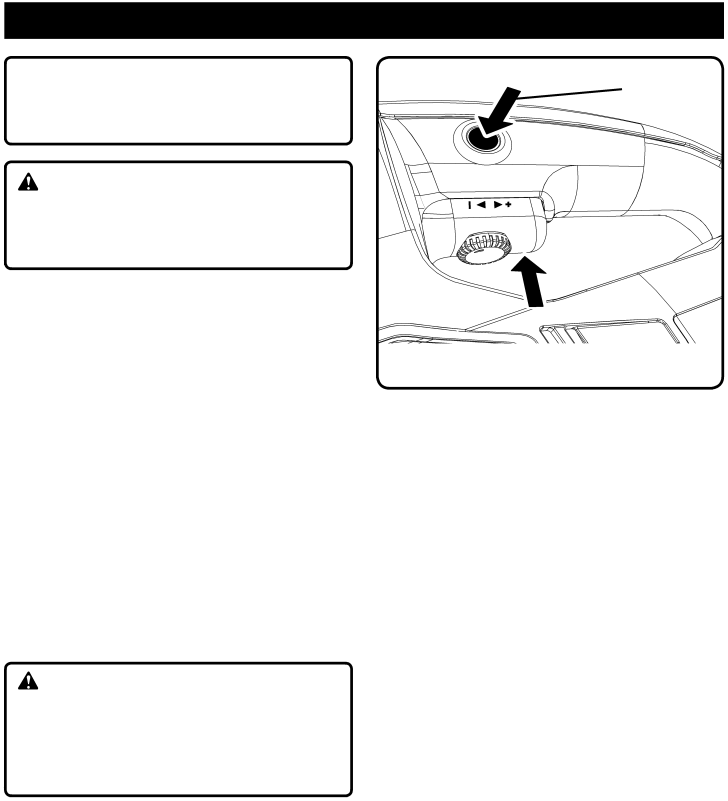
To turn the saw ON, depress the trigger switch. Release trigger switch to turn the saw OFF.

LOCK-ON BUTTON

See Figure 4.

The saw is equipped with a lock-on feature, which is convenient when continuous cutting for extended periods of time is required. To lock-on, depress the trigger switch, push in and hold the lock-on button located on the side of the handle, then release trigger switch. Release lock-on button and your saw will continue running.

To release the lock, depress the trigger switch and release.

If you have the lock-on feature engaged during use and your saw becomes disconnected from power supply, disen- gage the lock-on feature immediately.

WARNING:

Before connecting the saw to power supply, always check to be sure it is not in lock-on position (depress and release trigger switch). Failure to comply could result in accidental starting and possible serious injury. Also, do not lock the trigger on jobs where the saw may need to be stopped suddenly.

LOCK-ON BUTTON

TRIGGER

SWITCH

Fig. 4

11

Image 11
Contents Save this Manual for Future Reference Operators ManualIntroduction Table of ContentsWork Area General Safety RulesElectrical Safety Personal SafetyAdditional Safety Rules Specific Safety RulesSymbol Name DESIGNATION/EXPLANATION SymbolsService Extension Cords ElectricalDouble Insulation Electrical ConnectionProduct Specifications FeaturesVariable Speed Control Selector SwitchOrbital Adjustment Knob Know Your JIG SAWUnpacking AssemblyTo Install JIG SAW Blades Dust PICK-UP FeatureApplications OperationOrbital Motion Variable SpeedGeneral Cutting Do not Force the SAWSee Figures 7 Straight CUTSee Figures 9, 10, Scroll CuttingSee Figures 12 Angle Cutting Bevel CuttingSee Figures 14, 15, Plunge CuttingTo Make a Plunge CUT Metal CuttingSee Figures 17 AdjustmentsBase Locking Lever Adjustment Lubrication MaintenanceGeneral Maintenance Page Service Model NO. and Serial no