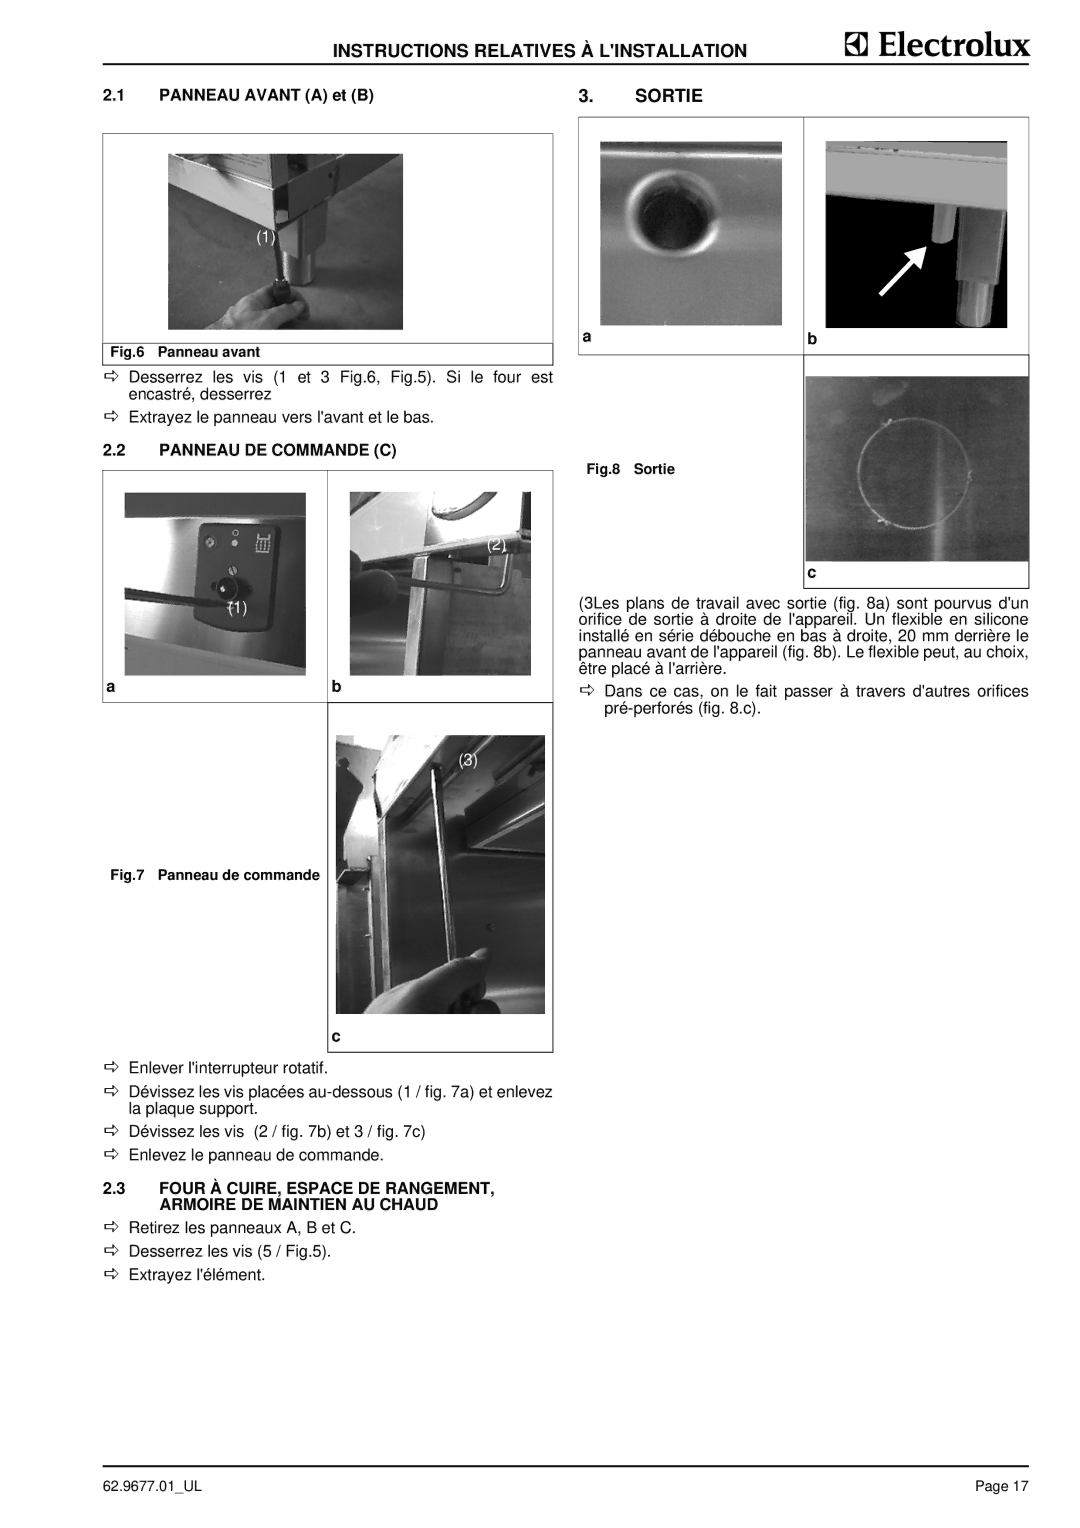
Electrolux WHGUSFOOOO Access to Interior, Sidewall D Assembling on Castors, Steel Plinth

Page 8

INSTALLATION INSTRUCTIONS

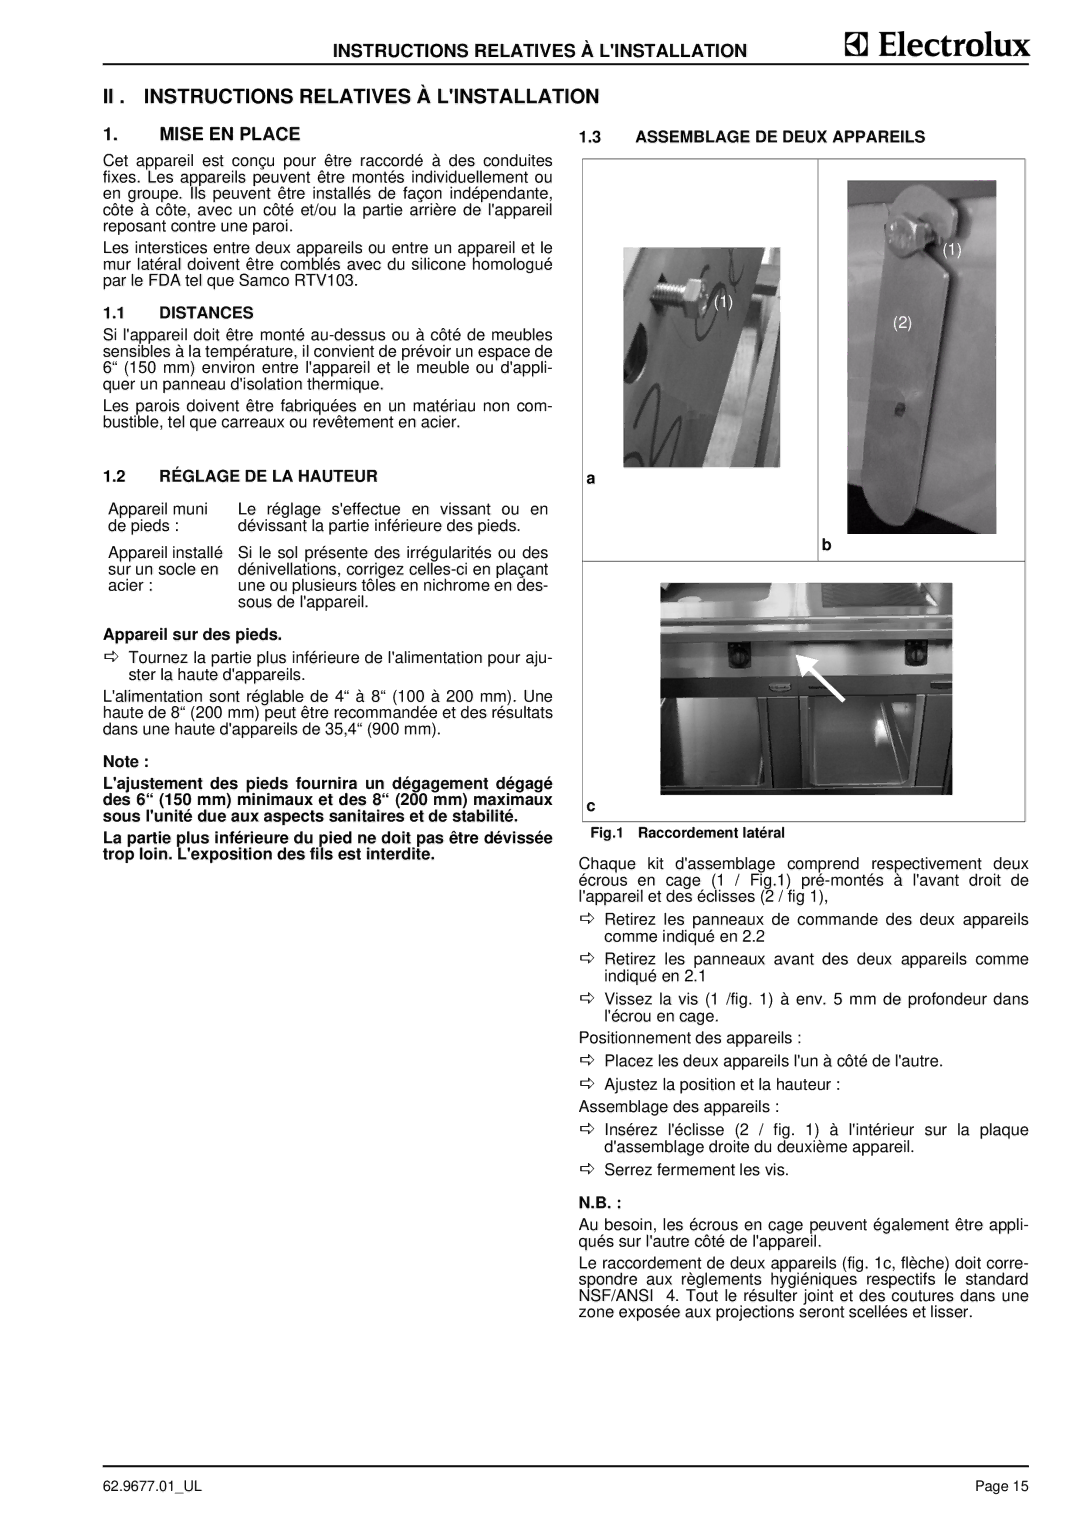
1.4 SIDEWALL (D)

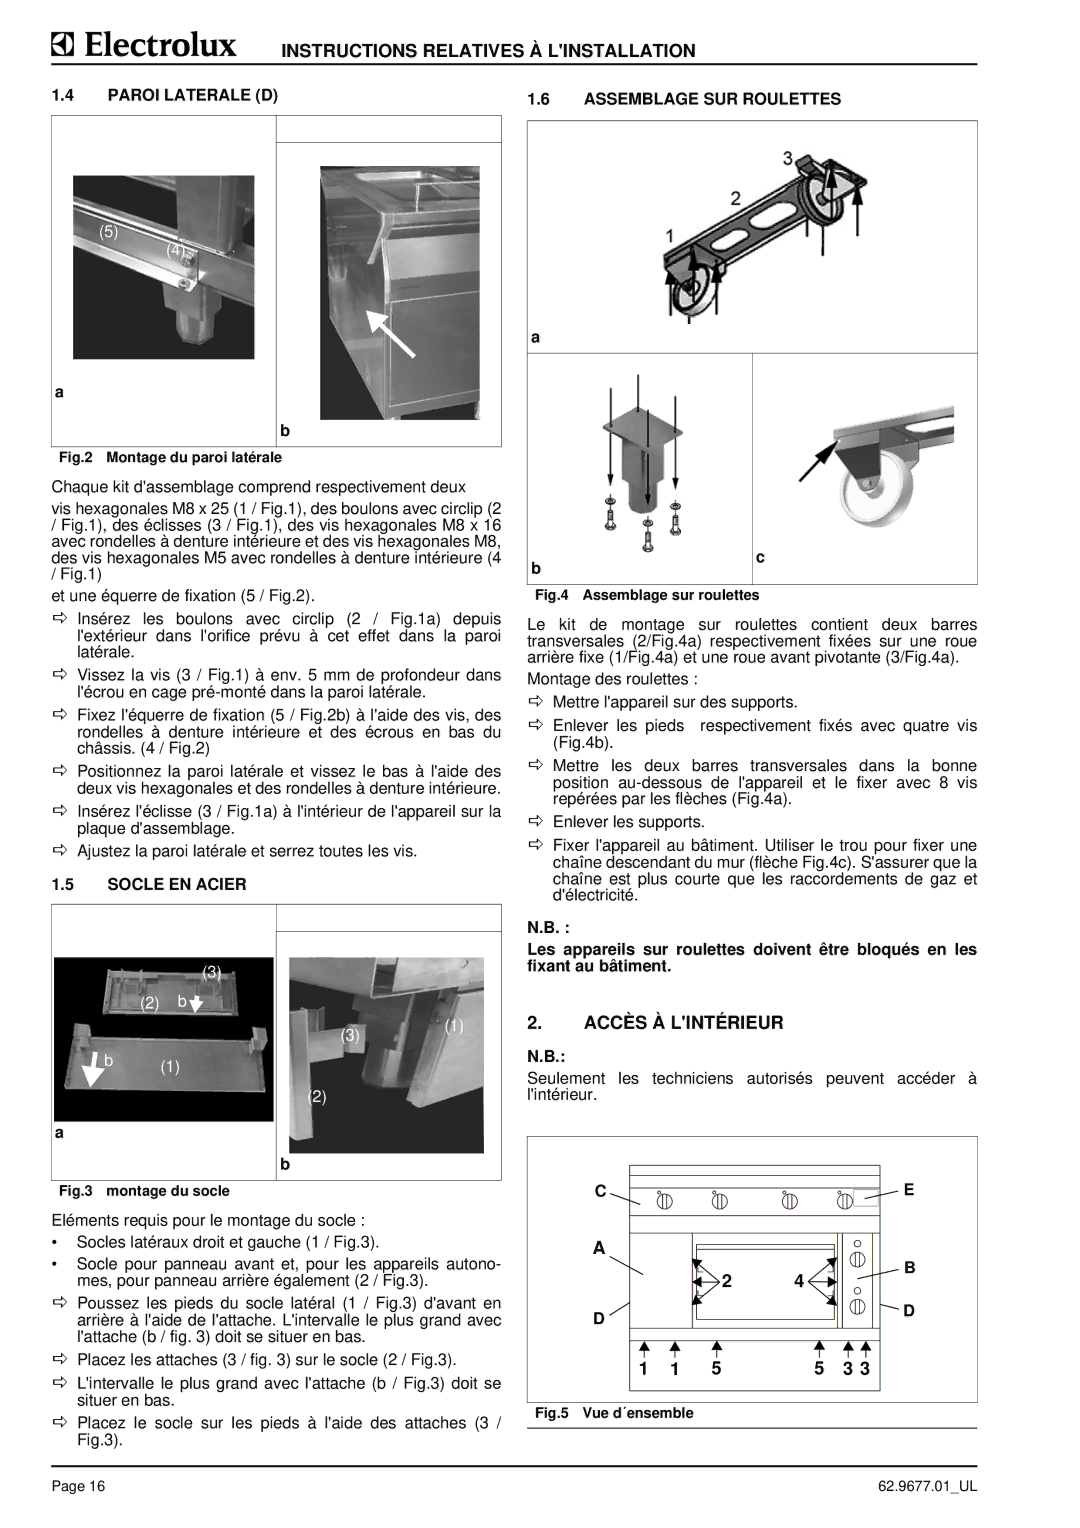
1.6 ASSEMBLING ON CASTORS

(5)

(4)

a

b

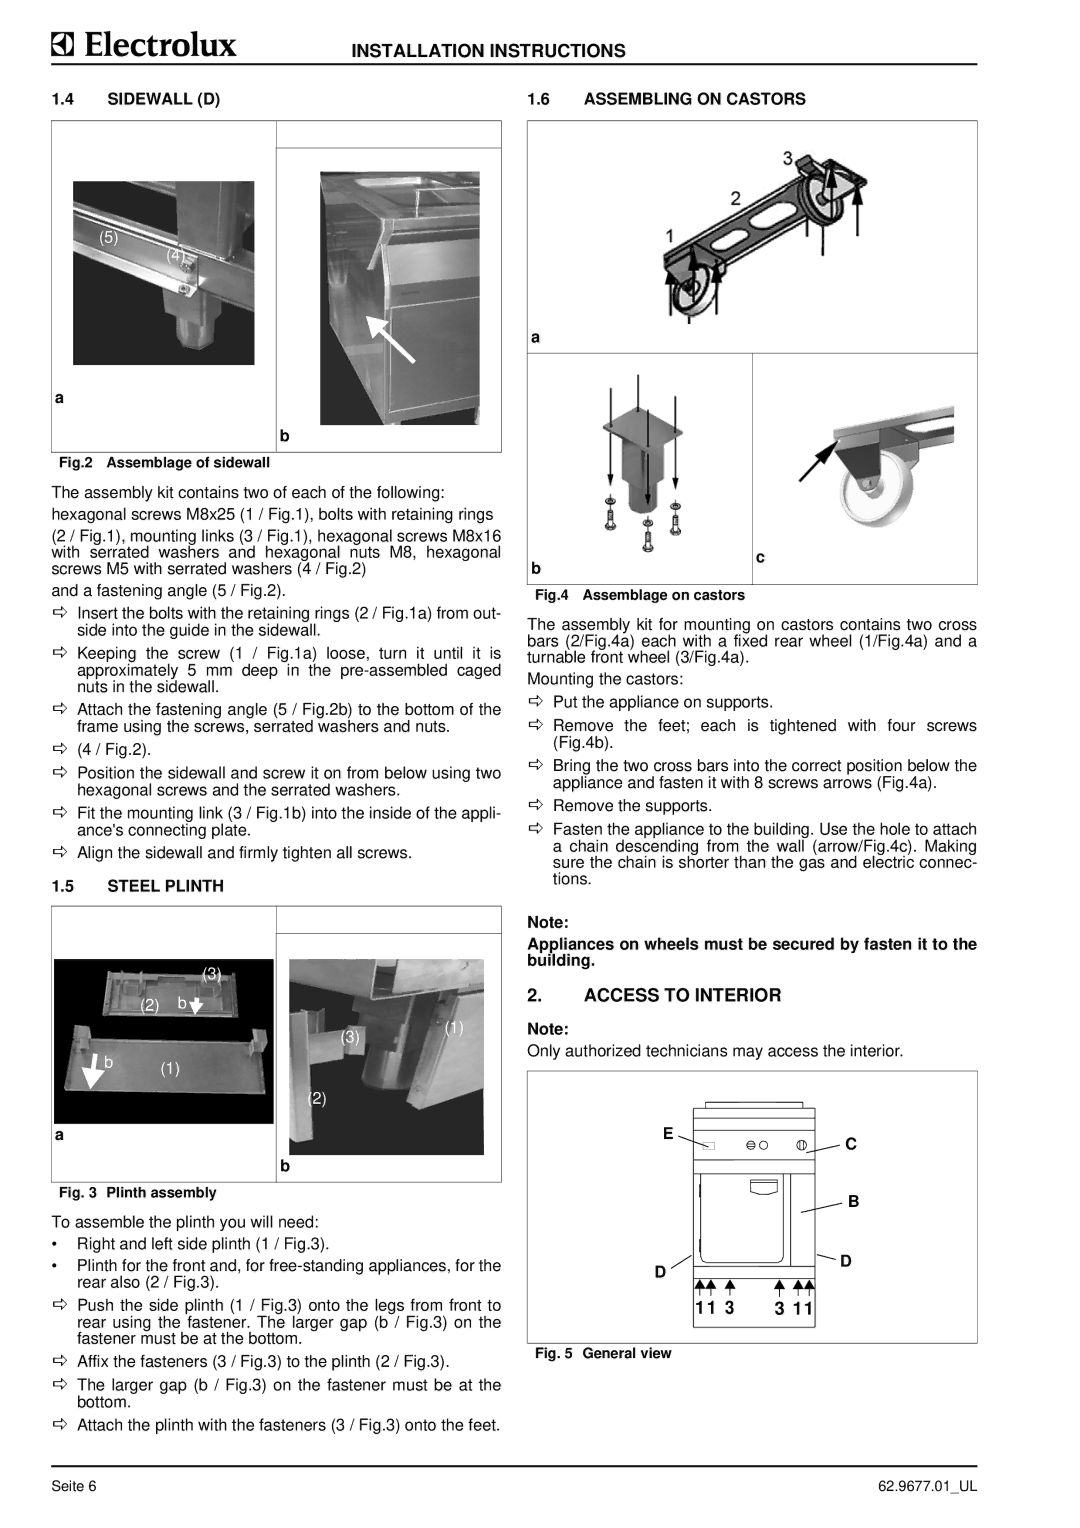
Fig.2 Assemblage of sidewall

The assembly kit contains two of each of the following: hexagonal screws M8x25 (1 / Fig.1), bolts with retaining rings

(2 / Fig.1), mounting links (3 / Fig.1), hexagonal screws M8x16 with serrated washers and hexagonal nuts M8, hexagonal screws M5 with serrated washers (4 / Fig.2)

and a fastening angle (5 / Fig.2).

DInsert the bolts with the retaining rings (2 / Fig.1a) from out- side into the guide in the sidewall.

DKeeping the screw (1 / Fig.1a) loose, turn it until it is approximately 5 mm deep in the pre-assembled caged nuts in the sidewall.

DAttach the fastening angle (5 / Fig.2b) to the bottom of the frame using the screws, serrated washers and nuts.

D(4 / Fig.2).

DPosition the sidewall and screw it on from below using two hexagonal screws and the serrated washers.

DFit the mounting link (3 / Fig.1b) into the inside of the appli- ance's connecting plate.

DAlign the sidewall and firmly tighten all screws.

1.5STEEL PLINTH

a

b

c


Fig.4 Assemblage on castors

The assembly kit for mounting on castors contains two cross bars (2/Fig.4a) each with a fixed rear wheel (1/Fig.4a) and a turnable front wheel (3/Fig.4a).

Mounting the castors:

DPut the appliance on supports.

DRemove the feet; each is tightened with four screws (Fig.4b).

DBring the two cross bars into the correct position below the appliance and fasten it with 8 screws arrows (Fig.4a).

DRemove the supports.

DFasten the appliance to the building. Use the hole to attach a chain descending from the wall (arrow/Fig.4c). Making sure the chain is shorter than the gas and electric connec- tions.

Note:

(3)


(2) b

b

(1)


a

(3)(1)

(2)

b

Appliances on wheels must be secured by fasten it to the building.

2.ACCESS TO INTERIOR

Note:

Only authorized technicians may access the interior.

E

C


Fig. 3 Plinth assembly

To assemble the plinth you will need:

Right and left side plinth (1 / Fig.3).

Plinth for the front and, for free-standing appliances, for the rear also (2 / Fig.3).

DPush the side plinth (1 / Fig.3) onto the legs from front to rear using the fastener. The larger gap (b / Fig.3) on the fastener must be at the bottom.

DAffix the fasteners (3 / Fig.3) to the plinth (2 / Fig.3).

DThe larger gap (b / Fig.3) on the fastener must be at the bottom.

DAttach the plinth with the fasteners (3 / Fig.3) onto the feet.


B

D

D


11 3

3 11

Fig. 5 General view

Seite 6

62.9677.01_UL

Image 8
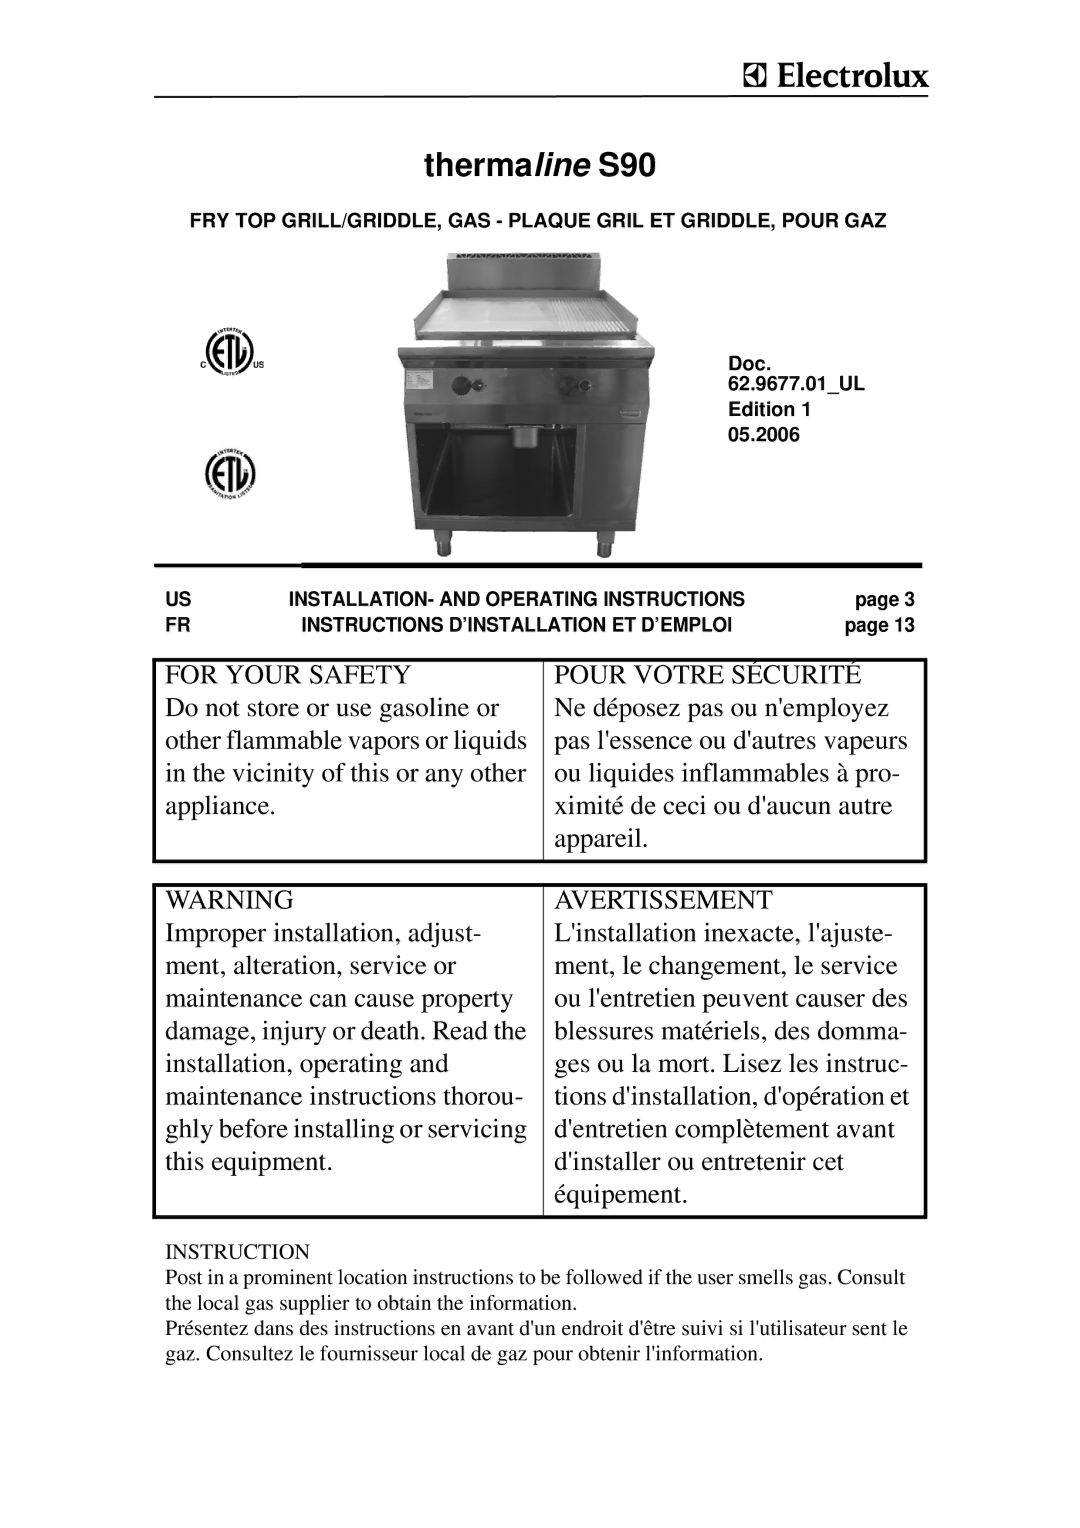
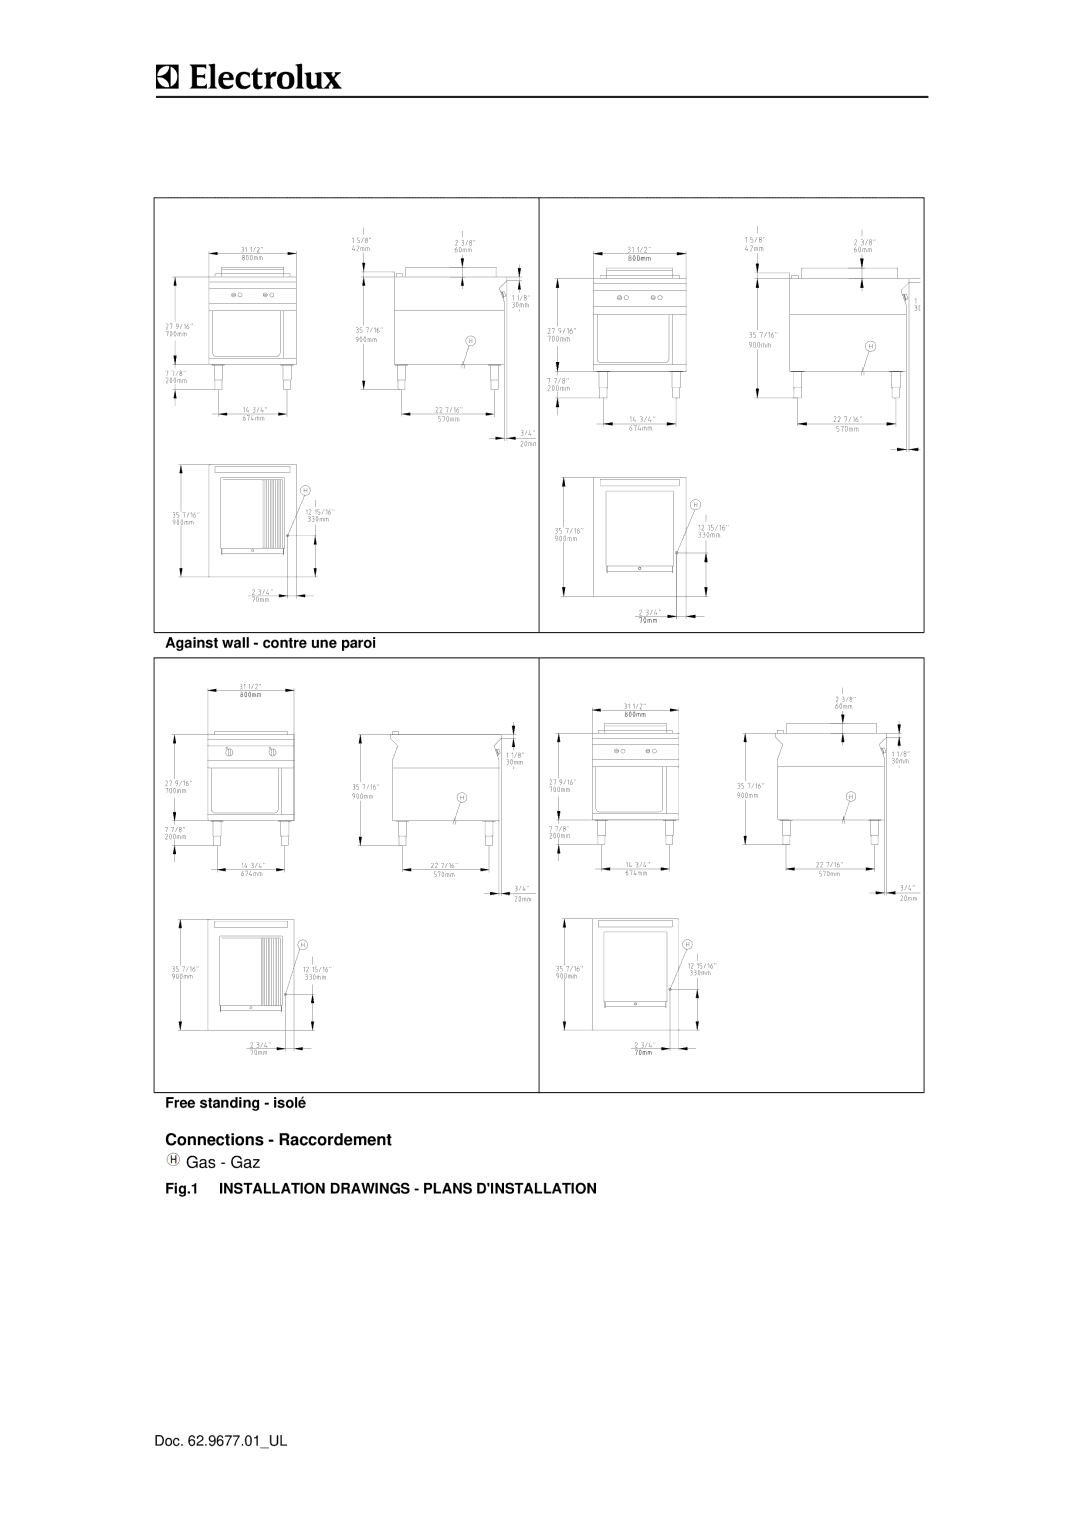
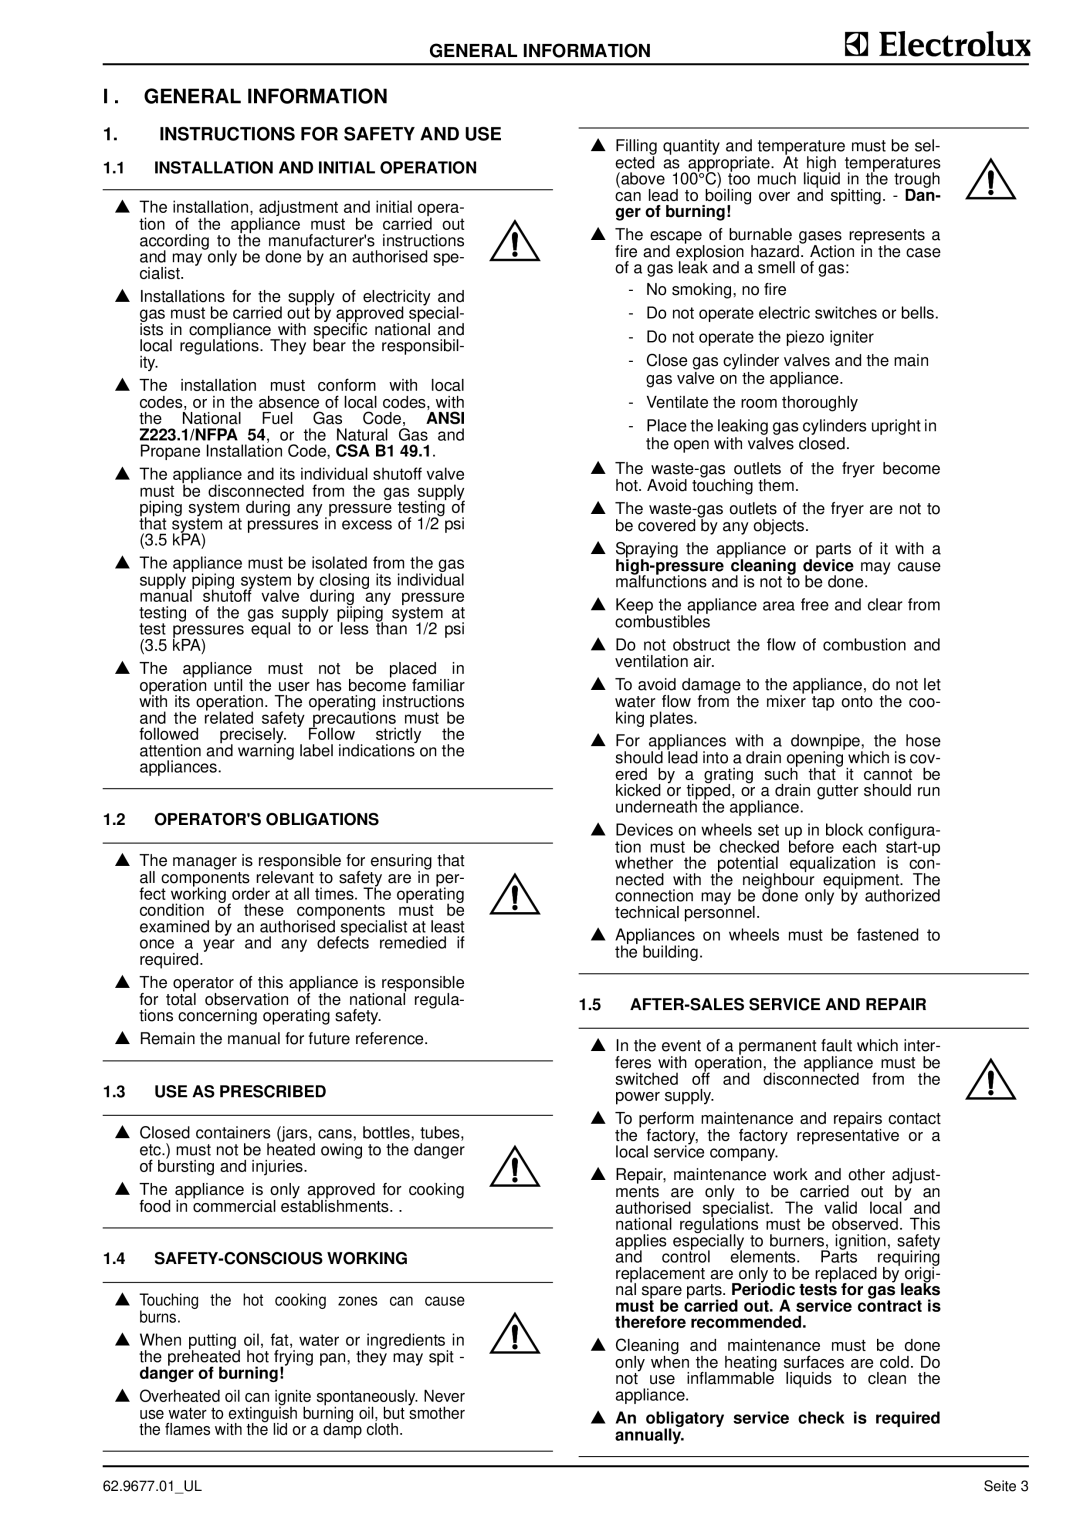
Contents Thermaline S90 FRY TOP GRILL/GRIDDLE, GAS Plaque Gril ET GRIDDLE, Pour GAZInstallation Drawings Plans Dinstallation Connections RaccordementOperating Instructions General Information Installation InstructionsIII 62.9677.01UL General Information Instructions for Safety and USEGeneral Information General Information Technical Data Specification PlatePackaging Tests / CertificatesInstallation II . Installation InstructionsInstallation Instructions Steel Plinth Access to InteriorSidewall D Assembling on Castors Downpipe Front Panels a and BControl Panel C OVEN, Storage SPACE, HOT CabinetInstallation Instructions GAS Connection ConnectionGAS Pressure Gas pressure tolerancesIII . Operating Instructions Operating InstructionsGeneral OperationCleaning MalfunctionOperating Instructions Storage Space Storage spaceOperating Instructions Consignes DE Sécurité ET Dutilisation Instructions GénéralesInstructions Générales Plaque Signalétique SERVICE-APRÈS-VENTE ET RéparationEmballage Tests / CertificatsII . Instructions Relatives À Linstallation Instructions Relatives À LinstallationMise EN Place Assemblage DE Deux AppareilsSocle EN Acier Accès À LintérieurParoi Laterale D Assemblage SUR Roulettes Panneau Avant a et B Panneau DE Commande CSortie Instructions Relatives À Linstallation Raccordement AU GAZ InstructionsRaccordement Pression DE GAZCommande III . Instructions DE FonctionnementInstructions DE Fonctionnement GénéralitésProblème Cause Solution NettoyageProblème BruleurEspace de rangement Instructions DE Fonctionnement Mbar

9CHG584124, 9CHG584122, WHGUSFOOOO, 9CHG584125, WHGURFOOOO specifications

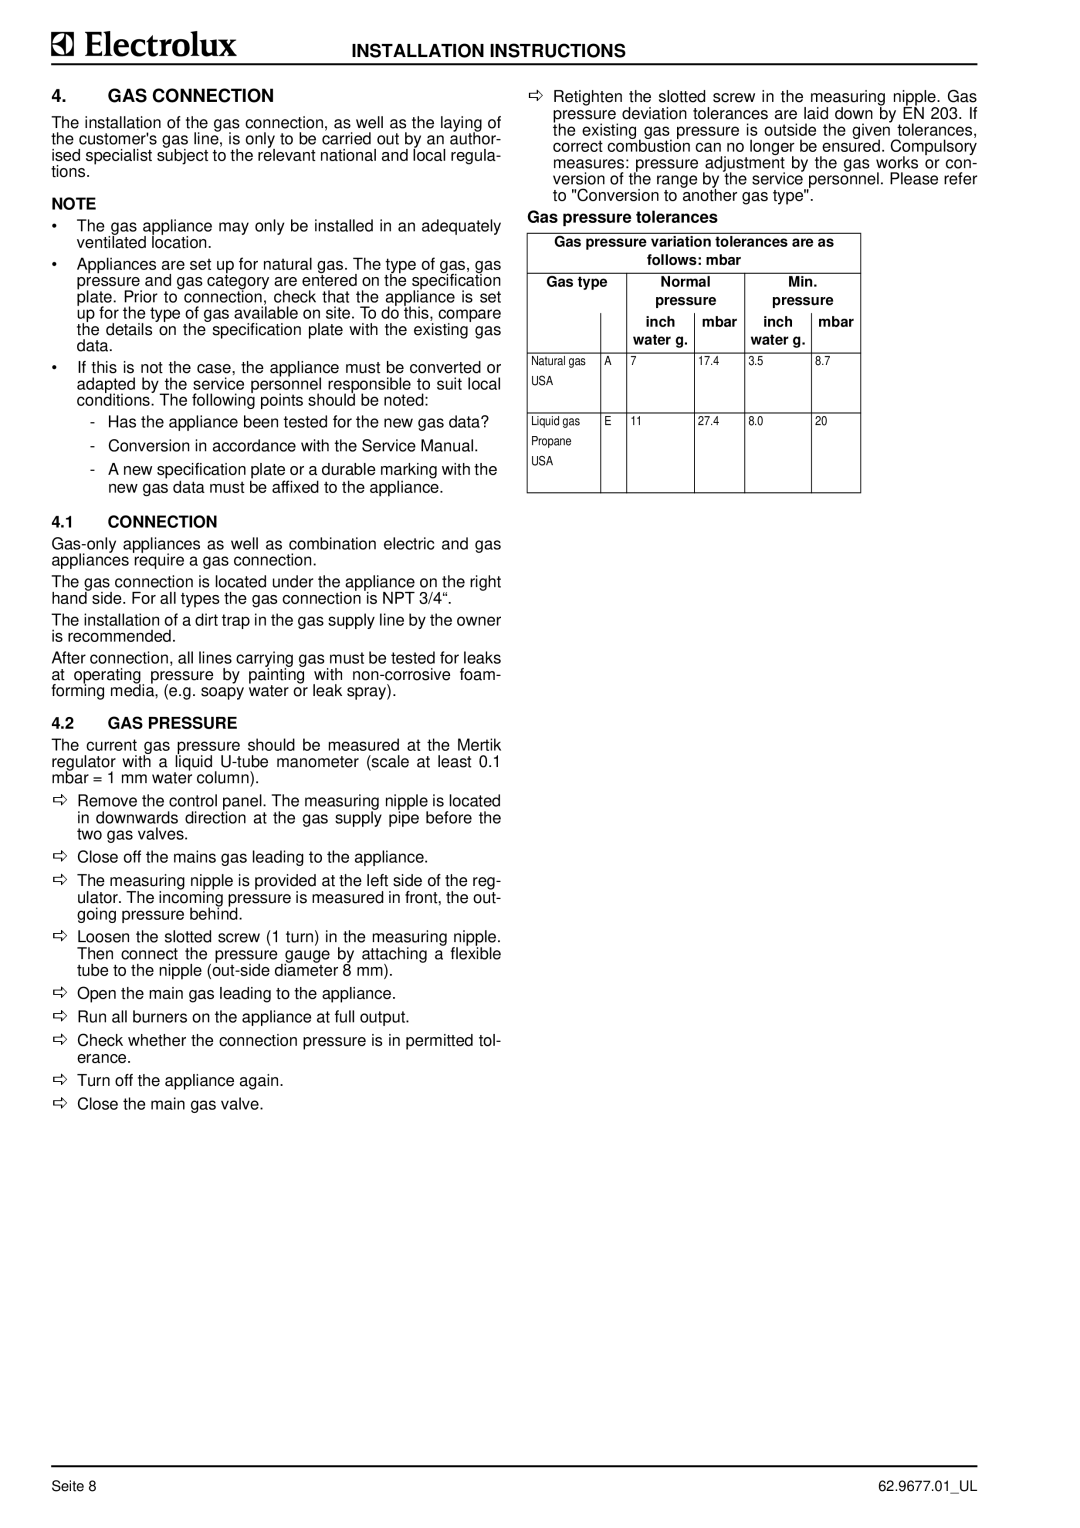
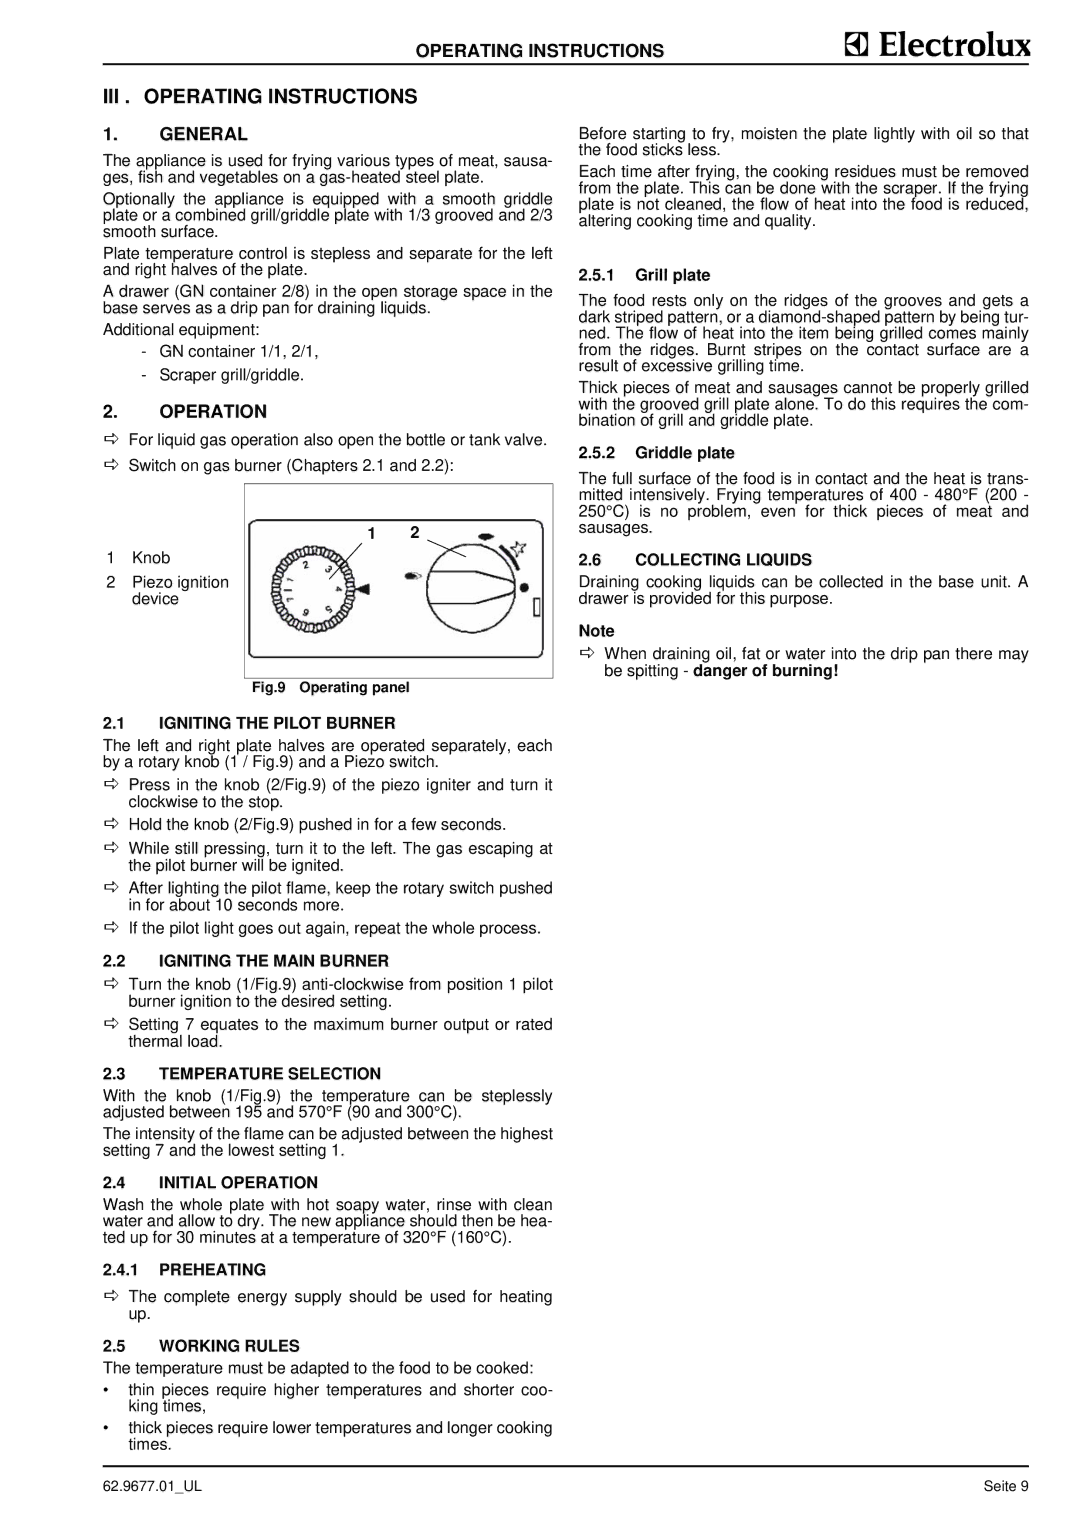
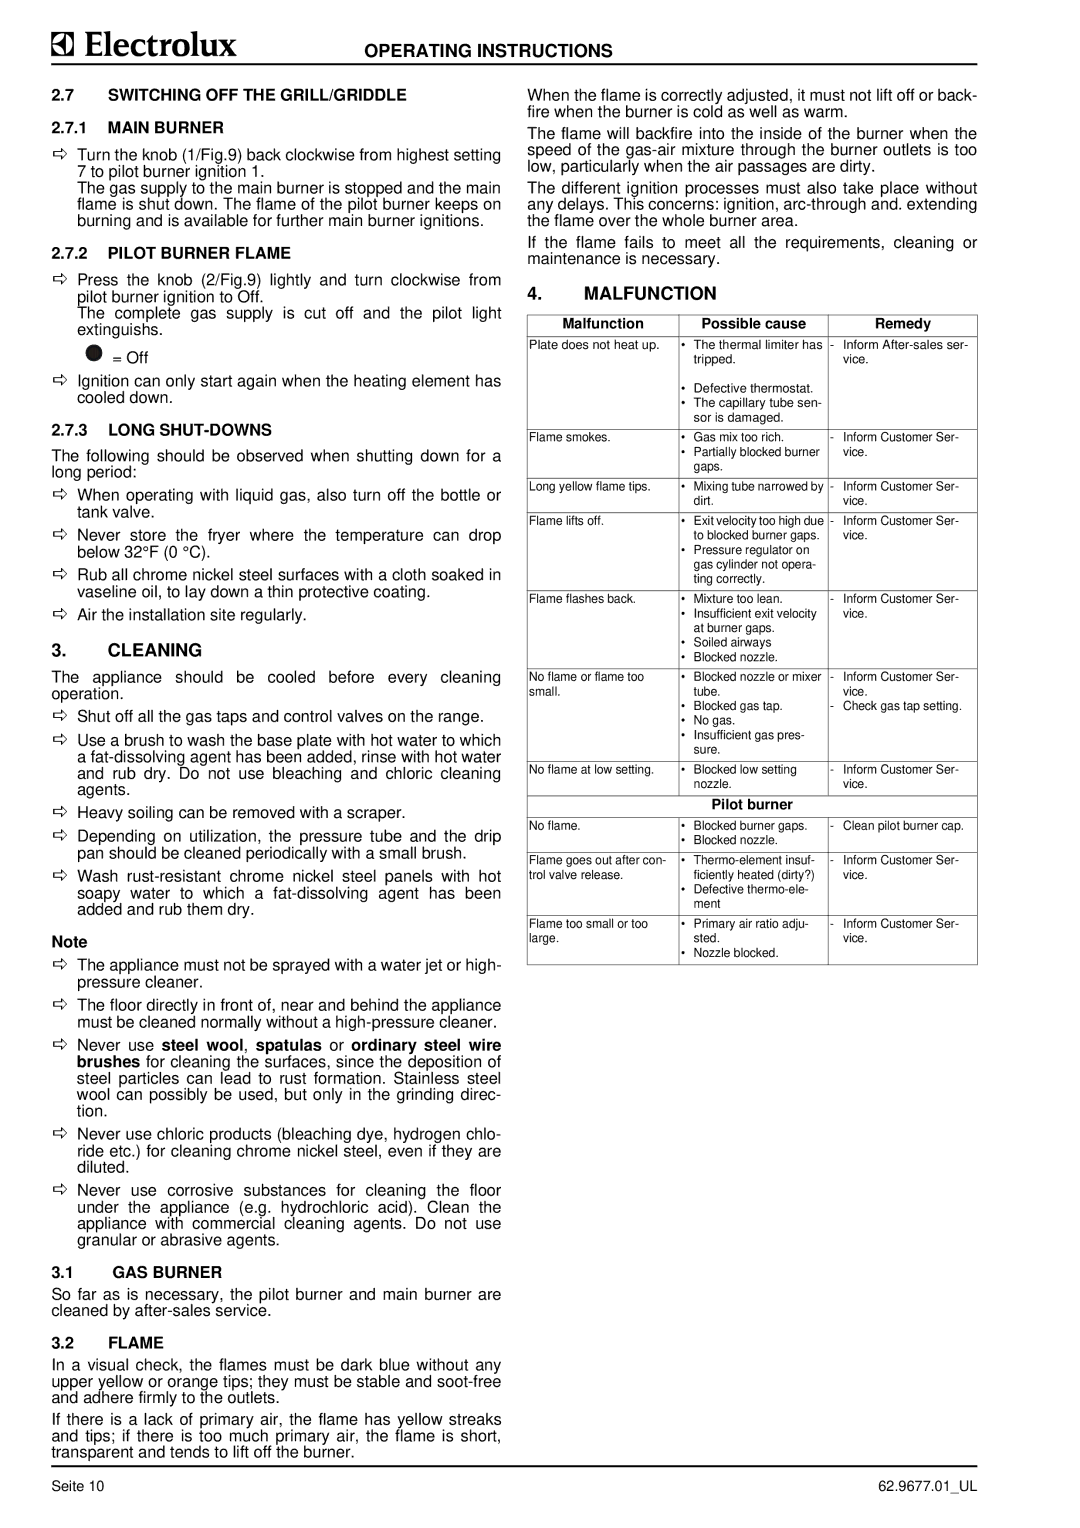
The Electrolux WHGURAOOOO, WHGUSAOOOO, 9CHG584123, WHGURFOOOO, and 9CHG584125 are part of Electrolux’s innovative line of kitchen appliances designed to enhance culinary experiences with advanced technology and modern features. These models cater to the needs of contemporary households, emphasizing efficiency, versatility, and user-friendly functionality.

One of the standout characteristics of these models is their energy efficiency. Each appliance is designed to help minimize energy consumption while maximizing performance. This is crucial in a time when sustainability is at the forefront of consumer choices. The energy-efficient systems not only save costs on utility bills but also lessen the environmental impact, making them a responsible choice for eco-conscious consumers.

The WHGURAOOOO and WHGUSAOOOO models are particularly acclaimed for their intuitive user interface, which allows for effortless operation. With easy-to-navigate control panels and touch-sensitive buttons, users can quickly configure settings to suit their cooking preferences. Moreover, these models often come equipped with smart technology, enabling users to monitor cooking progress remotely via smartphone apps. This feature enhances convenience, allowing for multitasking with ease.

In terms of cooking capabilities, these models offer versatile cooking options. With built-in multi-function settings, users can easily switch between grilling, baking, and steaming. The 9CHG584123 and 9CHG584125 models showcase advanced cooking modes that ensure precise temperature control, promoting evenly cooked meals. Additionally, the WHGURFOOOO’s unique steam function allows for healthier cooking options by preserving nutrients in food.

Safety is another critical aspect of these Electrolux models. They are equipped with child safety locks and automatic shut-off features to prevent accidents, ensuring peace of mind for families. The durable materials used in their construction guarantee longevity, making them a worthwhile investment for any kitchen.

Overall, the Electrolux WHGURAOOOO, WHGUSAOOOO, 9CHG584123, WHGURFOOOO, and 9CHG584125 models embody a perfect blend of style, technology, and functionality. They aim to transform routine cooking into a joyous and efficient experience, appealing to both novice cooks and seasoned chefs alike. With these intuitive appliances, preparing delicious meals and embracing culinary creativity has never been easier or more enjoyable.