Whirlpool MH8150XJ Electrical Requirements, For all cord connected appliances

Page 5

MICROWAVE OVEN SAFETY

ELECTRICAL REQUIREMENTS

Observe all governing codes and ordinances. A 120 Volt, 60 Hz, AC only, 15- or
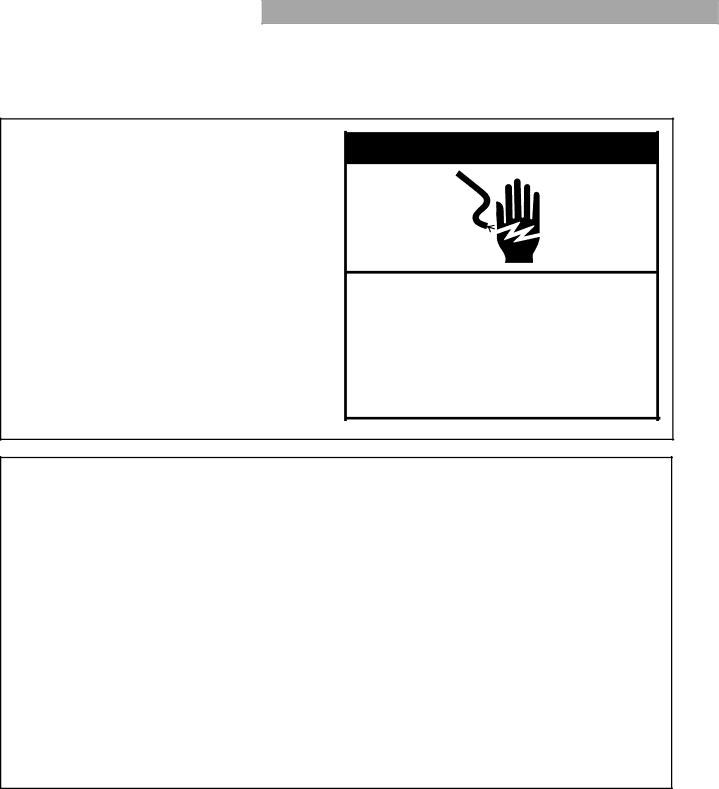
 20-amp fused electrical supply is required. (A time-delay fuse is recommended.) It is recommended that a separate circuit serving only this appliance be provided.

wWARNING

Electrical Shock Hazard

Plug into a grounded 3 prong outlet.

Do not remove ground prong.

Do not use an adapter.

Do not use an extension cord.

Failure to follow these instructions can result in death, fire, or electrical shock.

GROUNDING INSTRUCTIONS

For all cord connected appliances:

The microwave oven must be grounded. In the event of an electrical short circuit, grounding reduces the risk of electric shock by providing an escape wire for the electric current. The microwave oven is equipped with a cord having a grounding wire with a grounding plug. The plug must be plugged into an outlet that is properly installed and grounded.

WARNING: Improper use of the grounding plug can result in a risk of electric shock.

Consult a qualified electrician or serviceman if the grounding instructions are not completely under- stood, or if doubt exists as to whether the microwave oven is properly grounded.

Do not use an extension cord. If the power supply cord is too short, have a qualified electrician or serviceman install an outlet near the microwave oven.

For a permanently connected appliance: The microwave oven must be connected to a grounded, metallic, permanent wiring system, or an equipment grounding conductor should be run with the circuit conductors and connected to the equipment grounding terminal or lead on the microwave oven.

SAVE THESE INSTRUCTIONS

5

Image 5
Contents Combination Please record your modelÕs information Thank you for buying a Whirlpool applianceMicrowave Oven Safety Microwave Oven Safety For all cord connected appliances Electrical RequirementsTo replace To removeHOW Your Microwave Oven Works Testing Your Microwave OvenRadio Interference For the best cooking resultsElectrical Connection Operating TipsSimmer Microwave Oven FeaturesEntering a cook power or time Control Panel FeaturesInterrupting cooking Audible signalsTo set the demo/learning feature Using the child lockTo cancel the demo/learning feature To unlock the control panelUsing the Exhaust FAN Using the Cooking RackTurn off fan when desired Inserting the rackSetting the Clock To cancel the Minute Timer Using the Minute TimerTouch Timer SET Enter the time to be counted downChanging Preset Cooking Times Using JET Starttm FeatureTouch the JET Start feature pad Make sure the food is in the ovenCooking AT Different Cook Powers Cooking AT High Cook PowerCook Power Name When to USE IT Put your food in the oven and close Start the oven DoorEnter the cooking time Set the cook powerCooking in Stages Set the cook power for the first stageEnter the cooking time for the first stage On nextProgress BAR Touch Touch Number pad to enter the quantityTouch Cook 1 to 6 times to choose the type of food To use EZ-TOUCH Cook control, follow the steps belowTouch Amounts YOU Food Cook Number PAD Can Choose Touch a Number pads to enter the quantityTouch Reheat 1 to 5 times to choose the type of food Touch Amounts YOU Food Reheat Number PAD Can Choose Approximately halfway through the cycle, the oven will beep Using EZ-TOUCHTMJET Defrosttm FeatureJET Defrost Feature Chart Using JET Defrosttm FeaturecontMeat setting Touch Weights YOU can SET Food JET Defrost Number PADFish setting Poultry settingEquivalent Weight Weight conversion chartOunces Grams Decimal Weight Defrosting TipsBAG Size Popcorn For best resultsTouch Change to 2 cups, if desired Using BeverageChange to 2 to 4 potatoes, if desired Using Baked PotatoNumber pad Using VegetableCountdown time may vary from above Four tones will soundUsing Frozen Entree Put hot, cooked food in the oven and close the door Using Warm HoldTouch Warm Hold Using standing time Starting temperature of foodAmount of food Composition of foodCooking you should not do in your microwave oven Using aluminum foilTo remove the charcoal filters, push the back Caring for the FiltersOven light Cooktop lightQuestions Answers Questions and AnswersCooking Times Microwave Oven does not WorkTurntables Problem Cause Turntable willTones Display MessagesOur consultants provide assistance with If YOU Need Assistance or ServiceWhirlpool Corporation will not PAY for WarrantyLimited FOUR-YEAR