IX Rear Suspension Removal
Obtain the following tools:
•½” drive impact gun
•13/16” deep socket, ½ “ drive
•3/8” Impact gun
•15mm short wobbly socket, 3/8” drive
•¼” wrench
Order of Operations:
NOTE: Keep ALL hardware and rubber spring boots for installation of new suspension components.
1.Jack up the rear of the car and place jack stands under the chassis members near the rear suspension.
2.Lower the car onto the jack stands and make sure the car is secure.
3.Remove rear wheels using the ½” impact gun with a 13/16” socket.
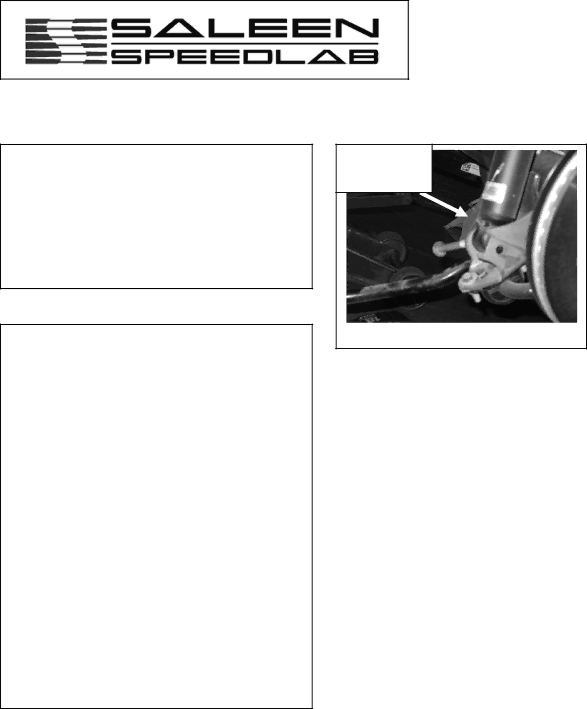
4.Remove two rear sway bar connections that are near the lower shock mounting points using a 3/8” impact gun with a 15mm socket. (Figure 1)
5.Remove lower shock bolt, one per shock, using a 3/8” impact gun with a 15mm socket. (Figure 1)
Bottom of rear shock
Figure 1
17