USING THE PFM R31 RECEIVER (PFM 350 & PFM 350E RCH):
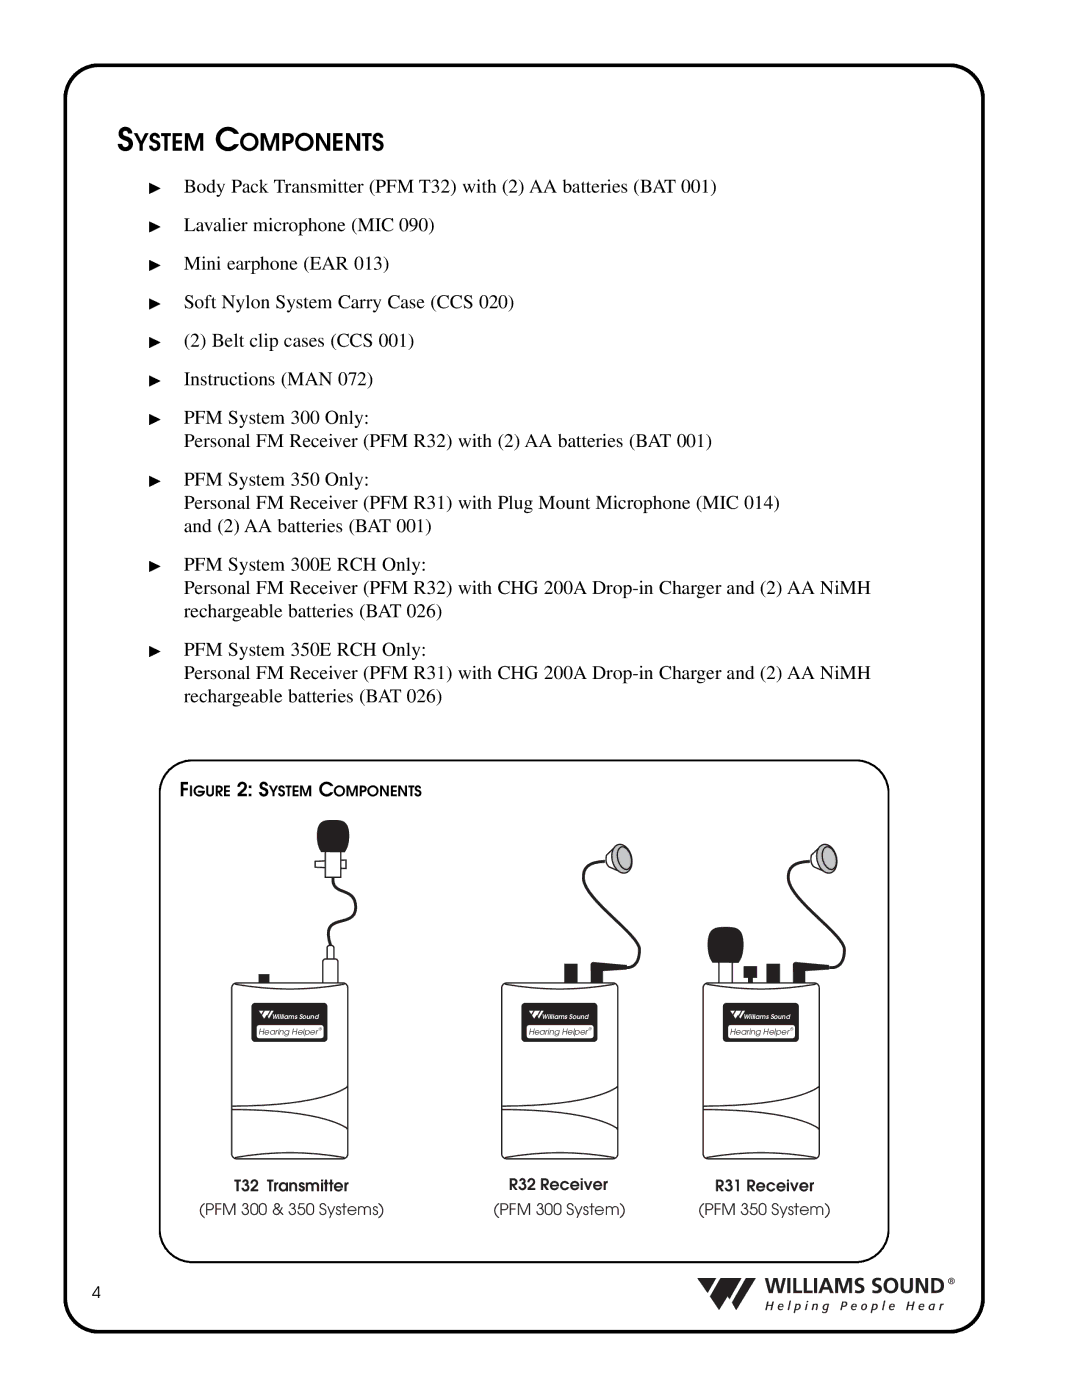
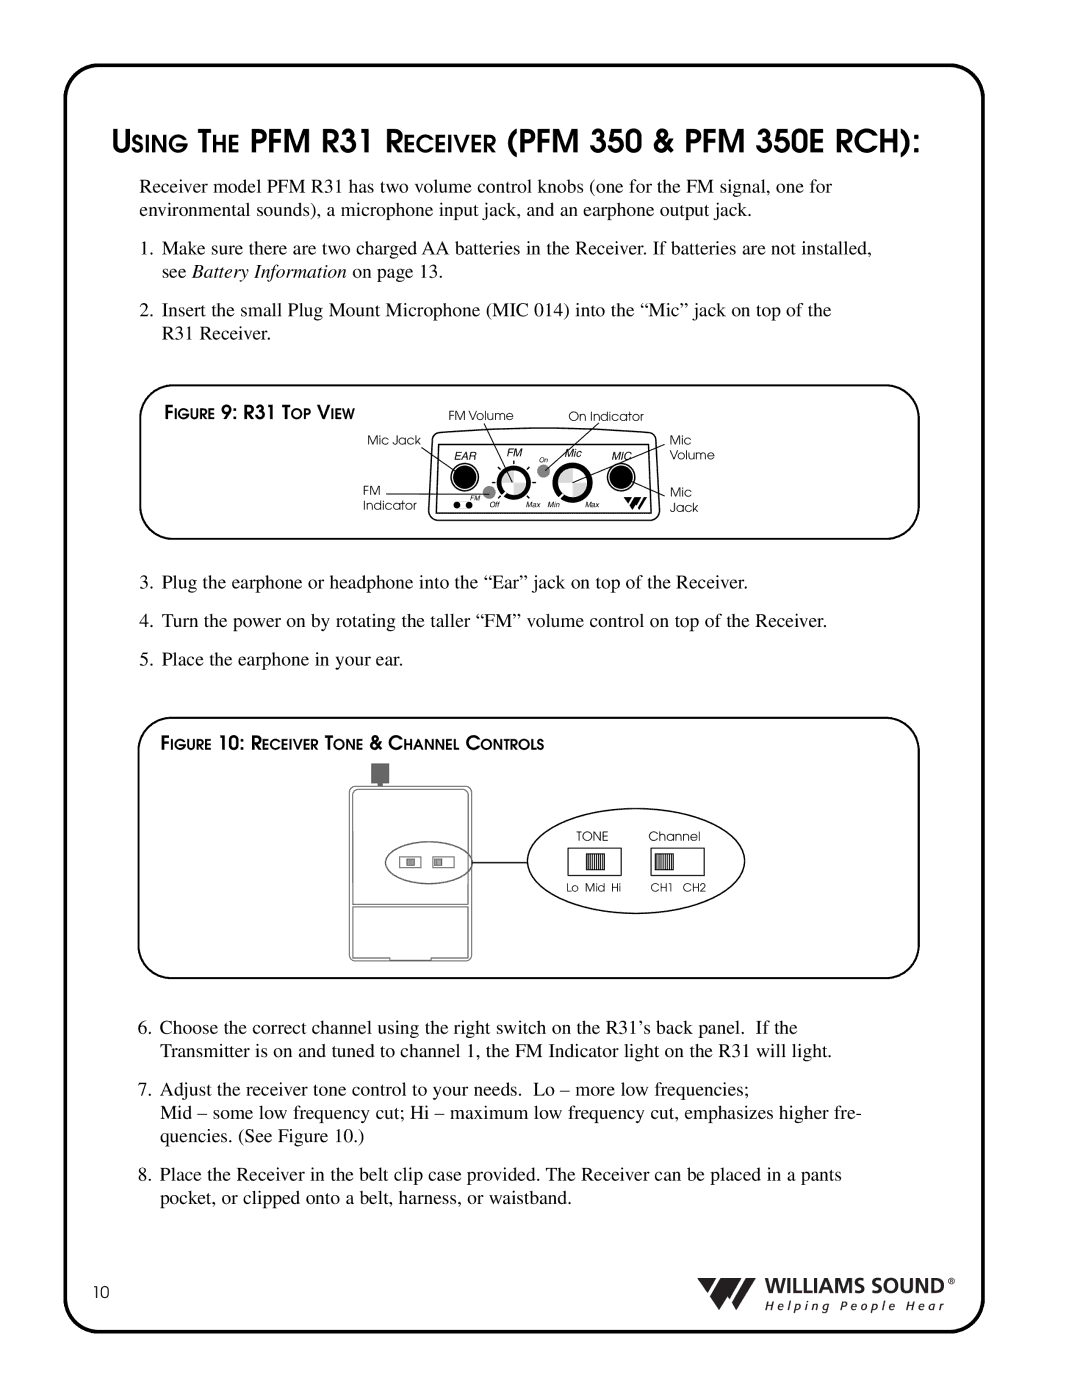
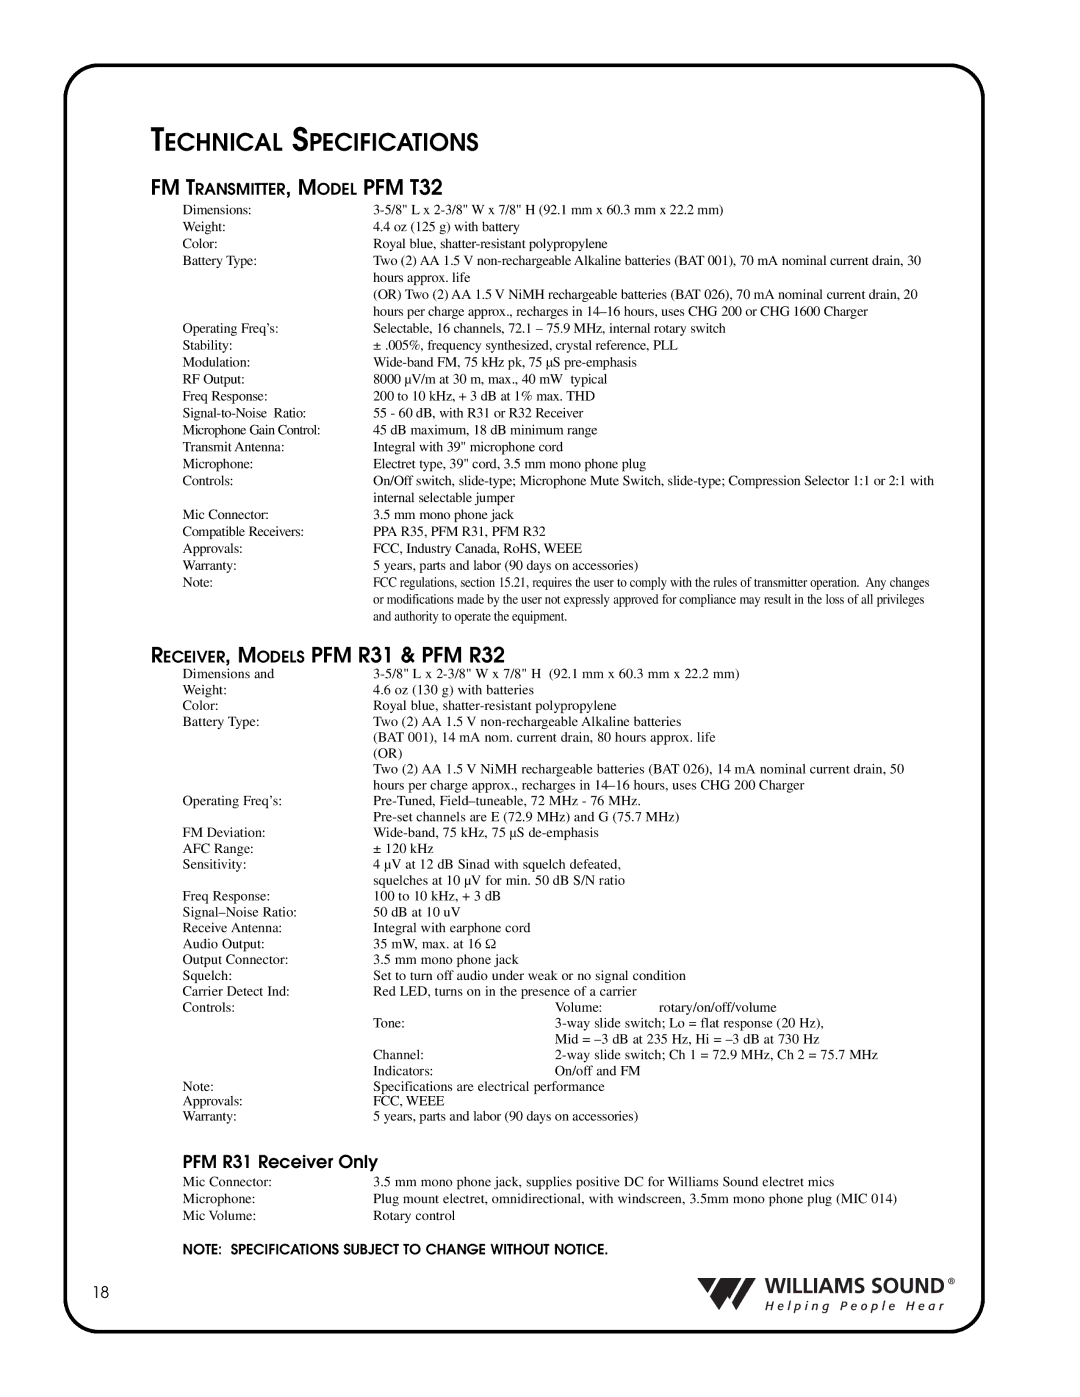
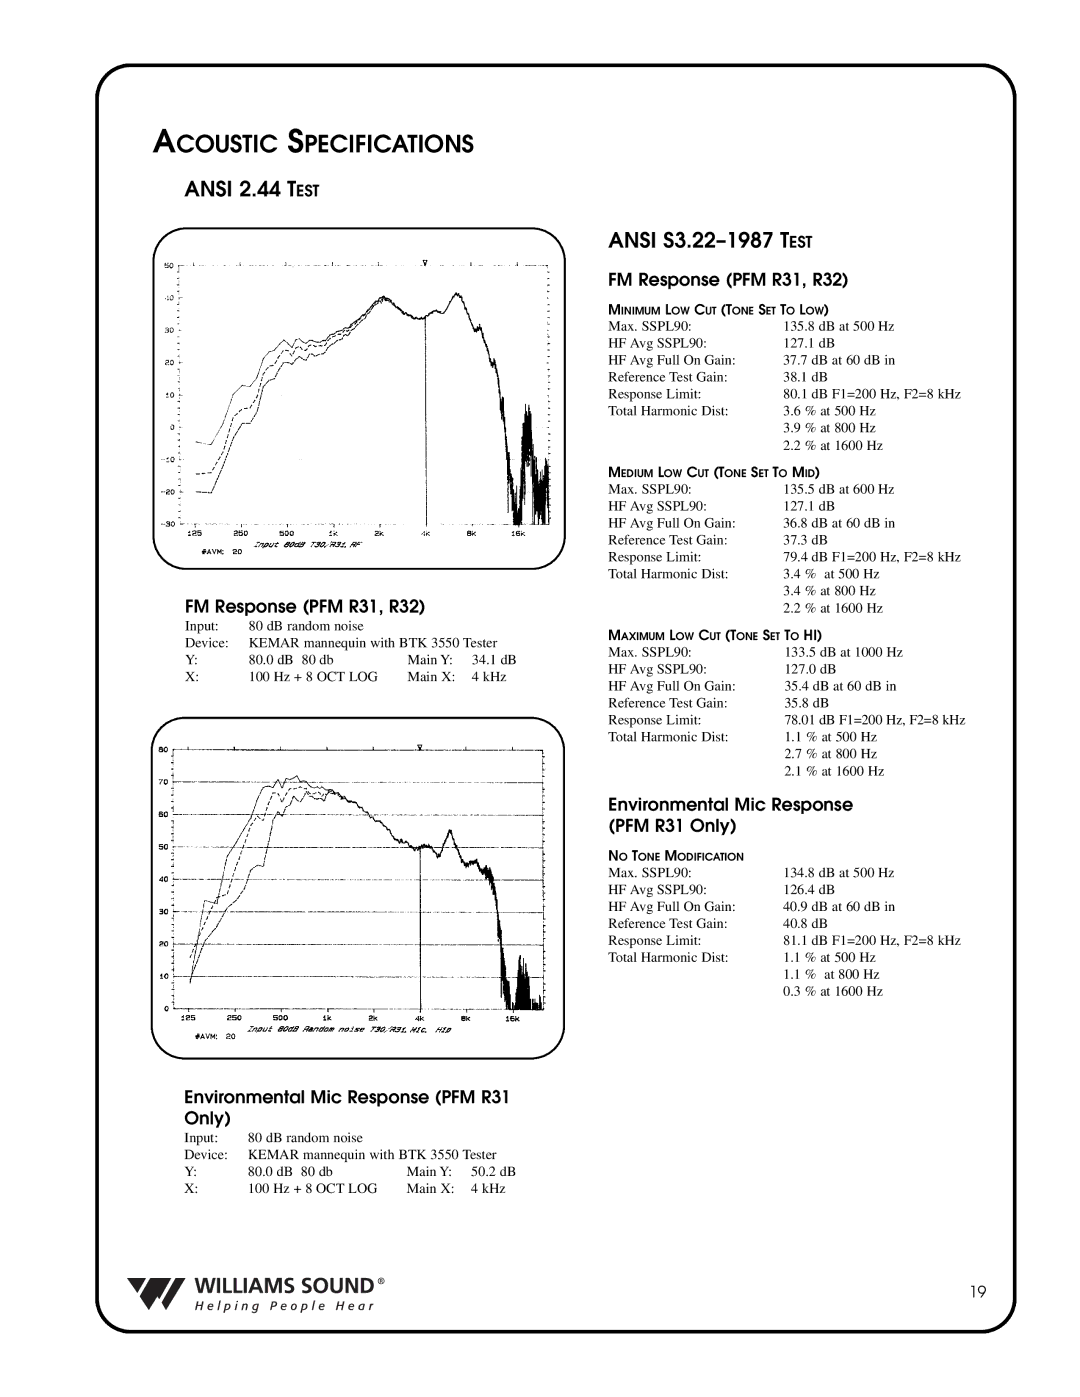
Receiver model PFM R31 has two volume control knobs (one for the FM signal, one for environmental sounds), a microphone input jack, and an earphone output jack.
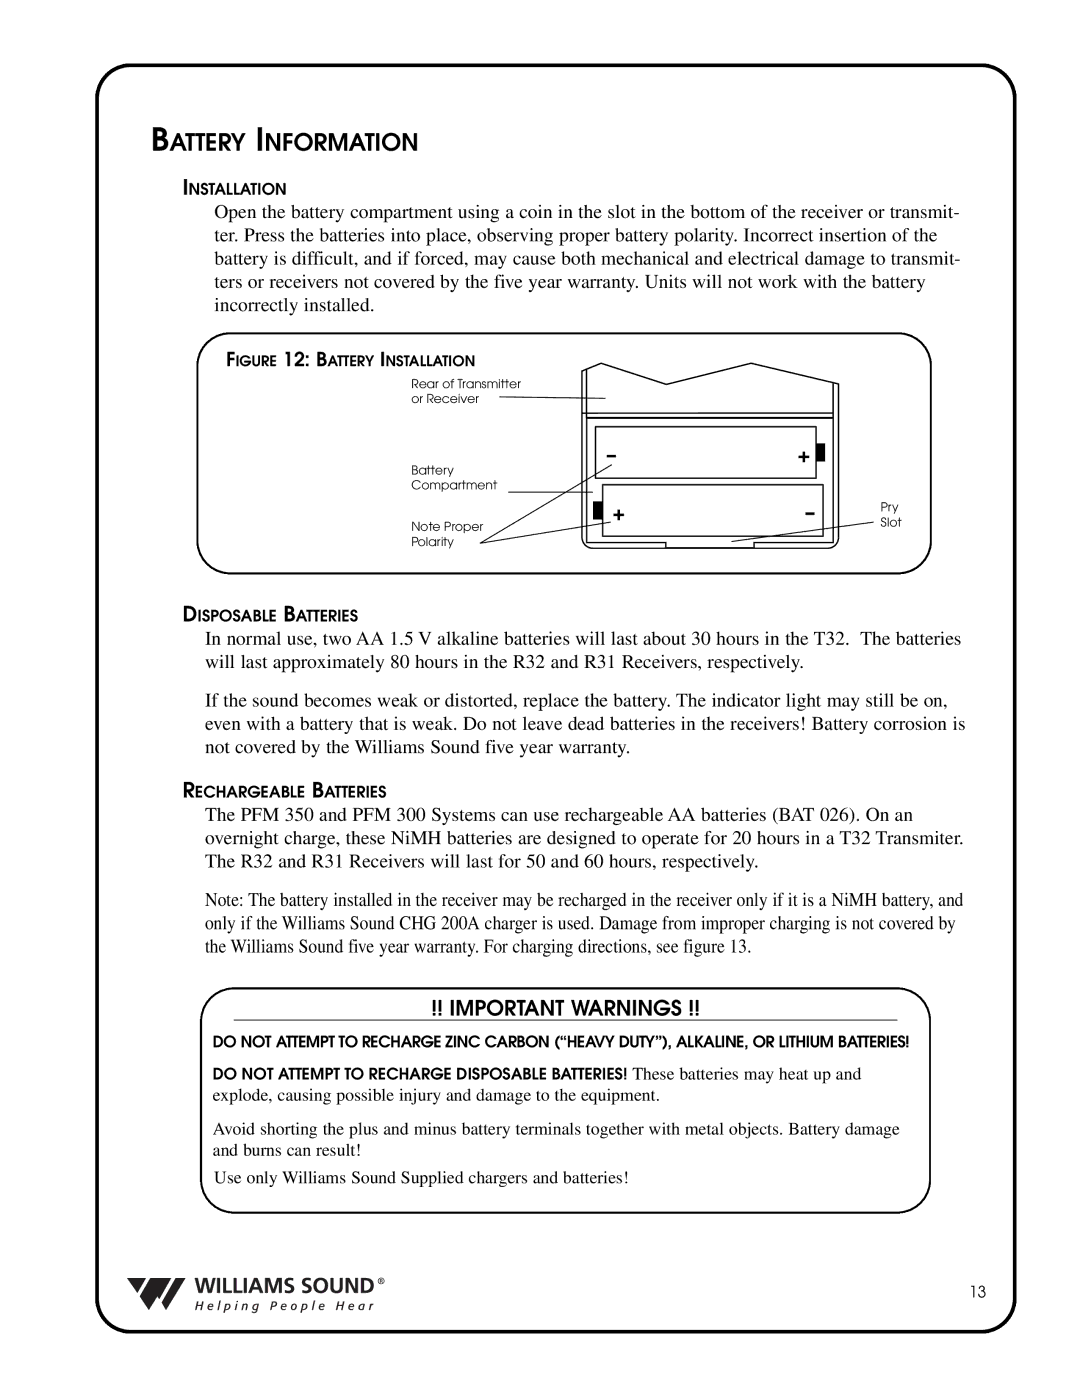
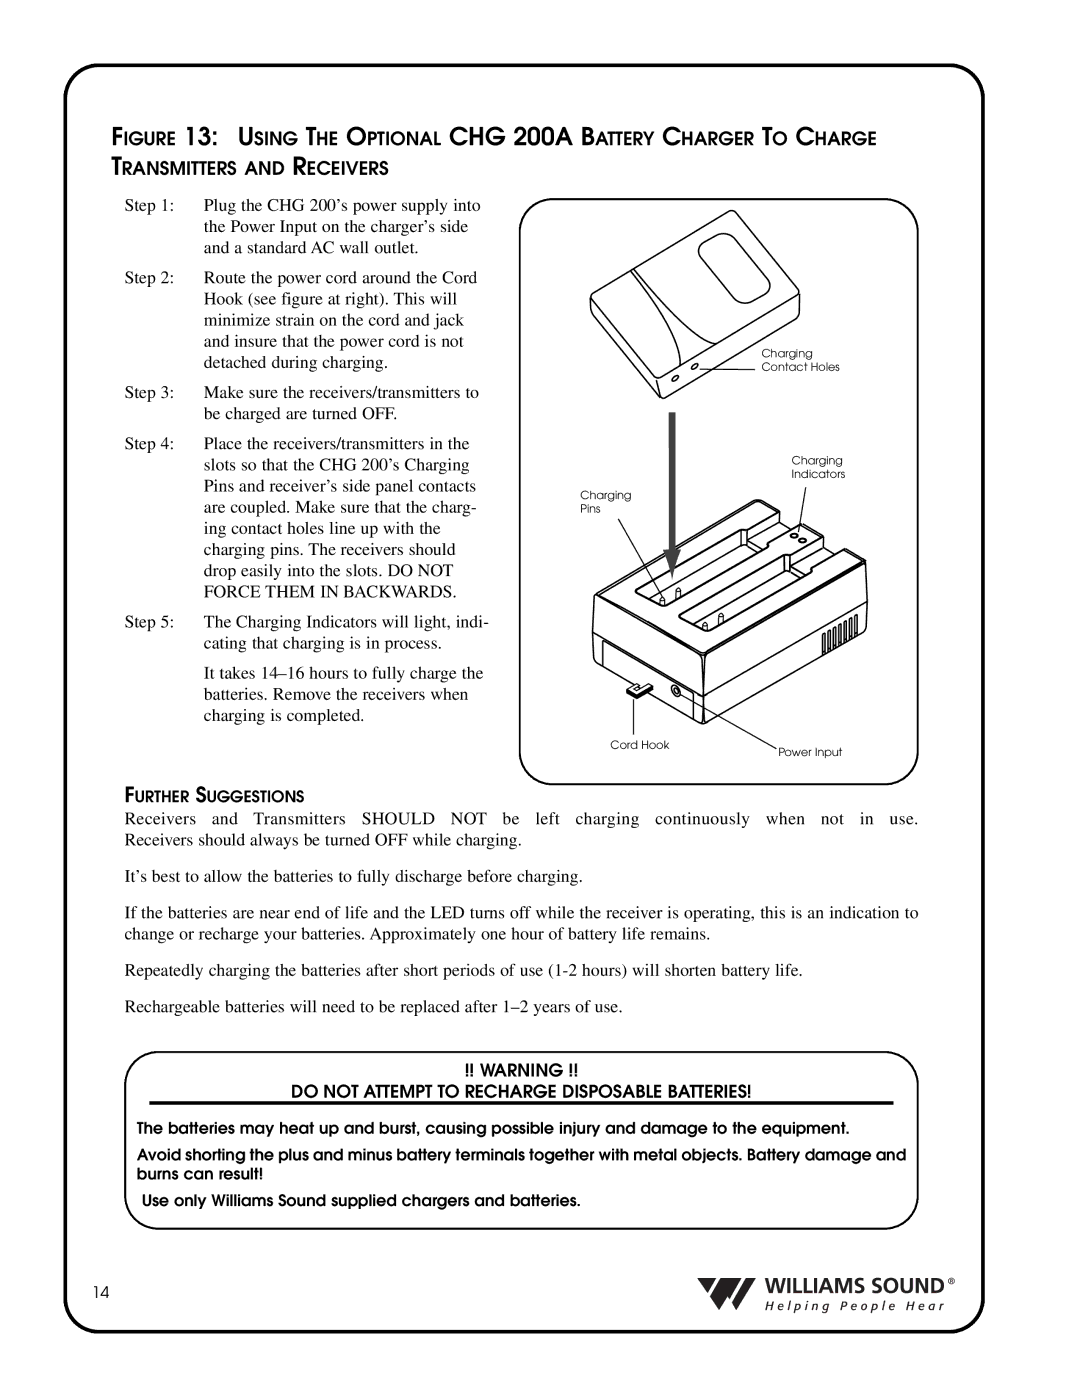
1.Make sure there are two charged AA batteries in the Receiver. If batteries are not installed, see Battery Information on page 13.
2.Insert the small Plug Mount Microphone (MIC 014) into the “Mic” jack on top of the R31 Receiver.
FIGURE 9: R31 TOP VIEW | FM Volume |
| On Indicator |
| ||
| Mic Jack | FM |
| Mic |
| Mic |
| EAR | On | MIC | Volume | ||
| FM |
|
|
|
| Mic |
| FM |
|
|
|
| Jack |
| Indicator | Off | Max Min |
| Max | |
3.Plug the earphone or headphone into the “Ear” jack on top of the Receiver.
4.Turn the power on by rotating the taller “FM” volume control on top of the Receiver.
5.Place the earphone in your ear.
FIGURE 10: RECEIVER TONE & CHANNEL CONTROLS
TONE Channel
Lo Mid Hi | CH1 CH2 |
6.Choose the correct channel using the right switch on the R31’s back panel. If the Transmitter is on and tuned to channel 1, the FM Indicator light on the R31 will light.
7.Adjust the receiver tone control to your needs. Lo – more low frequencies;
Mid – some low frequency cut; Hi – maximum low frequency cut, emphasizes higher fre- quencies. (See Figure 10.)
8.Place the Receiver in the belt clip case provided. The Receiver can be placed in a pants pocket, or clipped onto a belt, harness, or waistband.
10
