Wall mounting template

Managed Gigabit Switch 150mm apart

2. SETTING UP FOR MANAGEMENT

Your Switch can operate in its default state, that is, you can install it and it will work straight away (plug-and-play). However, to make full use of the features offered by the Switch, and to change and monitor the way it works, you have to access the manage- ment software that resides on the Switch. This is known as managing the Switch. Managing the Switch can help you to improve the efficiency of the Switch and there- fore the overall performance of your network.

IP Configuration

When the switch is powered up and connected to a network, the switch will obtain an address from the DHCP server. If there is no DHCP server available, the switch will use a default IP address of 169.254.xx.yy, where xx and yy are the last two bytes of the MAC address. This default IP address is also printed on the label attached to the underside of your switch.

Before you can manage your switch, you will need to determine it’s IP address to allow a web browser to connect to it. You can do this either by connecting your workstation to the console interface using the cable supplied, or using the 3Com Switch Detect application that can be found on the CD that was supplied with the Switch.

Please follow the instructions below to determine and/or configure the IP address of your switch.

Using the Console Interface

1.Connect the DB-9 to RJ-45 serial cable between your workstation (to it’s COM port) and the Switch. Take care not to connect it to a data port on the Switch.

2.Using a terminal emulator program, for example HyperTerminal, connect to the appropriate COM port on the workstation and ensure the following parameters are set: 38400 baud, 8 data bits, no parity, 1 stop bit and no flow control.

3.If the Switch is not already powered up, power it up now and wait for the boot up sequence to complete.

4.When the boot up sequence is completed, you will be presented with a login prompt. The default username is admin. No password is required.

5.To show the IP address the switch is using, enter IP status and press Return. The switch will display the IP address the switch is using. This address can now be used in your preferred web browser to connect to the Switch User Interface. Use the same username to log in.

6.If you want to manually assign an IP address, enter the following commands: IP dhcp disable and press Return

IP Setup <IP Address> <ipmask> <gateway> and press Return For example: IP Setup 192.168.1.2 255.255.255.0 192.168.1.1

You can now direct the web browser at the 192.168.1.2 address.

5

Page 5
Image 5
3Com 3CDSG8 manual Setting UP for Management, IP Configuration, Using the Console Interface

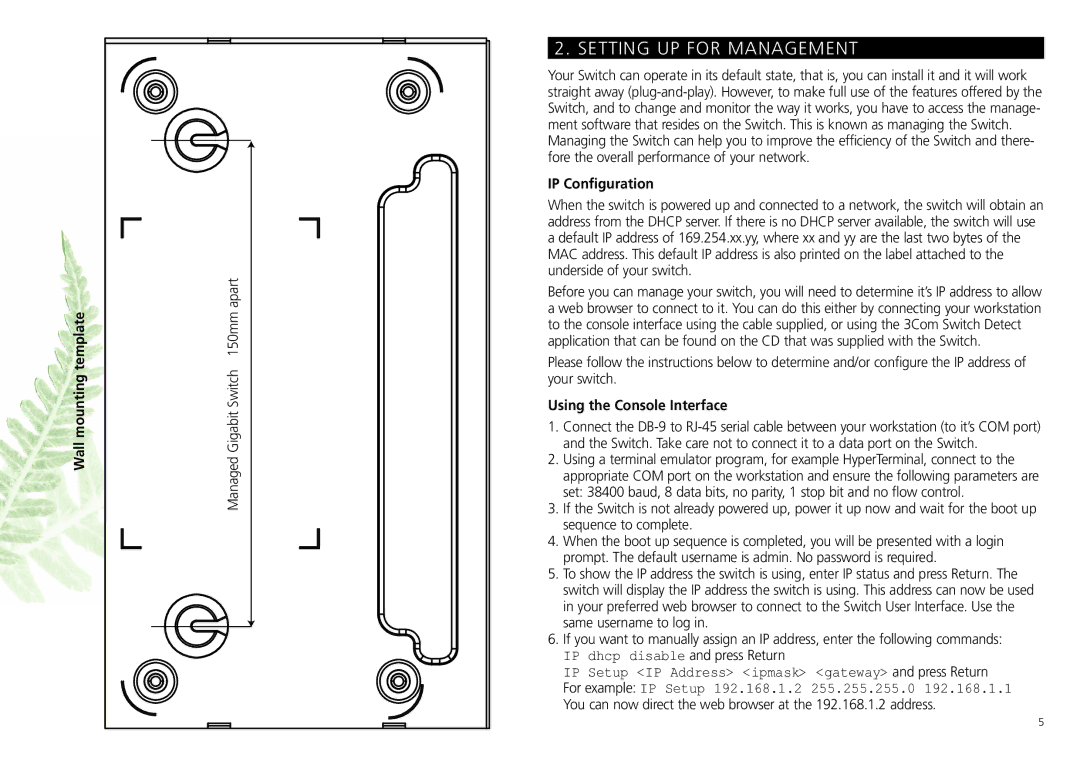
3CDSG8 specifications

The 3Com 3CDSG8 is a notable piece of networking equipment designed primarily for small to medium-sized businesses seeking reliability and performance in their network infrastructure. As part of the 3Com product line, the 3CDSG8 delivers a solid combination of features, technology, and robust performance, ensuring seamless connectivity and data transfer.

One of the main features of the 3CDSG8 is its 8-port Gigabit Ethernet switch capability. The switch supports a set of 10/100/1000 Mbps speeds, providing the flexibility needed for varied networking tasks. This ensures that businesses can efficiently handle tasks that demand high bandwidth, such as video conferencing, large file transfers, and cloud applications, without compromising on performance.

The device is built with a user-friendly design that includes easy installation and management capabilities. It supports Plug and Play functionality, allowing users to quickly set up their network without needing extensive technical knowledge. This aspect is particularly beneficial for smaller organizations that may lack dedicated IT teams. Furthermore, the 3CDSG8 employs non-blocking architecture, enabling multiple simultaneous users to transmit data without delays, thus enhancing overall network performance.

In terms of power efficiency, the 3CDSG8 utilizes energy-efficient technologies, contributing to reduced operational costs and environmental impact. It adheres to Energy Star standards, ensuring that the device consumes minimal power while operating, which is an essential consideration for companies looking to adopt more sustainable practices.

Security features are also a significant aspect of the 3CDSG8. With built-in VLAN support, administrators can segment network traffic for better performance and enhanced security. This allows for better management of resources and prevents unauthorized access to critical areas of the network.

Additionally, the 3CDSG8 supports QoS (Quality of Service), allowing businesses to prioritize critical traffic, ensuring that essential applications receive the bandwidth they require during periods of heavy network usage. This is particularly important in environments where multiple applications compete for bandwidth, helping to maintain service quality for high-priority tasks.

Overall, the 3Com 3CDSG8 combines practical features, user-friendly design, and efficient power management, making it an excellent choice for businesses looking to bolster their network capabilities with reliable hardware. Its versatile performance, coupled with security and energy efficiency, positions it as a valuable asset for modern business networking needs.