WARNING:If the system is powered on when you are installing the module, do not insert any metal objects into the open slot (for example, a screwdriver or a finger with jewelry). This could cause burns or other bodily harm.
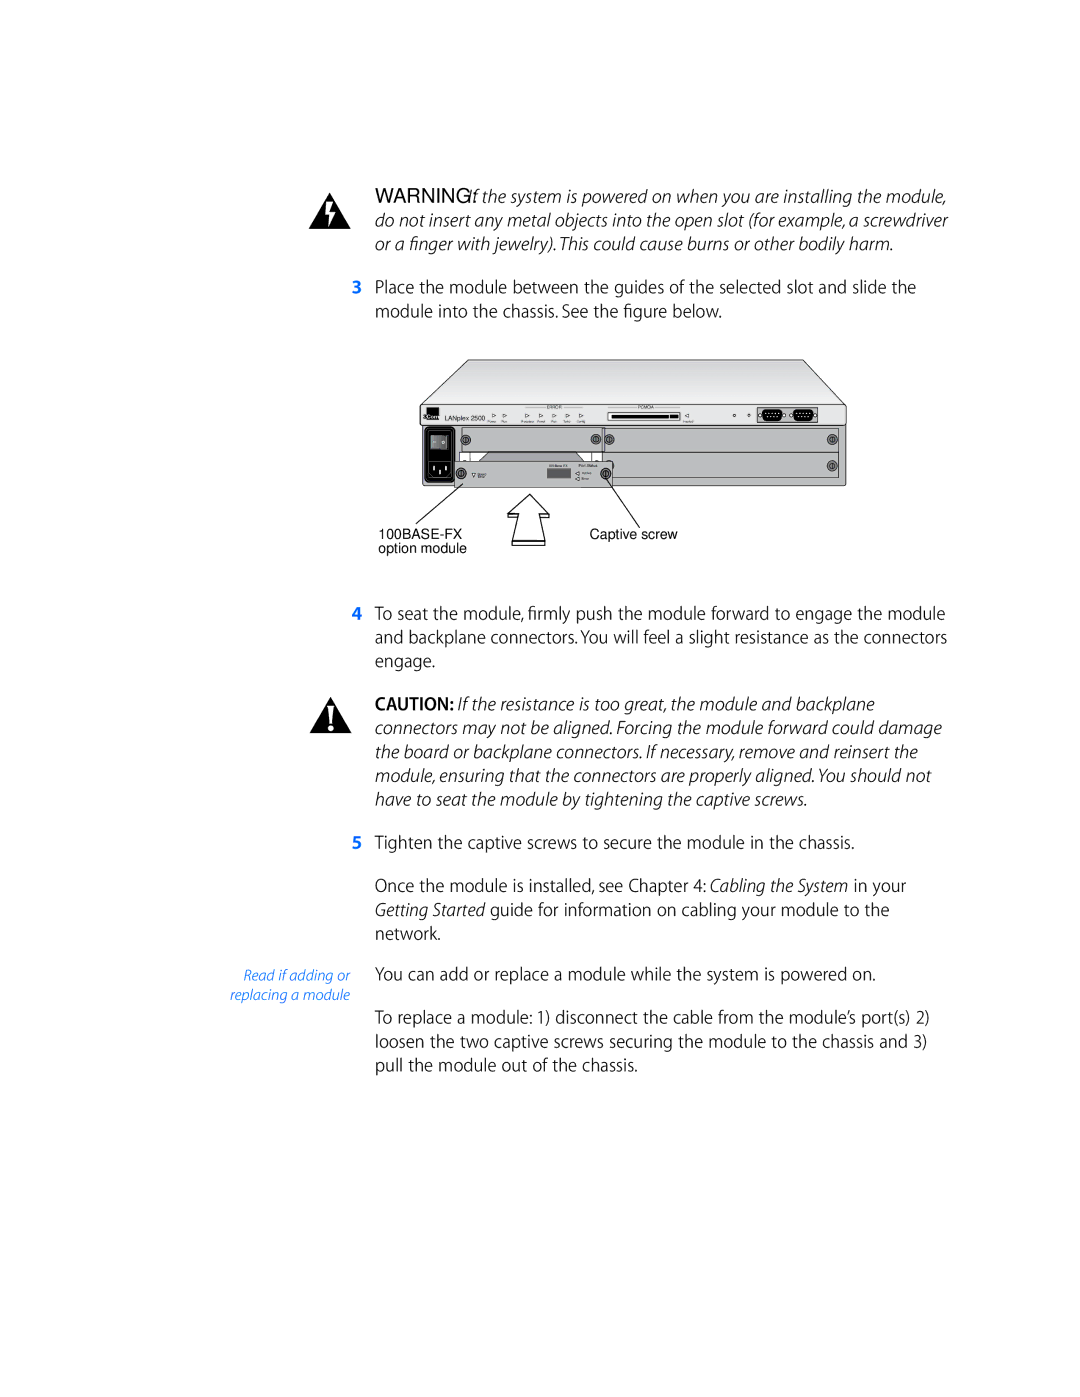
3Place the module between the guides of the selected slot and slide the module into the chassis. See the figure below.
| ERROR |
LANplex 2500 Power Run | Processor Power Fan Temp Config |
PCMCIA
Inserted
100 Base FX | Port Status |
Board | Active |
Error | Error |
| Captive screw | |
option module |
|
|
|
|
4To seat the module, firmly push the module forward to engage the module and backplane connectors. You will feel a slight resistance as the connectors engage.
CAUTION: If the resistance is too great, the module and backplane connectors may not be aligned. Forcing the module forward could damage the board or backplane connectors. If necessary, remove and reinsert the module, ensuring that the connectors are properly aligned. You should not have to seat the module by tightening the captive screws.
5Tighten the captive screws to secure the module in the chassis.
Once the module is installed, see Chapter 4: Cabling the System in your Getting Started guide for information on cabling your module to the network.
Read if adding or You can add or replace a module while the system is powered on.
replacing a module
To replace a module: 1) disconnect the cable from the module’s port(s) 2) loosen the two captive screws securing the module to the chassis and 3) pull the module out of the chassis.