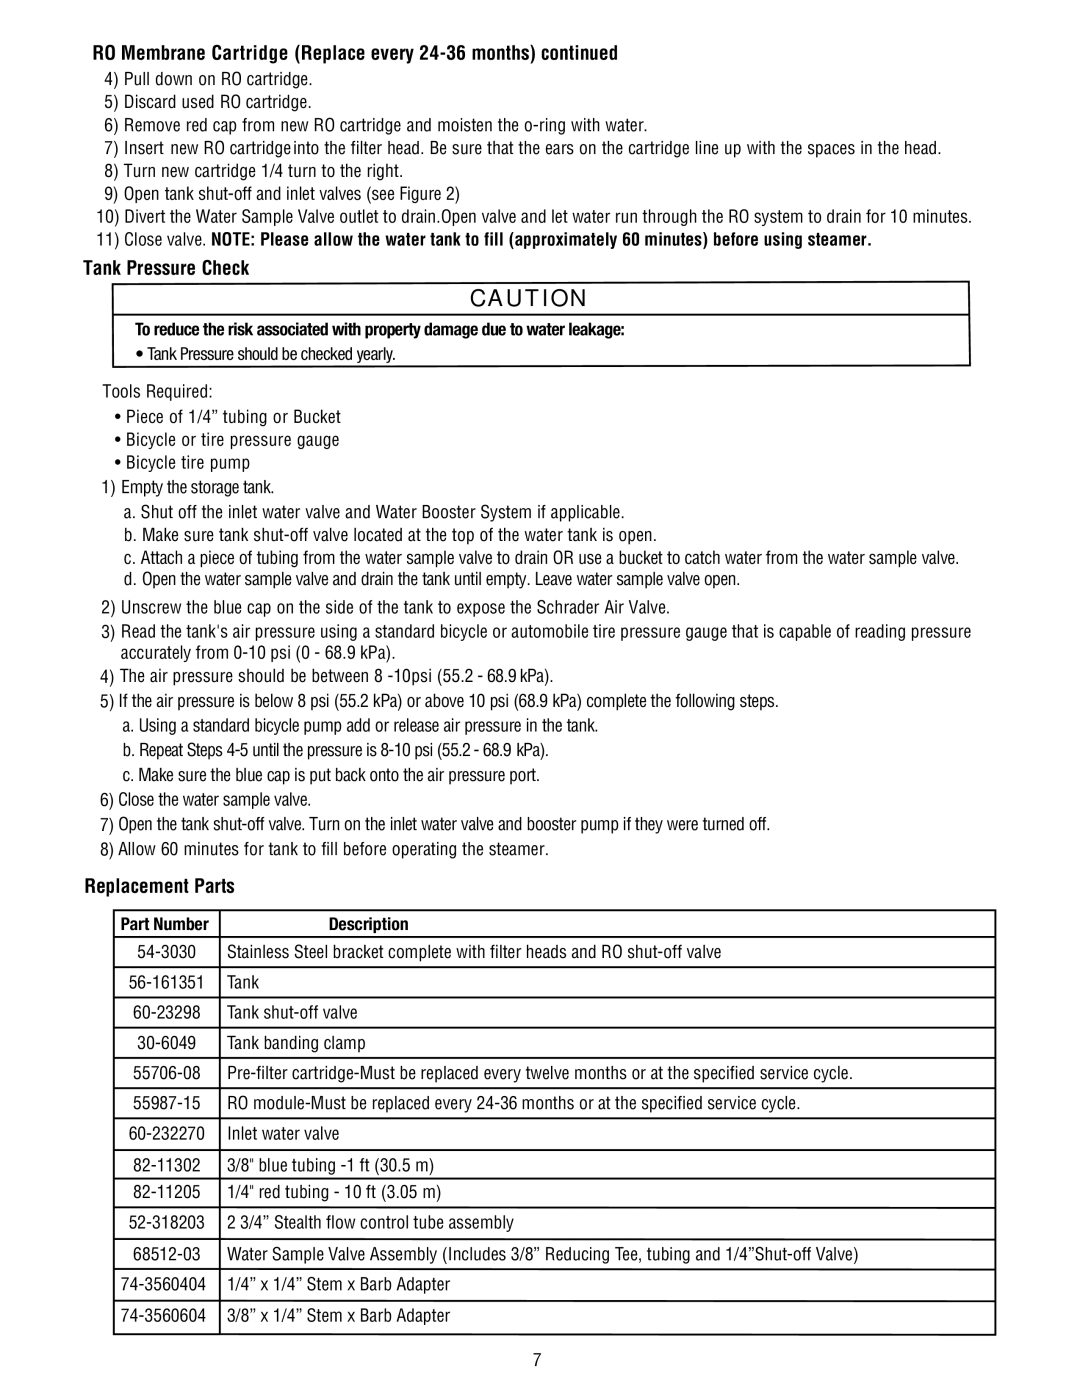
FSTMO75 specifications
The 3M FSTMO75 is a versatile and innovative product that stands out in the realm of transportation safety and visibility solutions. Designed primarily for use in various applications including transportation, construction, and emergency response, the FSTMO75 offers exceptional performance and reliability.One of the main features of the 3M FSTMO75 is its advanced retroreflective technology, which significantly enhances visibility in low-light conditions. This is particularly crucial for vehicles and equipment operating in potentially hazardous environments. The retroreflection effect ensures that light from headlights or other sources is redirected back toward the source, making objects and personnel more noticeable to drivers and operators. This feature greatly contributes to overall safety by reducing the risk of accidents.
The FSTMO75 boasts a durable construction, designed to withstand harsh environmental conditions. It is built with high-quality materials that resist wear and tear, ensuring longevity even in rugged settings. This characteristic makes it an ideal choice for use in construction zones, where durability is essential due to exposure to heavy machinery and unpredictable weather.
Additionally, the 3M FSTMO75 incorporates a user-friendly design that facilitates easy application. Whether applied to vehicles, road signs, or equipment, the adhesive backing ensures secure attachment, while its flexibility allows it to conform to various surfaces. This adaptability makes it suitable for diverse applications, from marking vehicles to enhancing the visibility of road hazards.
Another noteworthy characteristic of this product is its ability to provide bright and vibrant colors. The fluorescent options available within the FSTMO75 product line enhance visibility even in daylight, increasing the likelihood that individuals or equipment will be seen from a distance. This is particularly beneficial in public works scenarios where safety is paramount.
In conclusion, the 3M FSTMO75 is a cutting-edge solution for enhancing visibility and safety in various environments. With its advanced retroreflective technology, durable construction, user-friendly application, and vibrant color options, it sets a high standard in the market. Whether in construction, emergency response, or transportation, the FSTMO75 offers essential benefits that prioritize safety and efficiency for users on the job.

