Multifunctional settings
SCREEN menu
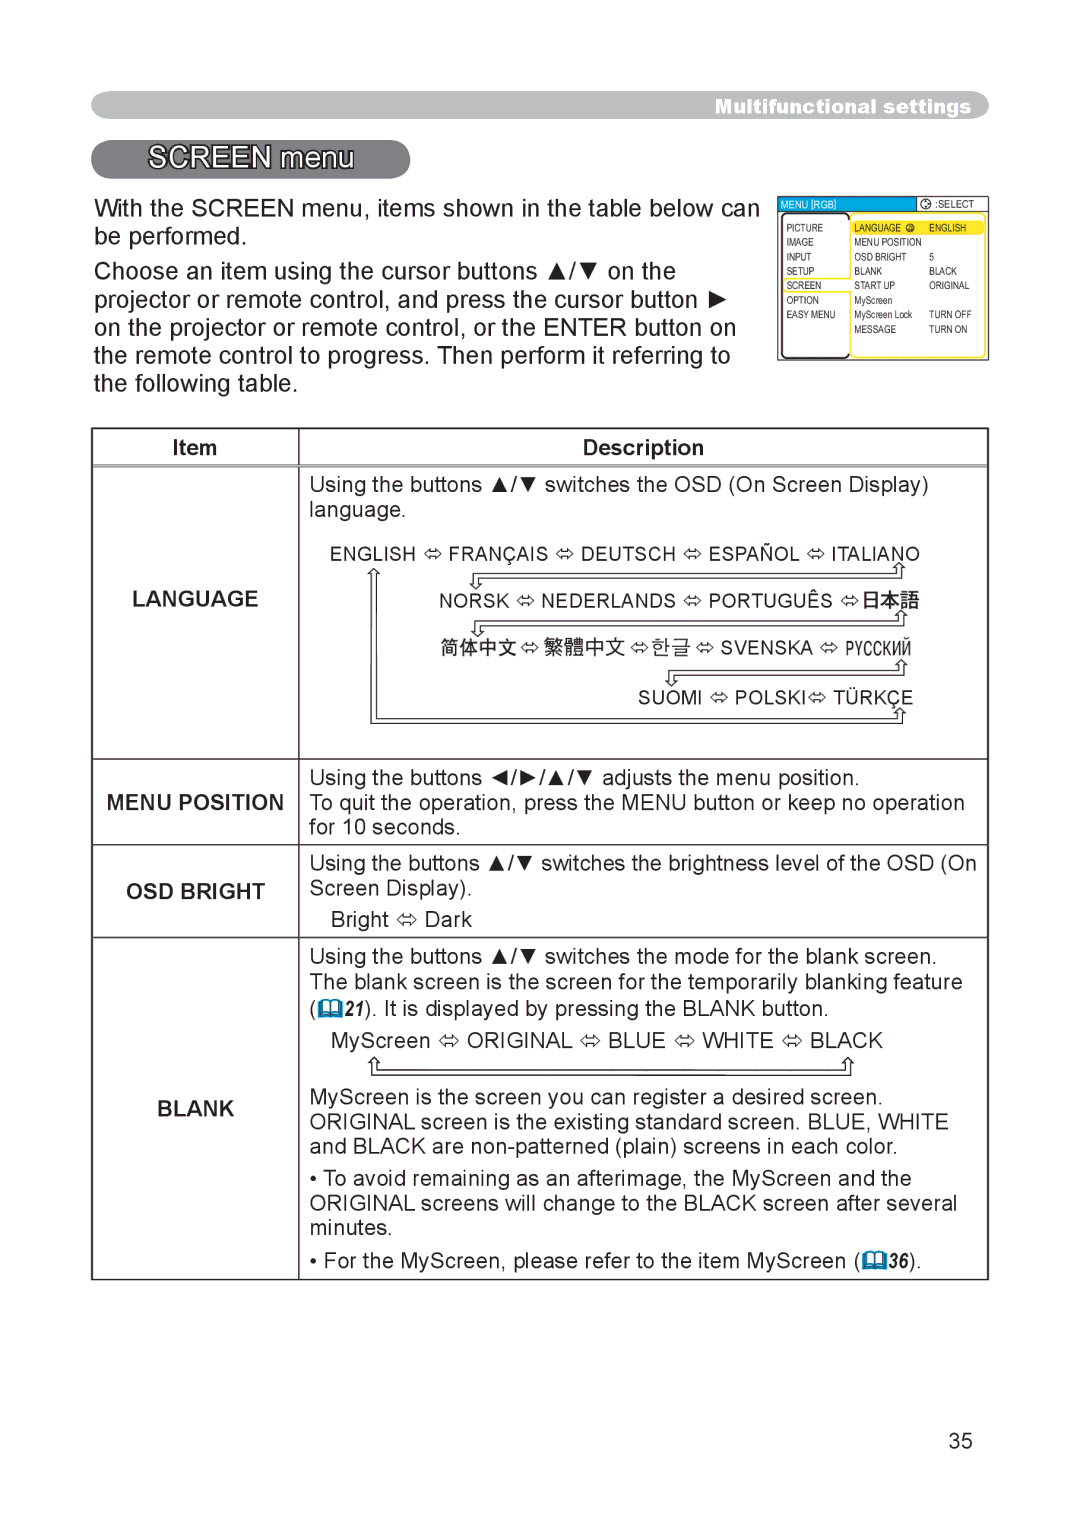
With the SCREEN menu, items shown in the table below can be performed.
Choose an item using the cursor buttons ▲/▼ on the projector or remote control, and press the cursor button ► on the projector or remote control, or the ENTER button on the remote control to progress. Then perform it referring to the following table.
MENU [RGB] |
| :SELECT |
PICTURE | LANGUAGE | ENGLISH |
IMAGE | MENU POSITION |
|
INPUT | OSD BRIGHT | 5 |
SETUP | BLANK | BLACK |
SCREEN | START UP | ORIGINAL |
OPTION | MyScreen |
|
EASY MENU | MyScreen Lock | TURN OFF |
| MESSAGE | TURN ON |
Item
Description
| Using the buttons ▲/▼ switches the OSD (On Screen Display) | |||
| language. |
|
| |
| ENGLISH FRANÇAIS DEUTSCH ESPAÑOL ITALIANO | |||
LANGUAGE | NORSK NEDERLANDS PORTUGUÊS | |||
| | | SVENSKA | |
|
| SUOMI POLSKI TÜRKÇE | ||
|
| |||
MENU POSITION | Using the buttons ◄/►/▲/▼ adjusts the menu position. | |||
To quit the operation, press the MENU button or keep no operation | ||||
| for 10 seconds. |
|
| |
| Using the buttons ▲/▼ switches the brightness level of the OSD (On | |||
OSD BRIGHT | Screen Display). |
|
| |
| Bright Dark |
|
| |
| Using the buttons ▲/▼ switches the mode for the blank screen. | |||
| The blank screen is the screen for the temporarily blanking feature | |||
| (21). It is displayed by pressing the BLANK button. | |||
| MyScreen ORIGINAL BLUE WHITE BLACK | |||
BLANK | MyScreen is the screen you can register a desired screen. | |||
ORIGINAL screen is the existing standard screen. BLUE, WHITE | ||||
| ||||
| and BLACK are | |||
•To avoid remaining as an afterimage, the MyScreen and the ORIGINAL screens will change to the BLACK screen after several minutes.
•For the MyScreen, please refer to the item MyScreen (36).
35
