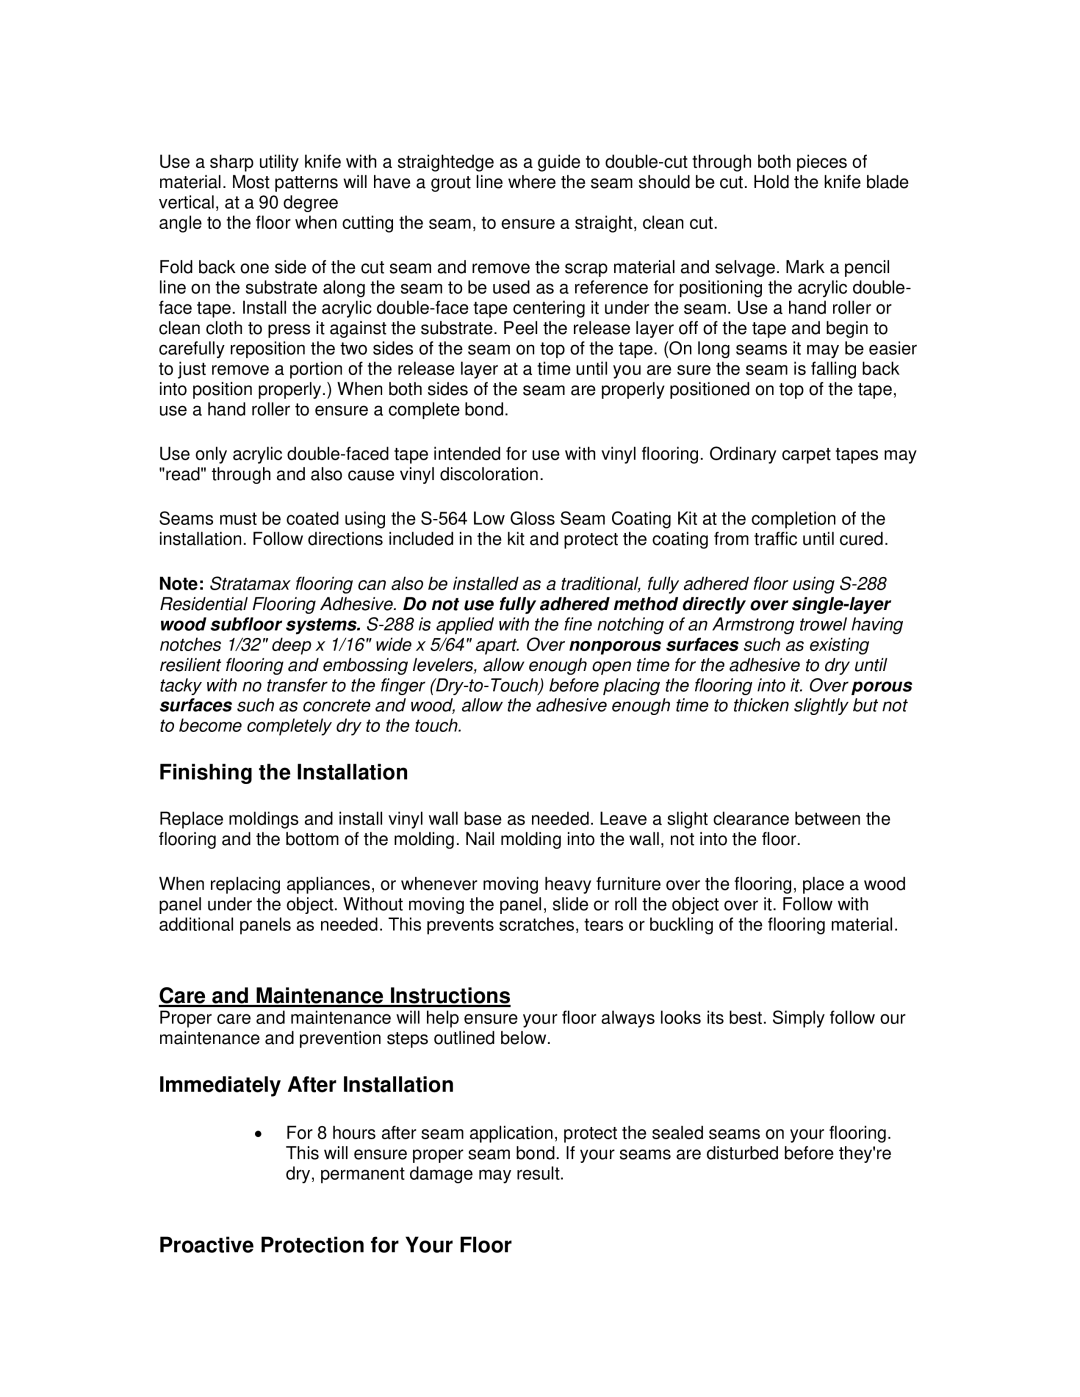
Flooring specifications
3M Company, a global leader in innovation and technology, offers a diverse range of flooring solutions that seamlessly blend functionality, aesthetics, and sustainability. With a commitment to quality and performance, 3M's flooring products cater to various sectors, including commercial, industrial, and residential settings.One of the standout features of 3M flooring solutions is their durability. Designed to withstand heavy foot traffic, 3M flooring combines high-performance materials that resist wear and tear, making them ideal for high-demand environments. Whether it's vinyl, carpet tiles, or resilient flooring, 3M ensures that each product meets rigorous quality standards to provide long-lasting performance.
Another notable characteristic of 3M flooring is its innovative technology. Utilizing advanced manufacturing processes, such as its proprietary non-slip surface technologies and stain-resistant treatments, 3M flooring provides enhanced safety and easy maintenance. The inclusion of these technologies not only increases safety but also ensures that the flooring maintains its aesthetic appeal over time.
One of the key advantages of 3M flooring is its eco-friendly attributes. 3M is dedicated to sustainability, and its flooring products are designed with environmentally conscious materials and processes. Many of their products are made from recycled content and contribute to green building certifications, such as LEED (Leadership in Energy and Environmental Design). This aligns with the growing demand for sustainable building materials in today’s construction industry.
In addition to performance and sustainability, 3M flooring also emphasizes design versatility. Available in a wide array of colors, patterns, and styles, 3M flooring solutions can be tailored to meet the specific aesthetic needs of any space. From modern office environments to cozy residential areas, there's a 3M flooring option to complement every design vision.
Furthermore, 3M offers a comprehensive installation support service, ensuring that customers receive expert guidance throughout the flooring selection and installation process. With their extensive experience and knowledge, 3M specialists help customers choose the right flooring solutions to match their requirements and vision.
In summary, 3M Company's flooring products stand out for their durability, innovative technology, sustainable practices, and design versatility. By leveraging its expertise in materials science and manufacturing, 3M continues to uphold its reputation as a trusted provider of high-performance flooring solutions in a competitive market. Whether for a busy office, a bustling retail space, or a tranquil home, 3M flooring products deliver quality and reliability that customers can count on.
