Guide
Page
Iii
R3000 Enterprise Filter Authentication User Guide
Page
Contents
Tier 2 Time-based, Web Authentication
Environment Requirements
Set up the Network for Authentication
Create and Maintain NT Profiles 118
Set up NT Domain Groups, Members 109
Join the NT Domain 101
103
146
Test Authentication Settings 162
155
Hours 206 Contact Information
174
208
Ldap Server Customizations 219
Ports for Authentication System Access 218
Disable SMB Signing Requirements 220
209
Glossary 247
Ndex
About this User Guide
Introduction
Conventions
How to Use this User Guide
Terminology
Introduction HOW to USE this User Guide
Introduction HOW to USE this User Guide
Introduction HOW to USE this User Guide
Introduction HOW to USE this User Guide
Global Group IP groups NT domain groups Ldap domain groups
Filtering Elements
Group Types
Global Group
IP Groups
IP diagram with a sample master IP group and its members
NT Domain Groups
NT domain diagram, with sample groups and members
Ldap Domain Groups
Ldap domain diagram, with sample groups and members
IP group Master Group
Authentication filtering profiles
Filtering Profile Types
Global Group
Individual IP Member Filtering Profile
Static Filtering Profiles
Master IP Group Filtering Profile
IP Sub-Group Filtering Profile
NT/LDAP Member Filtering Profile
Active Filtering Profiles
Global Filtering Profile
NT/LDAP Group Filtering Profile
Time Profile
Override Account Profile
Lock Profile
Filtering Profile Components
8e6 Supplied Categories
Library Categories
Custom Categories
Rules
Service Ports
Minimum Filtering Level
Filter Settings
Filtering Levels Applied
Filtering Rules
Introduction Filtering Elements
Sample filtering hierarchy diagram
R3000 Authentication Protocols
Authentication Operations
R3000 Authentication Tiers
Introduction Authentication Operations
Net use based authentication process
Tier 1 Single Sign-On Authentication
Re-authentication process
SMB protocol
Authentication methods
Ldap protocol
Name resolution methods
Server setup types
Authentication setup procedures
Configuring the authentication server
Enter net use syntax in the login script
Login scripts
Windows 2000 or Windows 2003 Server
View login script on the server console
\\SERVERNAME\netlogon \\IPaddress\netlogon
Block page authentication login scripts
Ldap server setup rules
Web-based authentication module diagram
Tier 2 Time-based, Web Authentication
Tier 2 implementation in an environment
Tier 2 Script
Tier 1 and Tier 2 Script
Introduction Authentication Operations
Tier 3 Session-based, Web Authentication
Environment requirements
8e6 Authenticator
Minimum system requirements
Recommended system requirements
Workstation requirements
Work flow in a Windows environment
8e6 Authenticator configuration priority
WAABwCw
8e6 Authenticator configuration syntax
WDDEwCw
Table of parameters
Param Parameter Values Dbg Release Meaning Default
Introduction Authentication Operations
RV102.108.1.0-102.108.1.2551.1.1.12.2.2.2,102.108.2.0
Novell eDirectory servers
Novell eDirectory Agent
Client workstations
Novell eDirectory setup
Novell clients
R3000 setup and event logs
KEY
Authentication Solution Compatibility
Configuration procedures
Configuring the R3000 for Authentication
System section
Introduction Authentication Operations
If using the router or firewall mode Enter eth0 Ethernet
Create unique filtering profiles for individual users
Group section
End User
Administrator
Environment Requirements
Workstation Requirements
Network Requirements
Specify the operation mode
Set up the Network for Authentication
Network Setup SET UP the Network for Authentication
Specify the subnet mask, IP addresses
LAN Settings window
Router or firewall mode
Invisible mode
Enable/Disable Authentication window
Enable authentication, specify criteria
Network Setup SET UP the Network for Authentication
Net use based authentication
Web-based authentication
Java applet
Tier 3 dialog box
Authentication Settings window
Enter network settings for authentication
NIC Device to Use for Authentication field
Create an SSL certificate
Authentication SSL Certificate window
Download/View/Delete Certificate tab
Create, Download a Self-Signed Certificate
Create a Third Party Certificate
Create, Upload a Third Party Certificate
10 Create CSR pop-up window
Enter your Email Address
11 Upload Signed SSL Certificate box
Upload a Third Party Certificate
12 Download CSR pop-up window
Download a Third Party Certificate
13 View Log File window
View log results
Network Setup SET UP the Network for Authentication
Click View to display results in the Result pop-up window
15 Block Page Authentication window
Specify block page settings
Click Apply to apply your settings
Block Page Authentication
16 Block
Block
User/Machine frame
Optional Links
Back and Help links
Options
Option
19 Re-authentication option
Option
20 Common Customization window
Common Customization
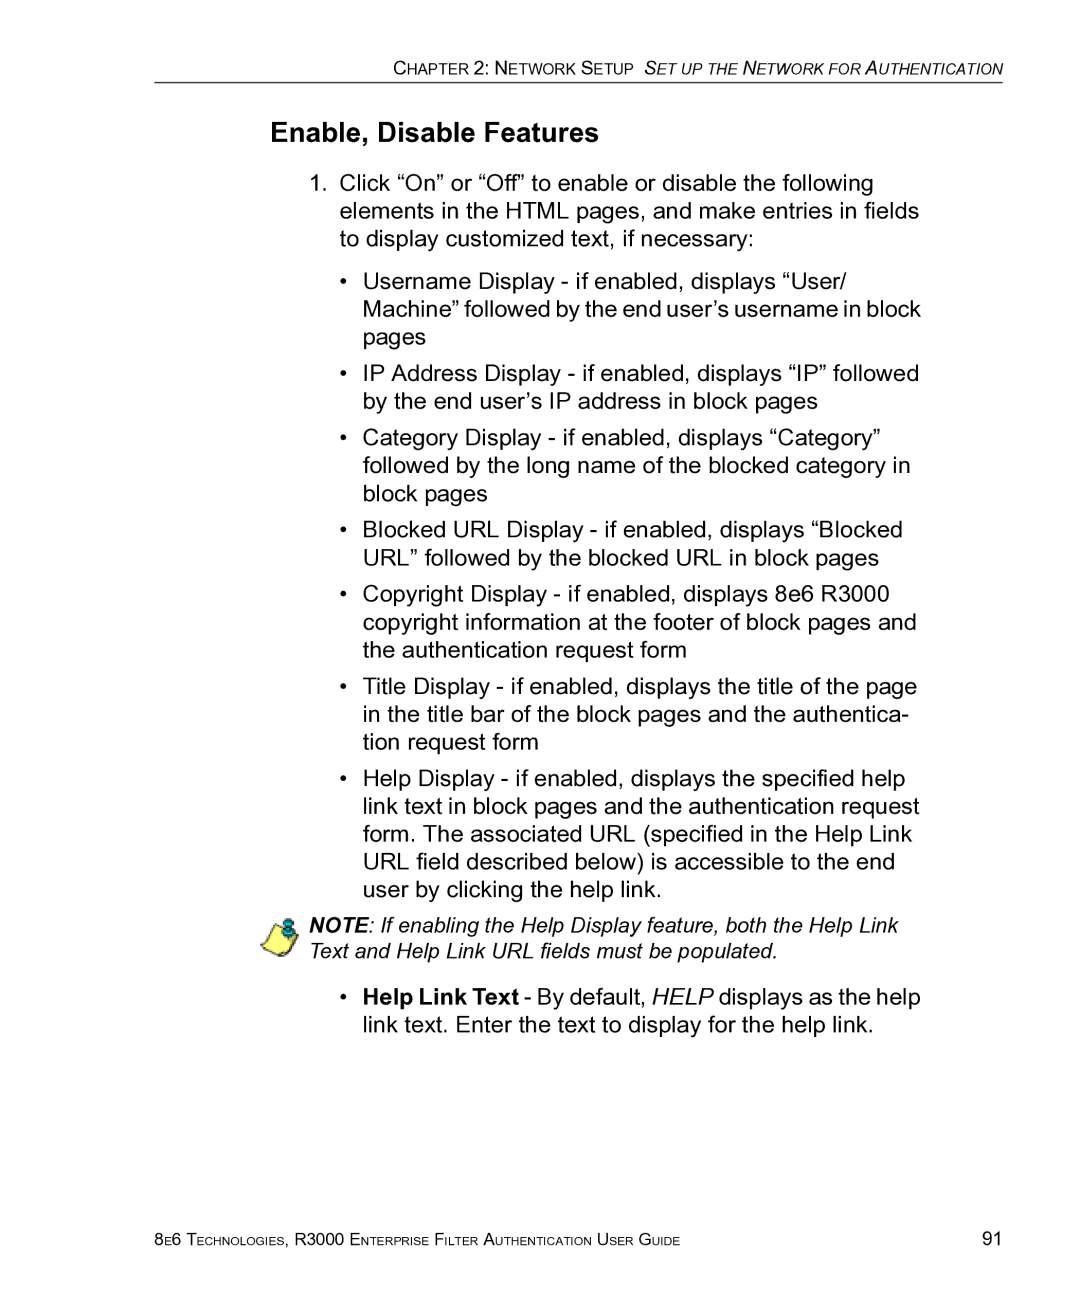
Enable, Disable Features
TIP Click Restore Default to revert to the default settings
21 Authentication Form Customization window
Authentication Form Customization
Network Setup SET UP the Network for Authentication
22 Sample Customized Authentication Request Form
Preview Sample Authentication Request Form
Network Setup SET UP the Network for Authentication
23 Block Page Customization window
Block Page Customization
Network Setup SET UP the Network for Authentication
24 Sample Customized Block
Preview Sample Block
100
Join the NT Domain
Authentication Settings window
102
Add an NT domain
Create an NT Domain
104
Refresh the NT branch
View or modify NT domain details
Domain Settings
106
NT Domain Details window, Default Rule tab
Default Rule
108
Delete an NT domain
Add NT groups, members to the tree
Set up NT Domain Groups, Members
110
Set Group Priority window
Specify a group’s filtering profile priority
112
Manually Add Member box
Manually add a user’s name to the tree
114
Manually add a group’s name to the tree
Upload User/Group Profile window
Upload a file of filtering profiles to the tree
116
10 Upload Member Profile File window
117
Add an NT group, member to the tree list
Create and Maintain NT Profiles
118
Click Add
120
Add or maintain an entity’s profile
Category Profile
122
Redirect URL
14 Group Profile window, Filter Options tab
Filter Options
124
Remove an entity’s profile from the tree
Add the Ldap domain
Create an Ldap Domain
View, modify, enter Ldap domain details
Refresh the Ldap branch
126
Ldap Server Type
128
Group Objects
Click Next to go to the User tab
130
User Objects
Ldap domain address information populates the Address tab
Address Info
132
Click Next to go to the Account tab
134
Account Info
Domain Details window, SSL tab
SSL Settings
136
Upload SSL Certificate for Ldaps
Domain Details window, Alias List tab
Alias List
138
11 Domain Details window, Default Rule tab
140
Configure a backup server
Default Rule for Novell eDirectory
142
13 Backup Server Configuration, Address Info
TIP The entry in this field is case sensitive
144
15 Backup Server Configuration, SSL Settings
Delete a domain
Modify a backup server’s configuration
Add Ldap groups, users to the tree
Set up Ldap Domain Groups, Members
146
Options for search results
Perform a basic search
Unmark All
Apply a filtering rule to a profile
148
17 Set Group Priority window
Delete a rule
150
18 Manually Add Member box
19 Manually Add Group box
152
20 Upload User/Group Profile window
21 Upload Member Profile File window
154
Add an Ldap group, member to the tree
Create, Maintain Ldap Profiles
156
23 Group Profile window, Category tab
158
24 Group Profile window, Redirect URL tab
160
25 Group Profile window, Filter Options tab
161
162
Test Authentication Settings
163
Create an IP Group, test
Test Web-based authentication settings
164
Create Sub Group box
Create a Sub-Group, workstation
166
Set up test with a 32-bit net mask
Sub Group Members window
Give workstation a 32-bit net mask
168
Block everything for the Sub-Group
Select Authentication Request Form Click Apply
Use Authentication Request Page for redirect URL
170
Disable filter options
Internet Explorer browser
Attempt to access Web content
172
Username Password
Test net use based authentication settings
174
Activate Authentication on the Network
Create a new IP Group, webauth
Activate Web-based authentication for an IP Group
176
Set webauth to cover users in range
13 Create Sub Group box
Create an IP Sub-Group
178
14 Sub Group Members window
15 Sub Group Profile window, Category tab
180
16 Sub Group Profile window, Redirect URL tab
17 Sub Group Profile window, Filter Options tab
182
Set Global Group to filter unknown traffic
19 Global Group Profile window, Port tab
184
Select Default Block Page. b. Click Apply
Select filter options to be enabled. b. Click Apply
186
22 Default Block
Exclude filtering critical equipment
Activate Web-based authentication for the Global Group
Range to Detect Settings
Block Web access, logging via Range to Detect
188
24 Range to Detect Settings window, main window
190
Range to Detect Setup Wizard
26 Range to Detect Setup Wizard, Step
192
27 Range to Detect Setup Wizard, Step
28 Range to Detect Setup Wizard, Step
194
29 Range to Detect Setup Wizard, Step
Bypass B and go on to to complete this process
196
Block Web access via IP Sub-Group profile
Select Default Block Page, and then click Apply
198
33 Sub Group Profile window, Filter Options tab
34 Global Group Profile window, Category tab
Modify the Global Group Profile
200
35 Global Group Profile window, Port tab
36 Global Group Profile window, Redirect URL tab
202
37 Global Group Profile window, Filter Options tab
Modify the 3-try login script
Activate NT authentication
204
205
International
Hours
Contact Information
Domestic United States
8e6 China
Office Locations and Phone Numbers
8e6 Corporate Headquarters USA
8e6 Taiwan
208
Support Procedures
Username Formats
User/Group File Format and Rules
Rule Criteria
Port command codes
Filter Mode Values
Category command codes
Category Codes Filter Option codes
212
File Format Rules and Examples
NT User List Format and Rules
214
NT Group List Format and Rules
Ldap User List Format and Rules
When translated, these strings of code mean
216
CN=Sales, CN=Users, DC=qc, DC=local Rule1
Ldap Group List Format and Rules
Type Function
Ports for Authentication System Access
218
OpenLDAP Server Scenario
Ldap Server Customizations
Not all users returned in User/Group Browser
R3000 Auth
Disable SMB Signing Requirements
Server Signing Mode Not Defined Enabled Disabled
SMB Signing Compatibility
Fig. D-1 Go to Active Directory Users and Computers
Disable SMB Signing Requirements in Windows
222
Fig. D-3 Domain Controllers Properties
Fig. D-4 Group Policy Object Editor window
224
Fig. D-7 Group Policy Object Editor window, Local Policies
Fig. D-9 Define this policy setting
226
Verify certificate authority has been installed
Obtain or Export an SSL Certificate
Export an Active Directory SSL Certificate
Click OK to open the Console window
Locate Certificates folder
228
Fig. E-4 Add/Remove Snap-in
Fig. E-6 Certificates snap-in dialog box
230
Export the master certificate for the domain
This action launches the Certificate Export Wizard
232
Fig. E-12 Export File Format
Fig. E-14 Settings
234
Export a Novell SSL Certficate
Fig. E-17 Export a Certificate pop-up window
Obtain a Sun ONE SSL Certificate
236
Override Pop-up Blockers
Yahoo! Toolbar Pop-up Blocker
If pop-up blocking is enabled
Add override account to the white list
238
Fig. F-3 Allow pop-ups from source
Google Toolbar Pop-up Blocker
Fig. F-4 # blocked icon enabled
AdwareSafe Pop-up Blocker
Temporarily disable pop-up blocking
240
Fig. F-6 Mozilla Firefox Popup Windows Preferences
Mozilla Firefox Pop-up Blocker
242
Set up pop-up blocking
Windows XP SP2 Pop-up Blocker
Use the Internet Options dialog box
Use the IE toolbar
Fig. F-8 Toolbar setup
244
Fig. F-9 Pop-up Blocker Settings
Use the Information Bar
Set up the Information Bar
246
Fig. F-11 Information Bar menu options
Glossary
248
249
250
251
252
253
254
Numerics
Index
256
257
258
Https Iana
Ldap
260
NAT
261
262
SMB/NT
264
265