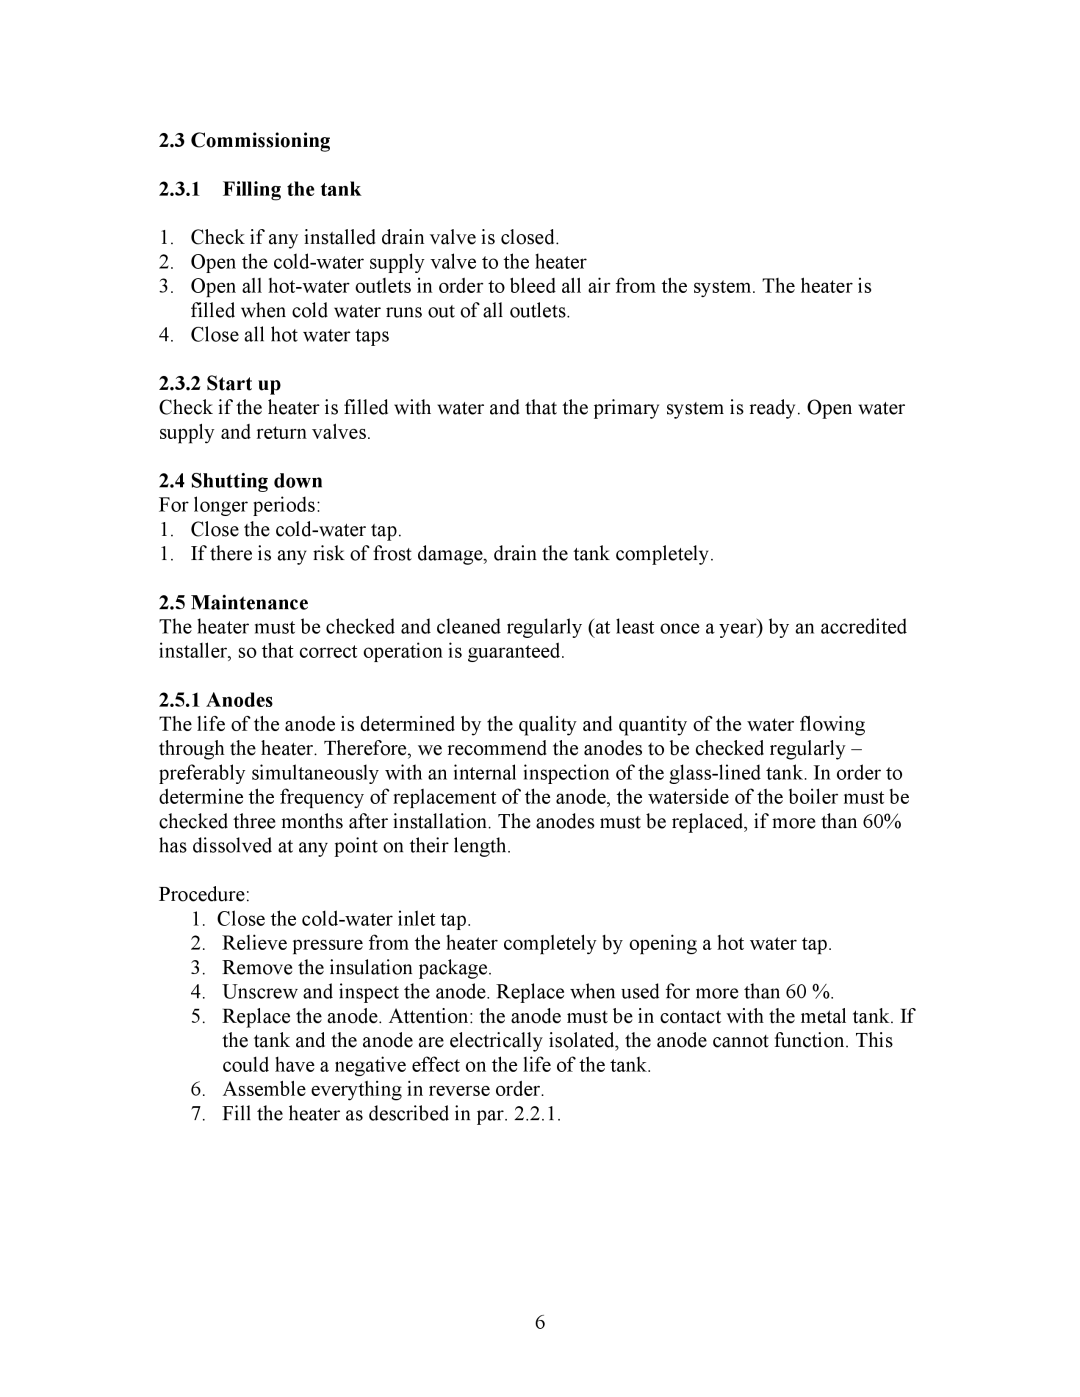
ST 1500, ST 3000 specifications
A.O. Smith is a leading brand in the water heating industry, known for its innovative technologies and reliable products. Among its diverse range, the A.O. Smith ST 1500 and ST 3000 tankless water heaters stand out as exceptional options for both residential and commercial applications.The A.O. Smith ST 1500 model is designed for those who require efficient hot water on demand without the need for a bulky storage tank. It leverages advanced technology to ensure that hot water is readily available whenever needed, providing a continuous supply that can cater to multiple outlets simultaneously. With a heating capacity of 150,000 BTU, the ST 1500 is capable of delivering hot water for various applications, making it ideal for medium-sized households.
A key feature of the ST 1500 is its compact design. The unit can be installed in tight spaces, such as closets or utility rooms, making it a versatile choice for various homes. Additionally, it is equipped with high-efficiency burners that promote energy savings, reducing both operational costs and environmental impact. The integrated digital display allows users to monitor the water temperature and adjust settings for optimal performance.
On the other hand, the A.O. Smith ST 3000 offers greater heating capacity, boasting 300,000 BTU to cater to larger homes or commercial settings. This model excels in demanding situations, providing an efficient solution for high hot water usage. Its enhanced flow rate ensures that users can enjoy hot water for multiple simultaneous tasks without any interruptions.
Both the ST 1500 and ST 3000 models utilize advanced safety features, including overheat protection and a robust burner management system. These technologies not only enhance operational efficiency but also ensure user safety. Installation is straightforward, with options for both indoor and outdoor setups.
Another notable characteristic of these tankless water heaters is their user-friendly operation. They feature easy-to-navigate controls and settings that allow users to customize their hot water experience according to their needs. Moreover, both models are designed for easy maintenance, enabling users to keep their systems running smoothly with minimal effort.
In conclusion, A.O. Smith's ST 1500 and ST 3000 tankless water heaters exemplify reliability, efficiency, and advanced technology. Their ability to provide hot water on demand while maximizing energy savings makes them excellent choices for anyone looking to upgrade their water heating systems. Whether for residential or commercial use, A.O. Smith continues to deliver products that meet the highest standards of quality and performance.