Disassembling the Main Unit
Separate the Main Unit Into the Upper and the Lower Case Assembly
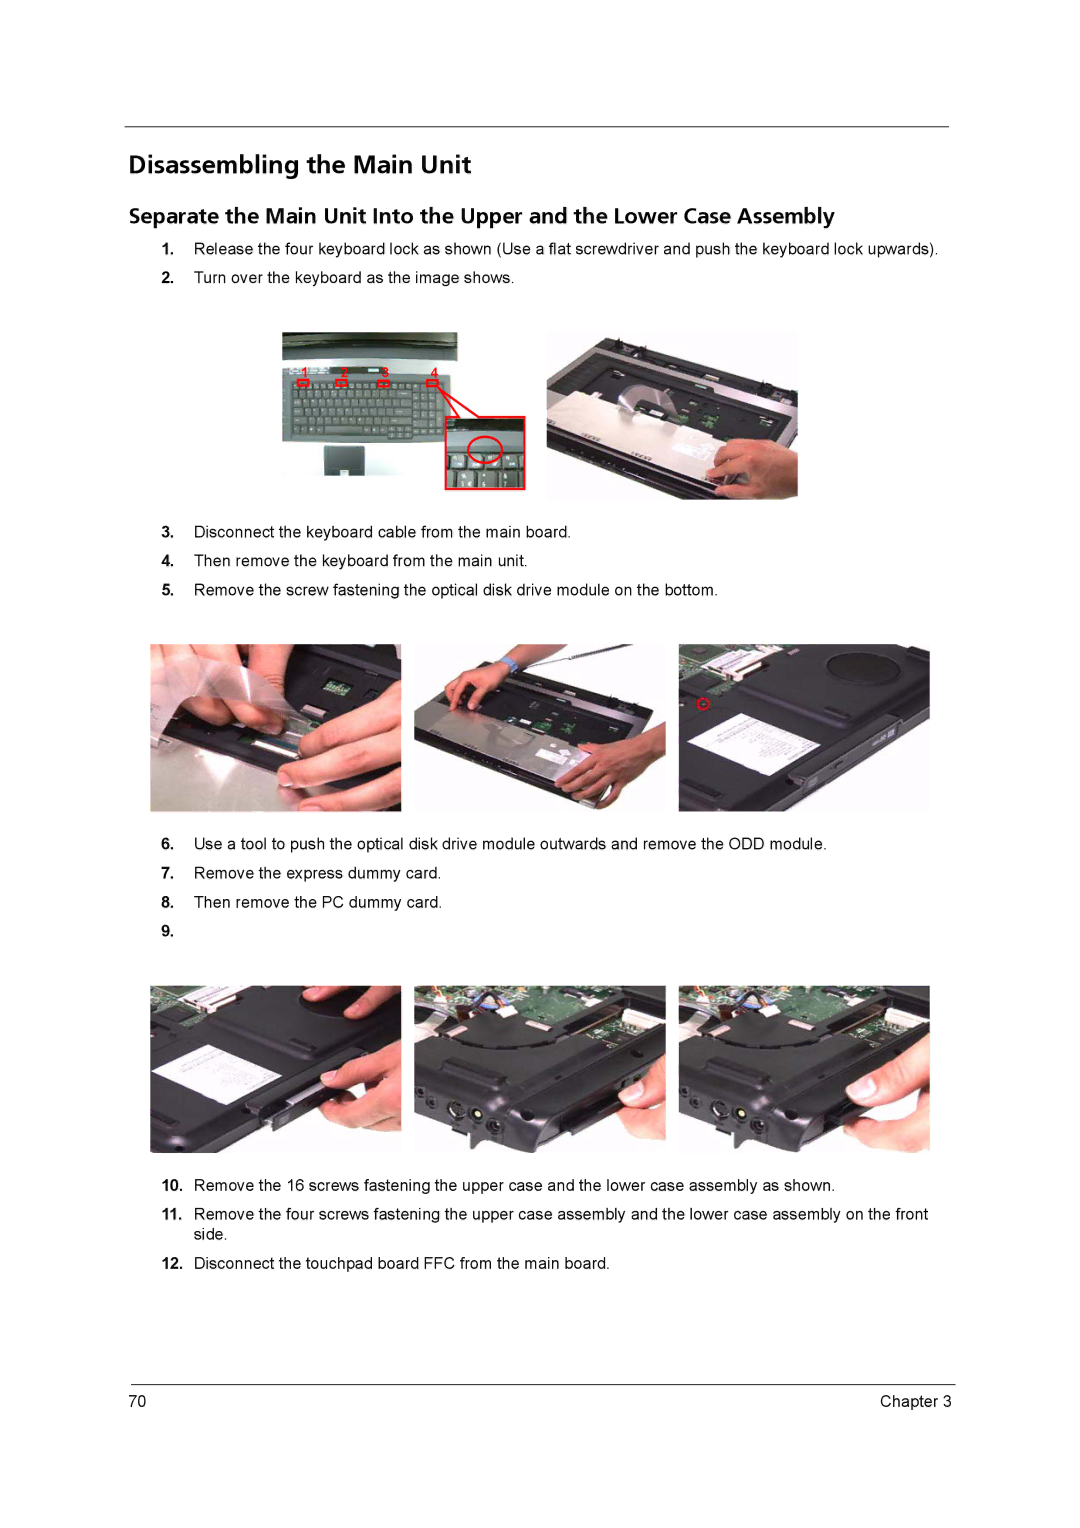
1.Release the four keyboard lock as shown (Use a flat screwdriver and push the keyboard lock upwards).
2.Turn over the keyboard as the image shows.
1 2 3 4
3.Disconnect the keyboard cable from the main board.
4.Then remove the keyboard from the main unit.
5.Remove the screw fastening the optical disk drive module on the bottom.
6.Use a tool to push the optical disk drive module outwards and remove the ODD module.
7.Remove the express dummy card.
8.Then remove the PC dummy card.
9.
10.Remove the 16 screws fastening the upper case and the lower case assembly as shown.
11.Remove the four screws fastening the upper case assembly and the lower case assembly on the front side.
12.Disconnect the touchpad board FFC from the main board.
70 | Chapter 3 |