Important
First, find a clean, flat surface to place the monitor after removing it from the stand. Place a clean dry cloth under the monitor to protect it further.
Pull the monitor slightly up and away from the stand.
English
Adjusting the Viewing Angle
The viewing angle of the monitor ranges from
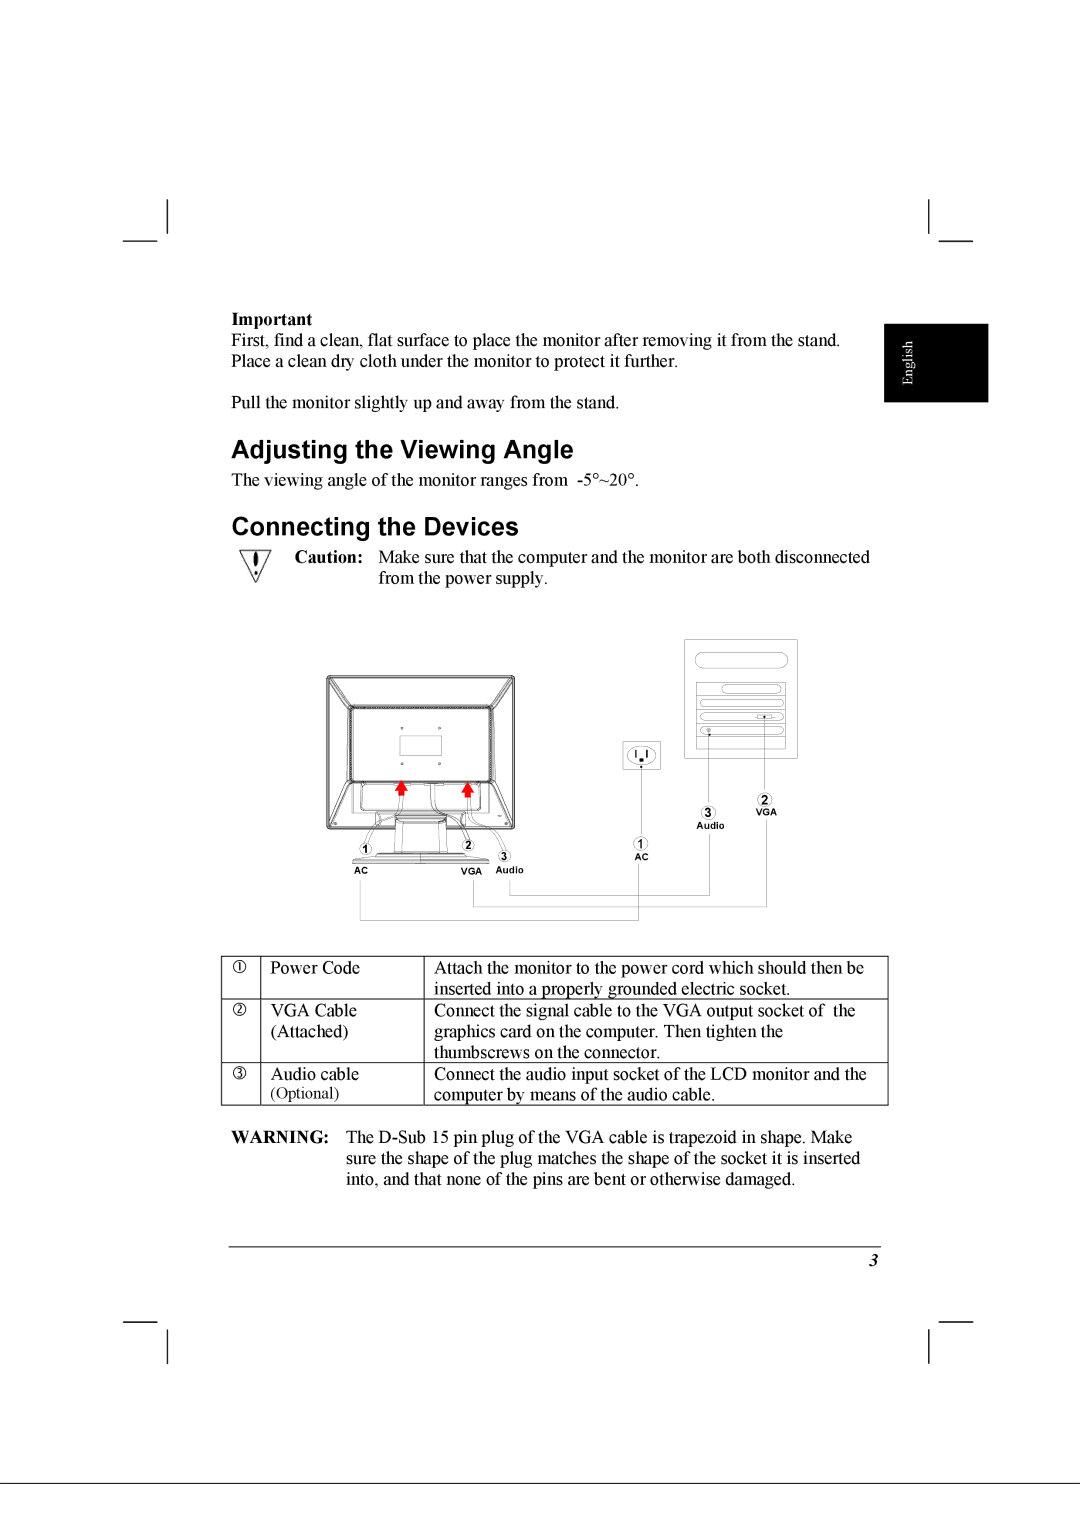
Connecting the Devices
Caution: Make sure that the computer and the monitor are both disconnected from the power supply.
|
|
| 3 | 2 |
|
|
| VGA | |
|
|
| Audio |
|
1 | 2 | 3 | 1 |
|
| AC |
| ||
|
|
| ||
AC | VGA | Audio |
|
|
c | Power Code | Attach the monitor to the power cord which should then be |
|
| inserted into a properly grounded electric socket. |
d | VGA Cable | Connect the signal cable to the VGA output socket of the |
| (Attached) | graphics card on the computer. Then tighten the |
|
| thumbscrews on the connector. |
e | Audio cable | Connect the audio input socket of the LCD monitor and the |
| (Optional) | computer by means of the audio cable. |
WARNING: The
3