28

English


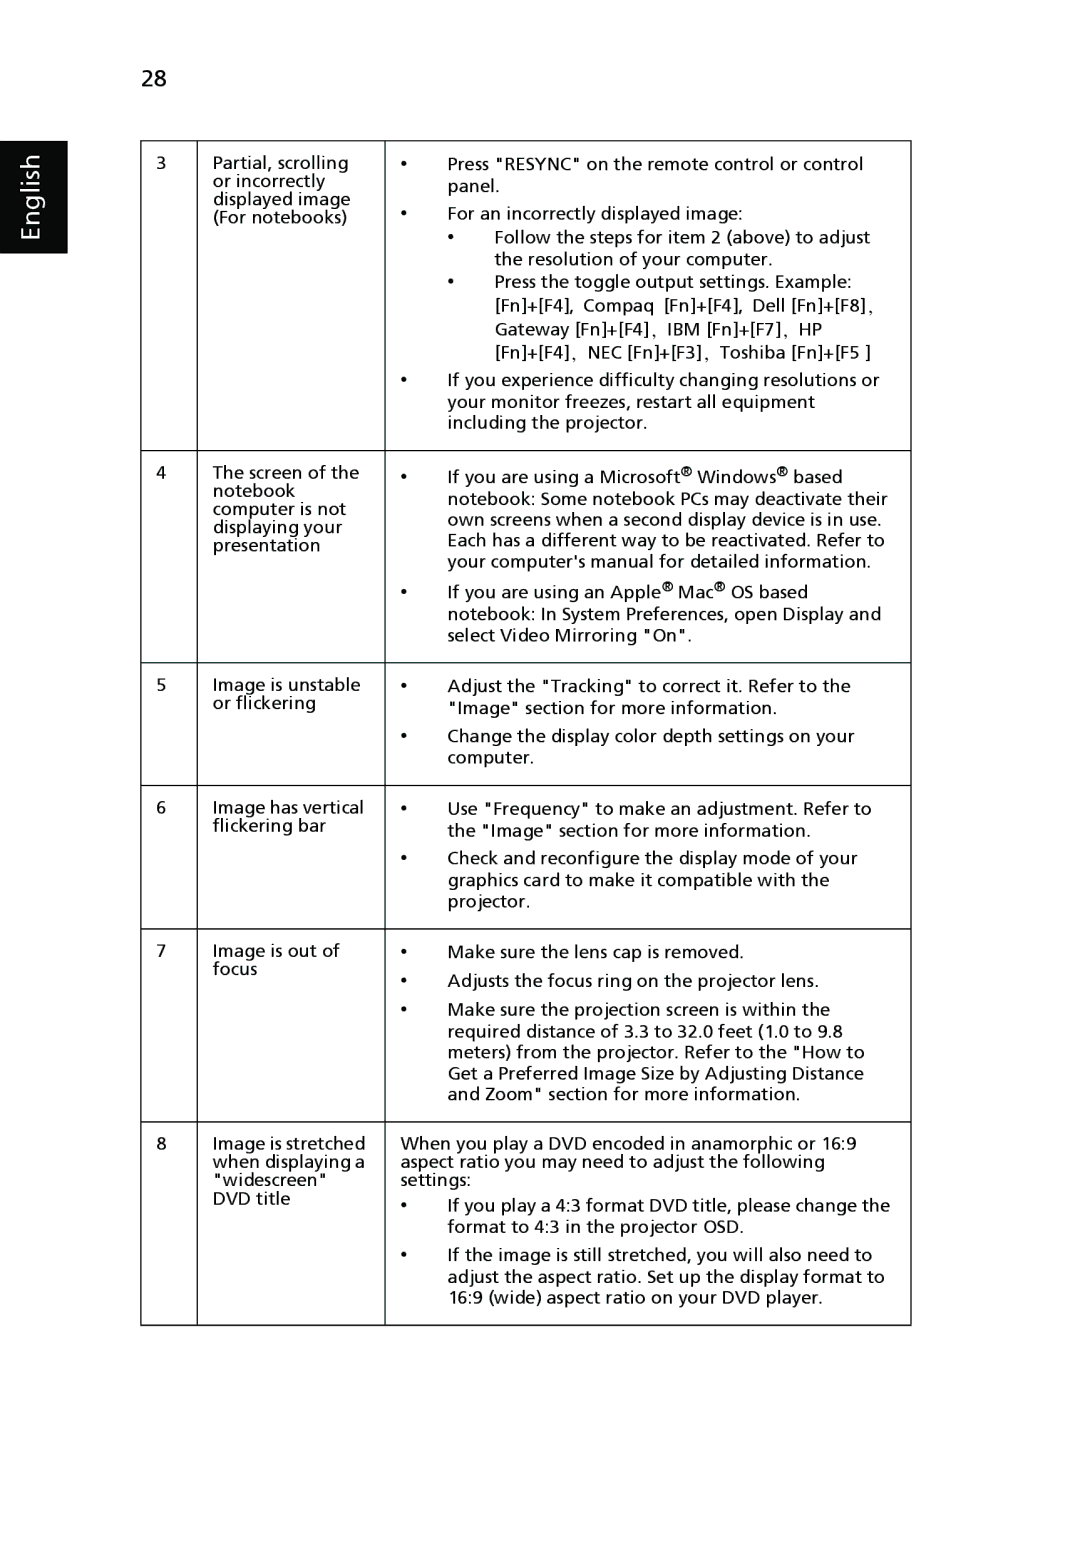
3

Partial, scrolling

Press "RESYNC" on the remote control or control


or incorrectly


panel.


displayed image

For an incorrectly displayed image:


(For notebooks)


Follow the steps for item 2 (above) to adjust


the resolution of your computer.


Press the toggle output settings. Example:


[Fn]+[F4], Compaq [Fn]+[F4], Dell [Fn]+[F8],


Gateway [Fn]+[F4], IBM [Fn]+[F7], HP


[Fn]+[F4], NEC [Fn]+[F3], Toshiba [Fn]+[F5 ]


If you experience difficulty changing resolutions or


your monitor freezes, restart all equipment


including the projector.


4

The screen of the

If you are using a Microsoft® Windows® based


notebook


notebook: Some notebook PCs may deactivate their


computer is not


own screens when a second display device is in use.


displaying your


Each has a different way to be reactivated. Refer to


presentation


your computer's manual for detailed information.


If you are using an Apple® Mac® OS based


notebook: In System Preferences, open Display and


select Video Mirroring "On".


5

Image is unstable

Adjust the "Tracking" to correct it. Refer to the


or flickering


"Image" section for more information.


Change the display color depth settings on your


computer.


6

Image has vertical

Use "Frequency" to make an adjustment. Refer to


flickering bar


the "Image" section for more information.


Check and reconfigure the display mode of your


graphics card to make it compatible with the


projector.


7

Image is out of

Make sure the lens cap is removed.


focus

Adjusts the focus ring on the projector lens.


Make sure the projection screen is within the


required distance of 3.3 to 32.0 feet (1.0 to 9.8


meters) from the projector. Refer to the "How to


Get a Preferred Image Size by Adjusting Distance


and Zoom" section for more information.


8

Image is stretched

When you play a DVD encoded in anamorphic or 16:9


when displaying a

aspect ratio you may need to adjust the following


"widescreen"

settings:


DVD title

If you play a 4:3 format DVD title, please change the


format to 4:3 in the projector OSD.


If the image is still stretched, you will also need to


adjust the aspect ratio. Set up the display format to


16:9 (wide) aspect ratio on your DVD player.


Page 40
Image 40
Acer P1266P, P1270, P1266i, P1266N, P1166P manual English

P1166P, P1266P, P1266N, P1266i, P1266 specifications

Acer has made significant strides in the projector market, and the models P1266, P1266P, P1166P, and P1266i stand as a testament to their innovative design and advanced technology. These projectors are tailored for users who demand high-quality visuals and versatility, whether for business presentations, educational purposes, or home entertainment.

The Acer P1266 is a powerful projector featuring a brightness of up to 3600 ANSI lumens, making it suitable for both bright and dark environments. With a native resolution of 1920x1080 (Full HD), this projector delivers crisp and clear images, capturing the finest details for an immersive viewing experience. It also supports various display ratios, including 16:9 and 4:3, catering to different content types.

The P1266P variant puts a focus on portability and connectivity. In addition to maintaining the impressive brightness and resolution, this model is equipped with wireless projection capabilities, allowing users to connect devices seamlessly through Wi-Fi. This feature is especially beneficial for professionals who need to share content on the go without the hassle of cables. The P1266P also includes multiple HDMI ports, ensuring compatibility with a wide array of devices.

Similarly, the Acer P1166P also emphasizes adaptability and ease of use. This projector offers a slightly lower brightness of 3600 ANSI lumens but remains perfect for small to medium-sized rooms. Its user-friendly design allows for quick setup and adjustments, with features like a vertical keystone correction that ensures a squared and aligned image even when the projector is positioned at an angle.

The P1266i model introduces advanced interactive features, making it ideal for educational environments. It offers a touch-enabled interface that allows users to interact directly with the projected content. This interactive capability fosters engagement and collaboration, transforming presentations into lively discussions. It also comes equipped with Acer’s Smart Pen technology, enabling users to annotate and highlight content in real time.

All four models are designed with long-lasting EU energy efficiency certifications, ensuring reduced power consumption and environmental sustainability. They boast a long lamp life, often exceeding 10,000 hours in eco mode, reducing the frequency of replacements and maintenance costs.

In summary, the Acer P1266, P1266P, P1166P, and P1266i projectors provide a range of features tailored to enhance visual experiences across various settings. With a strong emphasis on brightness, connectivity, user interactivity, and energy efficiency, these models cater to diverse needs, making them robust choices for professionals, educators, and home users alike.