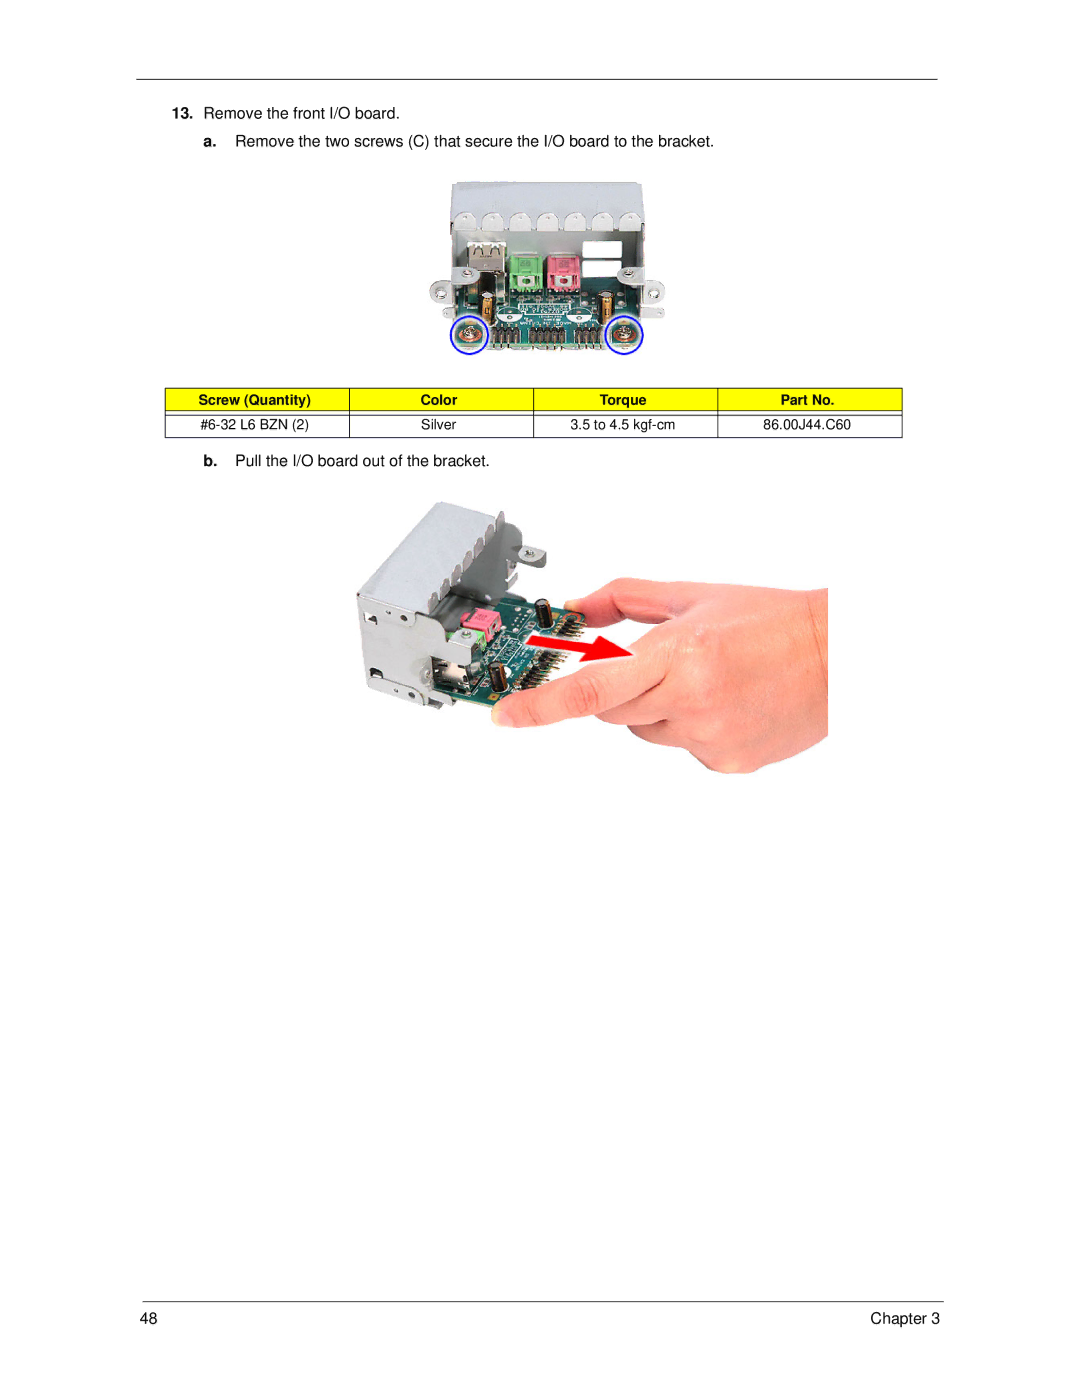
13.Remove the front I/O board.
a. Remove the two screws (C) that secure the I/O board to the bracket.
Screw (Quantity) | Color | Torque | Part No. |
|
|
|
|
Silver | 3.5 to 4.5 | 86.00J44.C60 | |
|
|
|
|
b.Pull the I/O board out of the bracket.
48 | Chapter 3 |
13.Remove the front I/O board.
a. Remove the two screws (C) that secure the I/O board to the bracket.
Screw (Quantity) | Color | Torque | Part No. |
|
|
|
|
Silver | 3.5 to 4.5 | 86.00J44.C60 | |
|
|
|
|
48 | Chapter 3 |