Auto calibrate

When you visit a host computer for the very first time, your viewer needs to determine the optimum video and mouse settings for that particular computer. The button will remind you to click by flashing red when it encounters a

new computer screen. Performing this step is important because it can help to decrease unnecessary video information being sent across the link, thus improving overall performance.

Once this has been done, providing you use the ‘Hosts’ button to switch between host computers, the video settings for each machine will be re-used.

Note: When performing an auto calibration, ensure that the screen image is static (no moving images) and also that there are no on-screen displays generated by KVM switches (such as host names or menus). This is because they may confuse the calculation and can result in a lower overall performance level. For the mouse calibration part, ensure that there are no application windows located around the upper left corner of the screen. This is because as the mouse calibration takes place, the cursor may change (to match the application as it skims across the window) and this may confuse the calculation. Also ensure that the host system does not have the mouse cursor trails option enabled.

To auto calibrate the screen and mouse

1 Use the Hosts button to select the required computer.

2Click the button and then click OK in the subsequent pop-up message. The screen will appear to freeze for approximately 10 to 60 seconds as the necessary calculations are made. Operation will return as soon as the calculations are complete.

Re-synchronise mouse

If you find that your local mouse pointer and that of the host are not correctly synchronised, use this feature to re-align their movements. This operation is also selectable from the Controls menu.

To re-synchronise the mouse

1 Use the Hosts button to select the required computer.

2 Click the button and then click OK in the subsequent pop-up message.

Access mode - shared/private

Up to five users can be simultaneously logged-on (four remote users plus one local user) and during normal operation, all are able to see the same view of the currently selected host. If you need to perform a sensitive task that should not be viewed by other users, you can change the access mode to Private. This action blanks the viewer window for all other logged on users.

Note: For the courtesy of other users, this mode should be used sparingly. The admin user has the ability to overrule the private setting.

To change the access mode

1Click one of the arrow buttons adjacent to the Shared/Private indicator.

Power control

When configured (and where you have access rights) this option allows you to control the mains power input to the currently selected host computer.

Note: This option is generally used to power cycle remote systems that have failed to respond. Before switching a system off, ensure that all attempts have first been made to power it down through normal means.

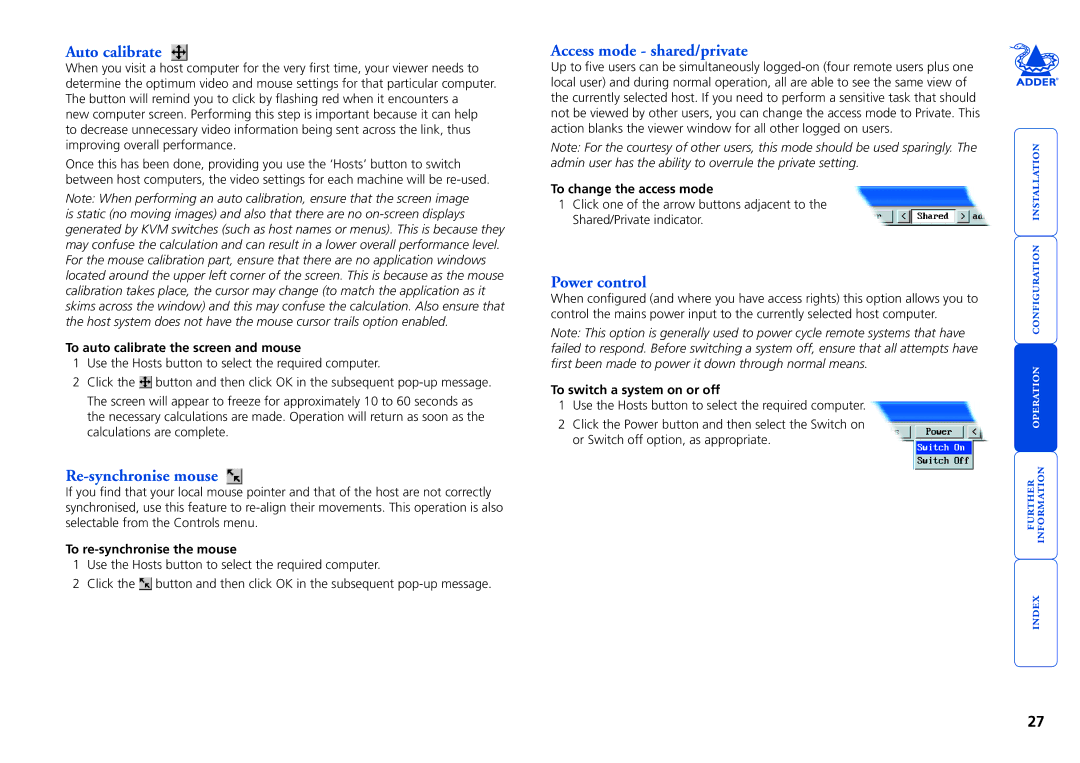
To switch a system on or off

1 Use the Hosts button to select the required computer.

2Click the Power button and then select the Switch on or Switch off option, as appropriate.

   



27

Page 28
Image 28
Adder Technology AdderLink IP manual Auto calibrate, Re-synchronise mouse, Access mode shared/private, Power control

AdderLink IP specifications

Adder Technology's AdderLink IP is a cutting-edge solution designed to extend and manage KVM (Keyboard, Video, Mouse) signals over IP networks. This innovative technology facilitates the remote access and control of computers and servers, making it an essential tool for organizations that require efficient management of their IT resources.

One of the main features of AdderLink IP is its ability to transmit high-resolution video signals with minimal latency. Supporting resolutions up to 4K at 60Hz, it ensures that users experience clarity and responsiveness that is comparable to direct connections. This capability is crucial for industries such as broadcasting, media production, and any environment where graphics-intensive applications are commonplace.

The AdderLink IP employs advanced digitization techniques to ensure high-quality video transmission over standard IP networks. Its use of H.264 video compression allows for efficient bandwidth usage while maintaining image integrity. With this feature, users can easily adapt to various network conditions without compromising performance.

Another standout characteristic is the support for real-time remote access through a web browser, allowing users to connect to their systems from virtually anywhere in the world. Whether for troubleshooting, maintenance, or system management, the AdderLink IP empowers IT professionals with the flexibility they need to perform their duties effectively. The built-in security protocols ensure that access is both secure and reliable.

Moreover, AdderLink IP is designed to be user-friendly. Configuration and management can be performed via an intuitive web interface, simplifying the setup process for users of all technical skill levels. Compatibility with a range of operating systems and devices further enhances its versatility.

Furthermore, the system supports multi-user access, enabling multiple operators to connect to the same devices simultaneously without conflicts. This functionality is particularly useful in collaborative environments where teams need concurrent access to critical systems.

In summary, Adder Technology's AdderLink IP stands out as a robust solution for KVM over IP needs. With its high-quality video transmission, real-time remote access, ease of use, and enhanced security features, it enables organizations to effectively manage their IT infrastructure, thereby boosting productivity and operational efficiency. As the demand for remote access increases, AdderLink IP remains a pivotal component in the evolution of IT management solutions.