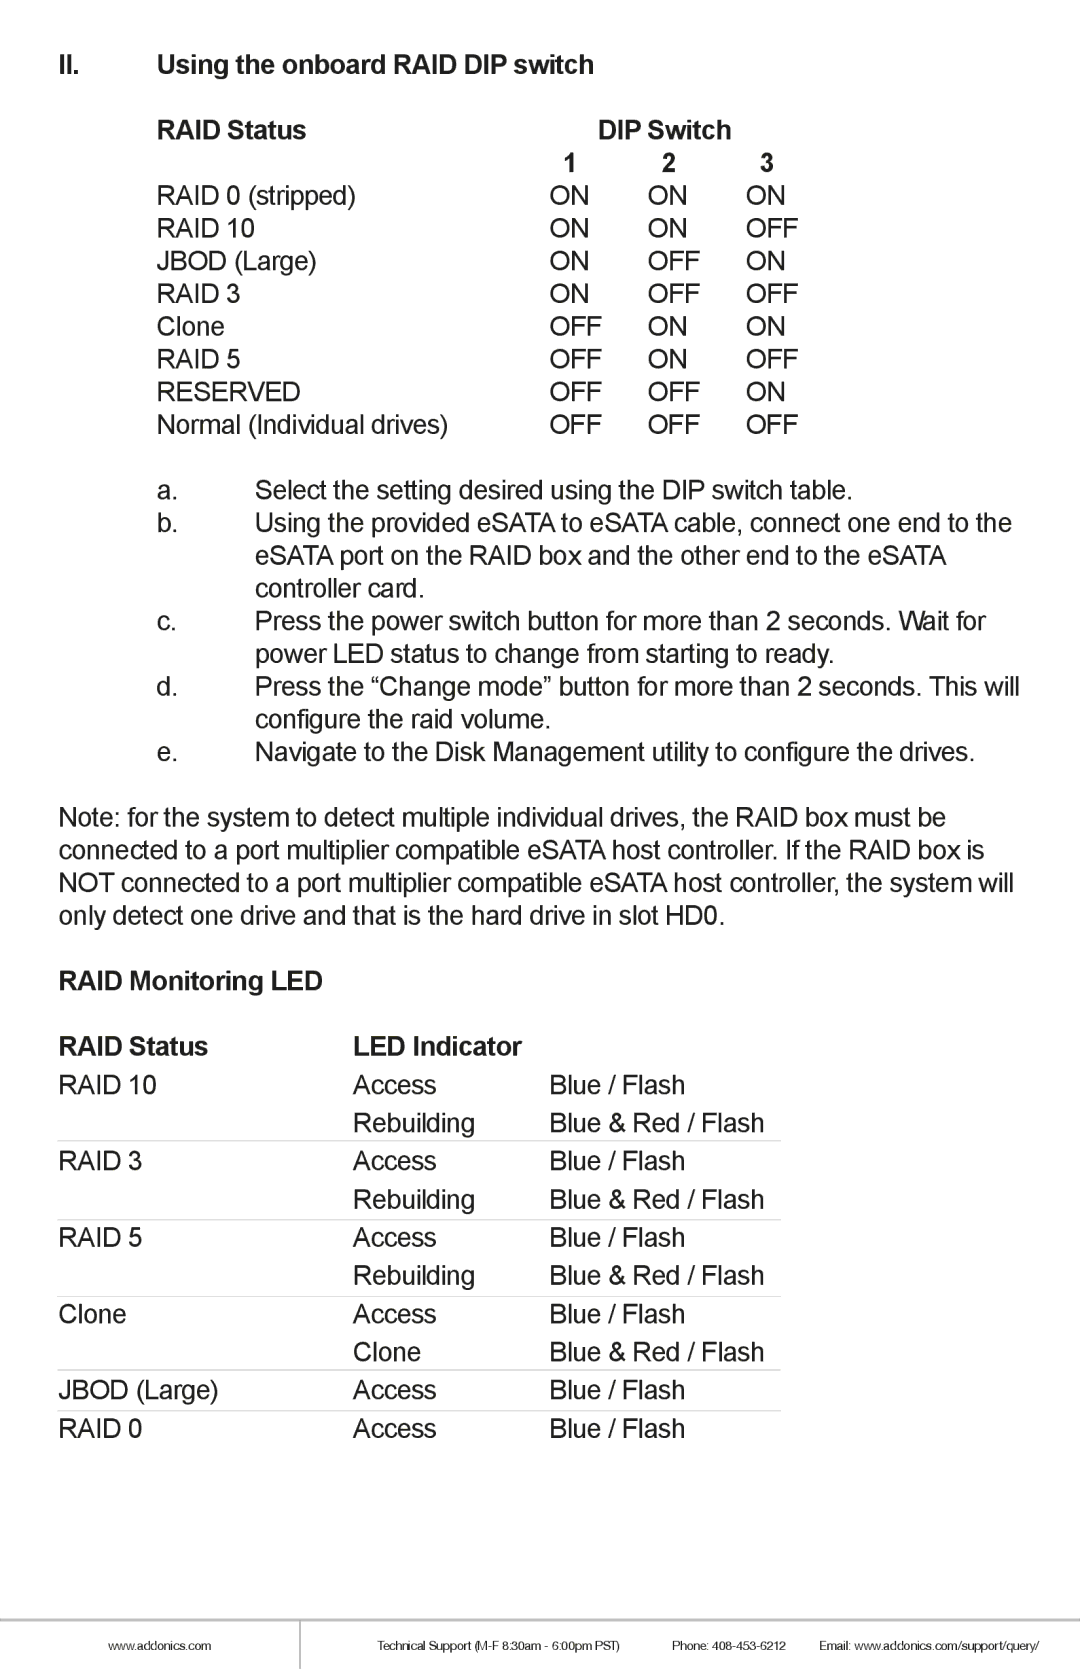
II.Using the onboard RAID DIP switch
RAID Status | DIP Switch |
| |
| 1 | 2 | 3 |
RAID 0 (stripped) | ON | ON | ON |
RAID 10 | ON | ON | OFF |
JBOD (Large) | ON | OFF | ON |
RAID 3 | ON | OFF | OFF |
Clone | OFF | ON | ON |
RAID 5 | OFF | ON | OFF |
RESERVED | OFF | OFF | ON |
Normal (Individual drives) | OFF | OFF | OFF |
a.Select the setting desired using the DIP switch table.
b.Using the provided eSATA to eSATA cable, connect one end to the eSATA port on the RAID box and the other end to the eSATA controller card.
c.Press the power switch button for more than 2 seconds. Wait for power LED status to change from starting to ready.
d.Press the “Change mode” button for more than 2 seconds. This will configure the raid volume.
e.Navigate to the Disk Management utility to configure the drives.
Note: for the system to detect multiple individual drives, the RAID box must be connected to a port multiplier compatible eSATA host controller. If the RAID box is NOT connected to a port multiplier compatible eSATA host controller, the system will only detect one drive and that is the hard drive in slot HD0.
RAID Monitoring LED |
|
|
RAID Status | LED Indicator |
|
RAID 10 | Access | Blue / Flash |
| Rebuilding | Blue & Red / Flash |
RAID 3 | Access | Blue / Flash |
| Rebuilding | Blue & Red / Flash |
RAID 5 | Access | Blue / Flash |
| Rebuilding | Blue & Red / Flash |
Clone | Access | Blue / Flash |
| Clone | Blue & Red / Flash |
JBOD (Large) | Access | Blue / Flash |
RAID 0 | Access | Blue / Flash |
www.addonics.com
Technical Support | Phone: | Email: www.addonics.com/support/query/ |
