DVD R/RW specifications
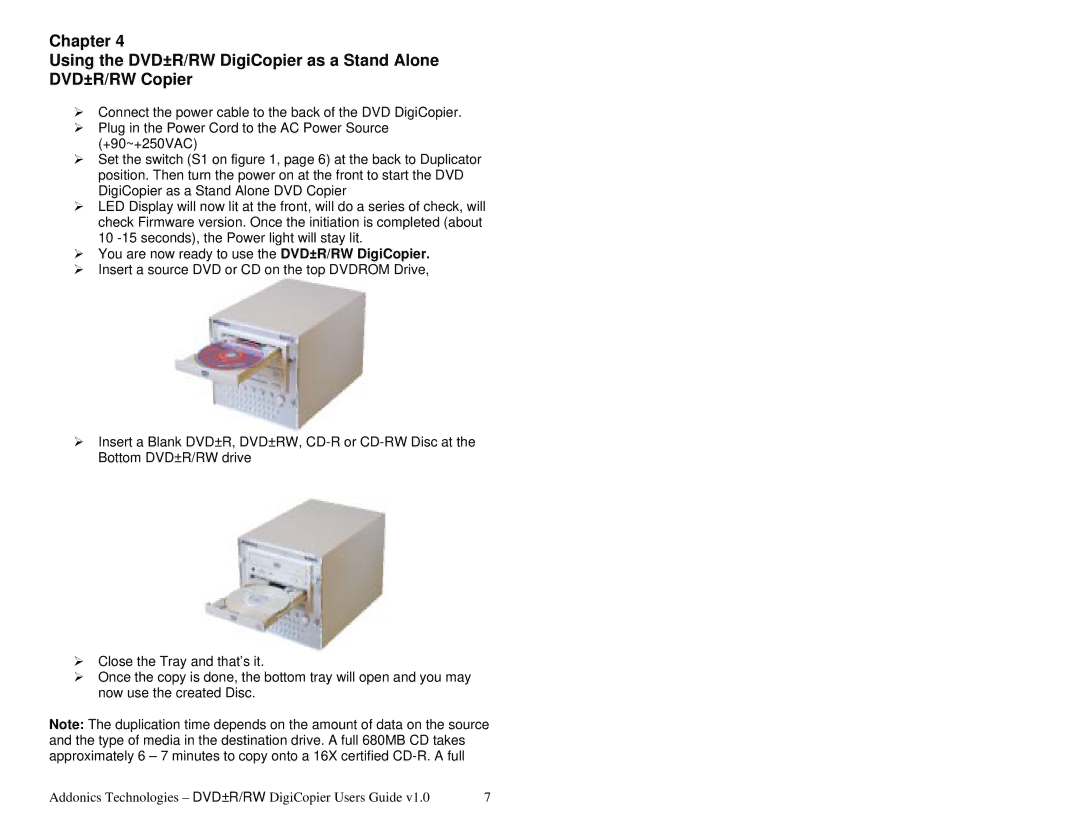
Addonics Technologies has established itself as a notable player in the storage and connectivity solutions market, with its DVD R/RW drives standing out due to their advanced features and exceptional performance. Designed for both professionals and everyday users, these drives offer a versatile solution for data storage, archiving, and multimedia playback.One of the key features of Addonics Technologies' DVD R/RW drives is their high-speed writing capabilities. These drives support a variety of DVD formats, including DVD-R, DVD+R, DVD-RW, and DVD+RW, allowing users to record data efficiently onto optical discs. The drives provide fast writing speeds, which can significantly reduce the time taken to back up large volumes of data or create video DVDs.
In addition to speed, the drives are equipped with robust error correction technologies that ensure the integrity of the written data. This feature is particularly beneficial for users who rely on these drives for archiving important files, as it minimizes the risk of data loss due to unreadable discs. Addonics DVD R/RW drives also incorporate advanced writing strategies that optimize performance and increase compatibility with a wide range of DVD media.
Another notable characteristic of these drives is their compact and user-friendly design. Conveniently portable, they can easily fit into various setups, whether as a standalone unit or integrated with desktop systems. Many models also feature USB interfaces, making them compatible with a broad spectrum of devices, including laptops, PCs, and even some gaming consoles.
Additionally, Addonics Technologies emphasizes energy efficiency in their DVD R/RW designs. The drives are crafted to consume minimal power during operation, aligning with modern environmental standards and helping users reduce their overall energy consumption.
Addonics Technologies also ensures that its DVD R/RW drives come bundled with versatile software for media management. This software suite typically includes disc burning applications, video editing tools, and data recovery utilities, providing a comprehensive solution for users to utilize their drives to the fullest.
In summary, Addonics Technologies' DVD R/RW drives offer a reliable and efficient means to manage and store data. With high-speed writing capabilities, data integrity features, a compact design, energy efficiency, and bundled software, these drives cater to a wide range of storage needs, making them an excellent choice for anyone looking to invest in quality optical storage solutions.

