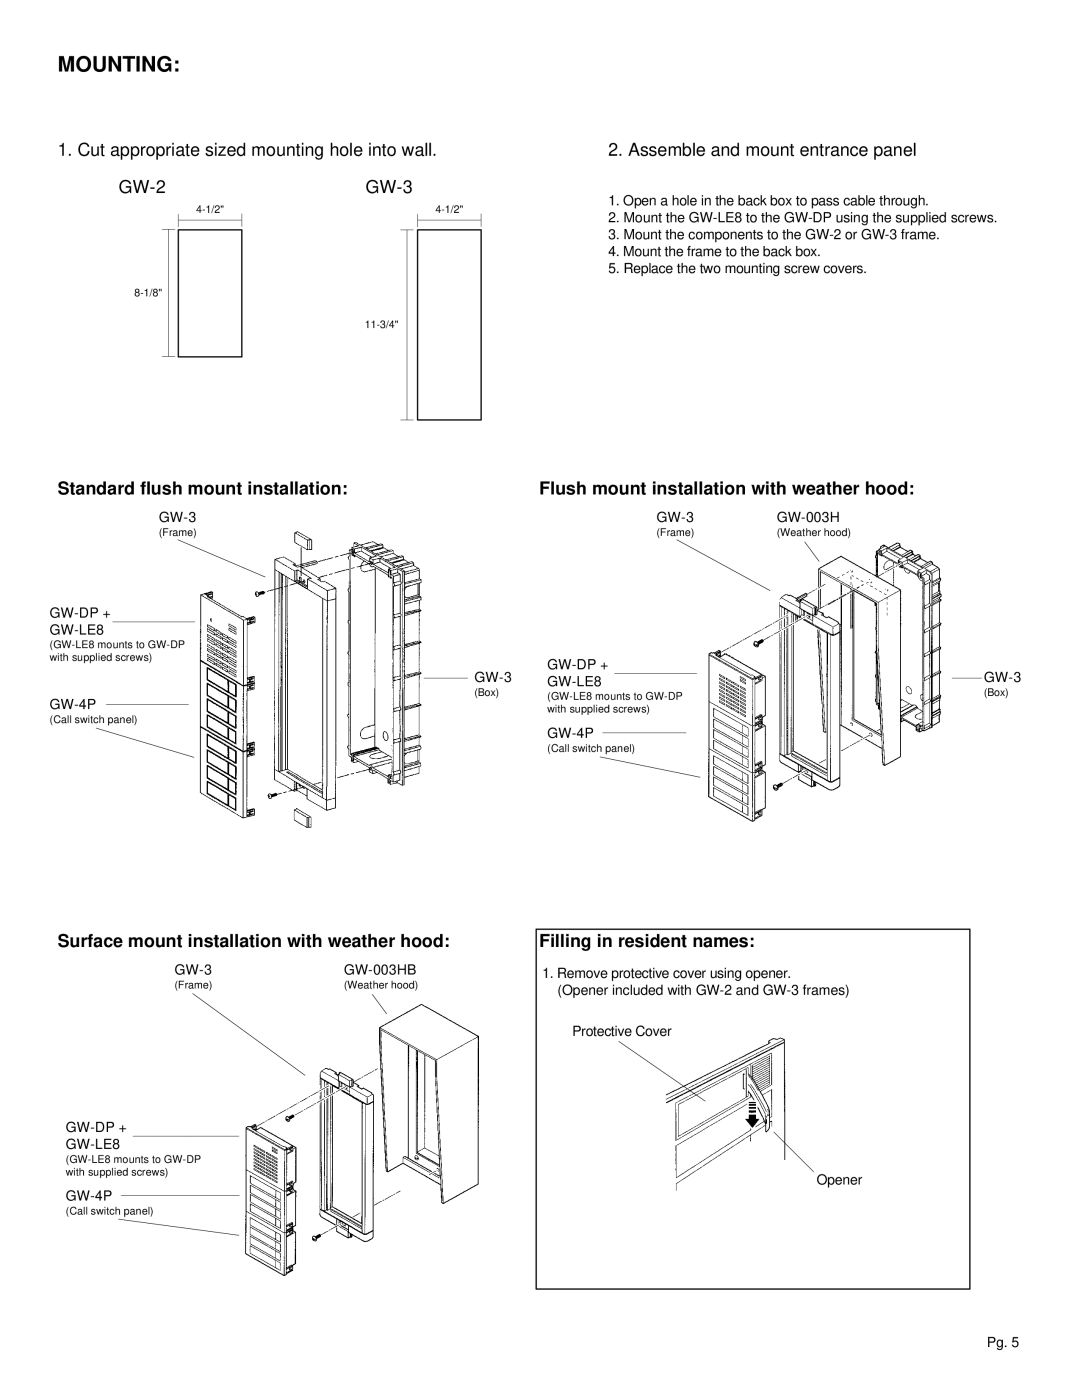
MOUNTING:
1. Cut appropriate sized mounting hole into wall.
2. Assemble and mount entrance panel
1.Open a hole in the back box to pass cable through.
2.Mount the
3.Mount the components to the
4.Mount the frame to the back box.
5.Replace the two mounting screw covers.
Standard flush mount installation:
(Frame)
(Call switch panel)
(Box)
Flush mount installation with weather hood:
(Frame) | (Weather hood) |
(Call switch panel)
(Box)
Surface mount installation with weather hood:
(Frame) | (Weather hood) |
(Call switch panel)
Filling in resident names:
1.Remove protective cover using opener.
(Opener included with
Protective Cover
Opener
Pg. 5