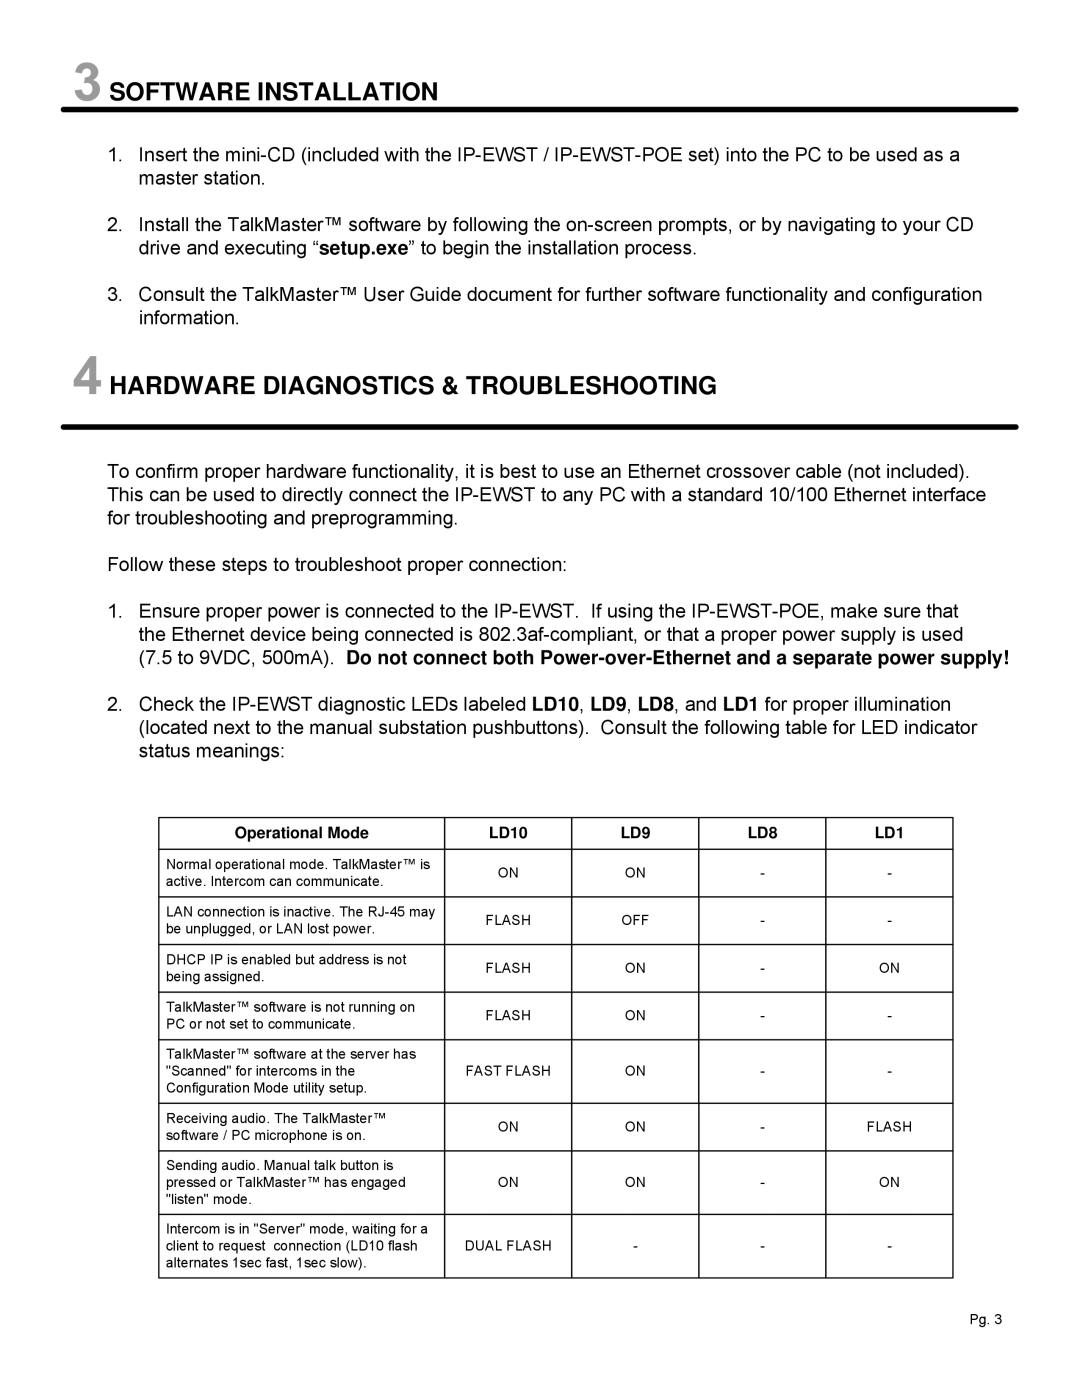
 SOFTWARE INSTALLATION
1.Insert the
2.Install the TalkMaster™ software by following the
3.Consult the TalkMaster™ User Guide document for further software functionality and configuration information.
 HARDWARE DIAGNOSTICS & TROUBLESHOOTING
To confirm proper hardware functionality, it is best to use an Ethernet crossover cable (not included). This can be used to directly connect the
Follow these steps to troubleshoot proper connection:
1.Ensure proper power is connected to the
2.Check the
Operational Mode | LD10 | LD9 | LD8 | LD1 | |
|
|
|
|
| |
Normal operational mode. TalkMaster™ is | ON | ON | - | - | |
active. Intercom can communicate. | |||||
|
|
|
| ||
|
|
|
|
| |
LAN connection is inactive. The | FLASH | OFF | - | - | |
be unplugged, or LAN lost power. | |||||
|
|
|
| ||
|
|
|
|
| |
DHCP IP is enabled but address is not | FLASH | ON | - | ON | |
being assigned. | |||||
|
|
|
| ||
|
|
|
|
| |
TalkMaster™ software is not running on | FLASH | ON | - | - | |
PC or not set to communicate. | |||||
|
|
|
| ||
|
|
|
|
| |
TalkMaster™ software at the server has |
|
|
|
| |
"Scanned" for intercoms in the | FAST FLASH | ON | - | - | |
Configuration Mode utility setup. |
|
|
|
| |
|
|
|
|
| |
Receiving audio. The TalkMaster™ | ON | ON | - | FLASH | |
software / PC microphone is on. | |||||
|
|
|
| ||
|
|
|
|
| |
Sending audio. Manual talk button is |
|
|
|
| |
pressed or TalkMaster™ has engaged | ON | ON | - | ON | |
"listen" mode. |
|
|
|
| |
|
|
|
|
| |
Intercom is in "Server" mode, waiting for a |
|
|
|
| |
client to request connection (LD10 flash | DUAL FLASH | - | - | - | |
alternates 1sec fast, 1sec slow). |
|
|
|
| |
|
|
|
|
|
Pg. 3
