Step 2 Click Next to start the configuration.
Step 3 Connect one end of a network cable to a LAN port (1~5) of the AP and connect the other end to a LAN port of the router. Power on the AP.
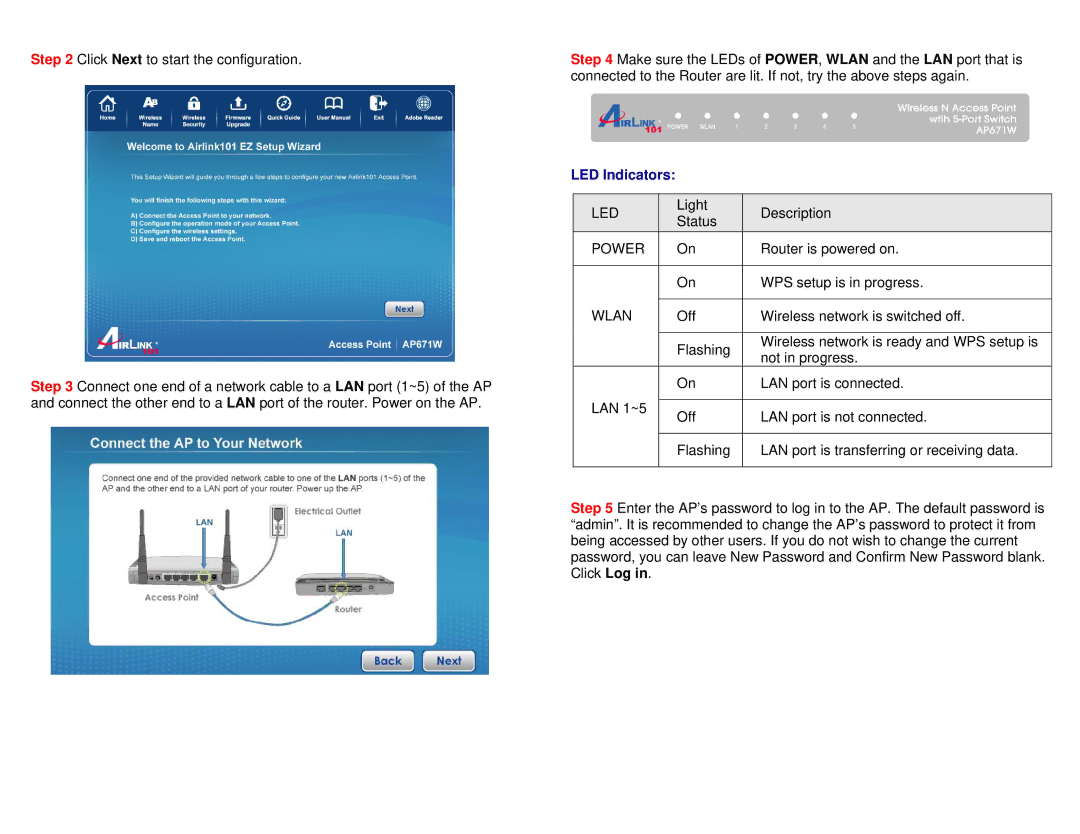
Step 4 Make sure the LEDs of POWER, WLAN and the LAN port that is connected to the Router are lit. If not, try the above steps again.
LED Indicators:
| LED |
|
| Light |
|
| Description |
|
|
|
| Status |
|
|
| ||
|
|
|
|
|
|
|
| |
| POWER |
| On |
| Router is powered on. | |||
|
|
|
|
|
|
| ||
|
|
|
| On |
| WPS setup is in progress. | ||
| WLAN |
|
|
|
| |||
|
| Off |
| Wireless network is switched off. | ||||
|
|
|
|
|
|
|
| |
|
|
|
| Flashing |
| Wireless network is ready and WPS setup is | ||
|
|
|
|
| not in progress. | |||
|
|
|
|
|
|
| ||
|
|
|
| On |
| LAN port is connected. | ||
| LAN 1~5 |
|
|
|
|
|
| |
|
| Off |
| LAN port is not connected. | ||||
|
|
|
|
| ||||
|
|
|
|
|
|
| ||
|
|
|
| Flashing |
| LAN port is transferring or receiving data. | ||
|
|
|
|
|
|
|
|
|
Step 5 Enter the AP’s password to log in to the AP. The default password is “admin”. It is recommended to change the AP’s password to protect it from being accessed by other users. If you do not wish to change the current password, you can leave New Password and Confirm New Password blank. Click Log in.