Section 1
This Quick Installation Guide only provides the basic instructions. For more detailed information, please refer to the User’s Manual on the supplied CD.
Connecting the Router
Note: Prior to connecting the router, be sure to power off your computer, DSL/Cable modem, and the router. You should setup the router with a wired connection first before attempting to setup any wireless connections.
Step 1 Connect one end of the network cable to the WAN port of the router and connect the other end of the cable to the DSL/Cable modem.
Step 2 With another network cable, connect one end of the cable to your computer’s network card and connect the other end to one of the LAN (Ethernet) ports on the router.
Step 3 Power on the DSL/Cable modem and wait for the lights on the modem to settle down.
Step 4 Power on the router by connecting one end of the supplied power adapter to the power jack of the router and connecting the other end to an electrical outlet.
Step 5 Power on your computer.
Step 6 Make sure the WAN, Wireless, and the LAN ports that the computer is connected to are lit. If not, try the above steps again.
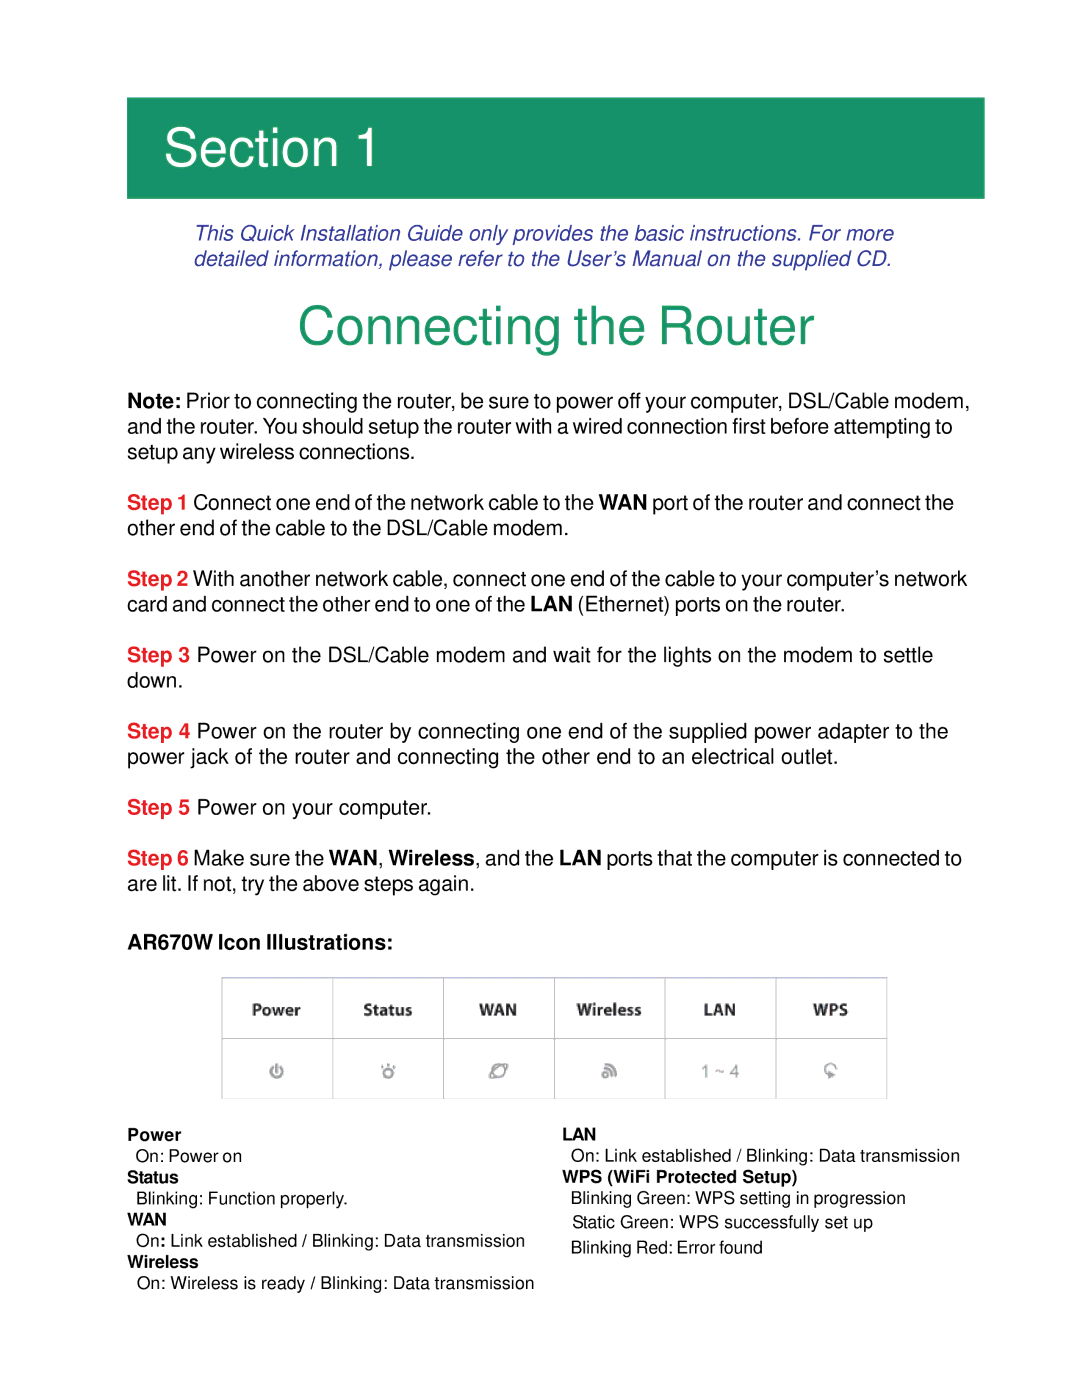
AR670W Icon Illustrations:
Power | LAN | |
On: Power on | On: Link established / Blinking: Data transmission | |
Status | WPS (WiFi Protected Setup) | |
Blinking: Function properly. | Blinking Green: WPS setting in progression | |
WAN | Static Green: WPS successfully set up | |
On: Link established / Blinking: Data transmission | Blinking Red: Error found | |
Wireless | ||
| ||
On: Wireless is ready / Blinking: Data transmission |
|
