XP-R120 specifications
The Aiwa XP-R120 is a compact and versatile portable stereo cassette player that has captured the hearts of audio enthusiasts with its impressive blend of features and functionality. Released during a time when portable audio was gaining immense popularity, the XP-R120 offers a unique combination of classic design and modern technology, making it a beloved choice among retro audio fans.One of the standout characteristics of the Aiwa XP-R120 is its design. The player features a sleek and lightweight construction, making it easy to carry around. Available in various colors, the stylish exterior is complemented by a user-friendly interface. The large, intuitive buttons allow for easy operation, ensuring that users can quickly navigate through their audio options.
At its core, the XP-R120 boasts a high-quality cassette deck that provides exceptional sound clarity and fidelity. It supports both normal and chrome tapes, ensuring users can enjoy their favorite music without compromise. The integrated Dolby B noise reduction system further enhances the listening experience by minimizing tape hiss and improving overall audio quality.
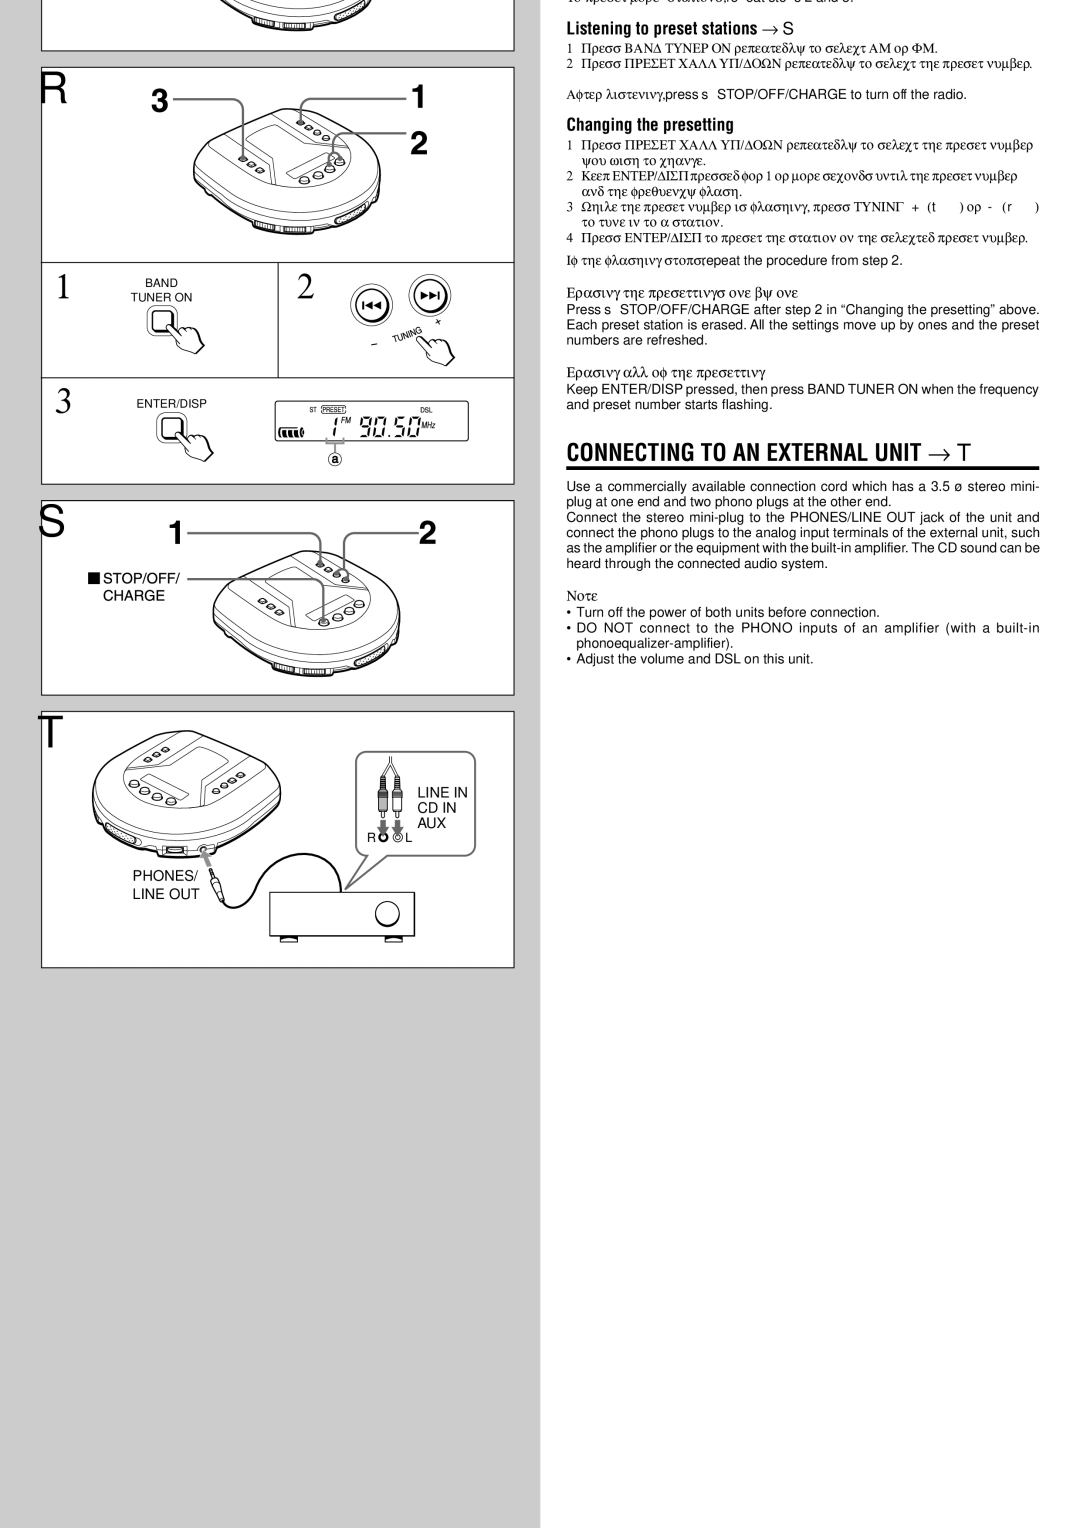
The Aiwa XP-R120 also comes with a built-in digital tuner that supports AM and FM radio stations, giving users the flexibility to enjoy live broadcasts alongside their cassette tapes. Preset tuning allows easy access to favorite stations, while the telescopic antenna ensures optimal reception even in challenging environments.
One of the more exciting features of the XP-R120 is its ability to record audio directly from the radio or another source via an external microphone. This feature is especially appealing for those looking to preserve live performances or capture their own music. The recording function produces admirable sound quality, which is often a key concern for aspiring musicians and podcasters alike.
To enhance portability, the Aiwa XP-R120 is powered by standard AA batteries, ensuring that users can enjoy their music on the go without worrying about charging cables. Additionally, the player includes a headphone jack, allowing users to enjoy their music privately without disturbing others.
In conclusion, the Aiwa XP-R120 perfectly embodies the spirit of portable audio with its impressive sound quality, elegant design, and convenient features. This cassette player not only appeals to nostalgia but also serves practical purposes for modern audio lovers, making it a timeless choice in the world of portable media.

