Installation Guide
Package Contents
Make sure the media converter package contains the following items:
❑
❑Four Protective Feet (for standalone use only)
❑External
❑This Installation Guide
Contact your sales representative if any items are missing or damaged.
Installing the Media Converter
Read the warnings below before beginning any installation.
Warning
Do not stare into the laser beam when installing the media converters.
!5
LIGHTNING DANGER: DO NOT WORK on equipment or CABLES during periods of LIGHTNING ACTIVITY!6
DO NOT BLOCK AIR VENTS !7
The following steps are for a standalone installation. To install media converters in a rack mount chassis, see “Rack mount Chassis Installation” on page 7. For information concerning
Standalone Installation
1.Remove all equipment from the package and store the packaging in a safe place
2.Attach the four rubber feet to the base of the unit, placing one rubber foot in each corner.For
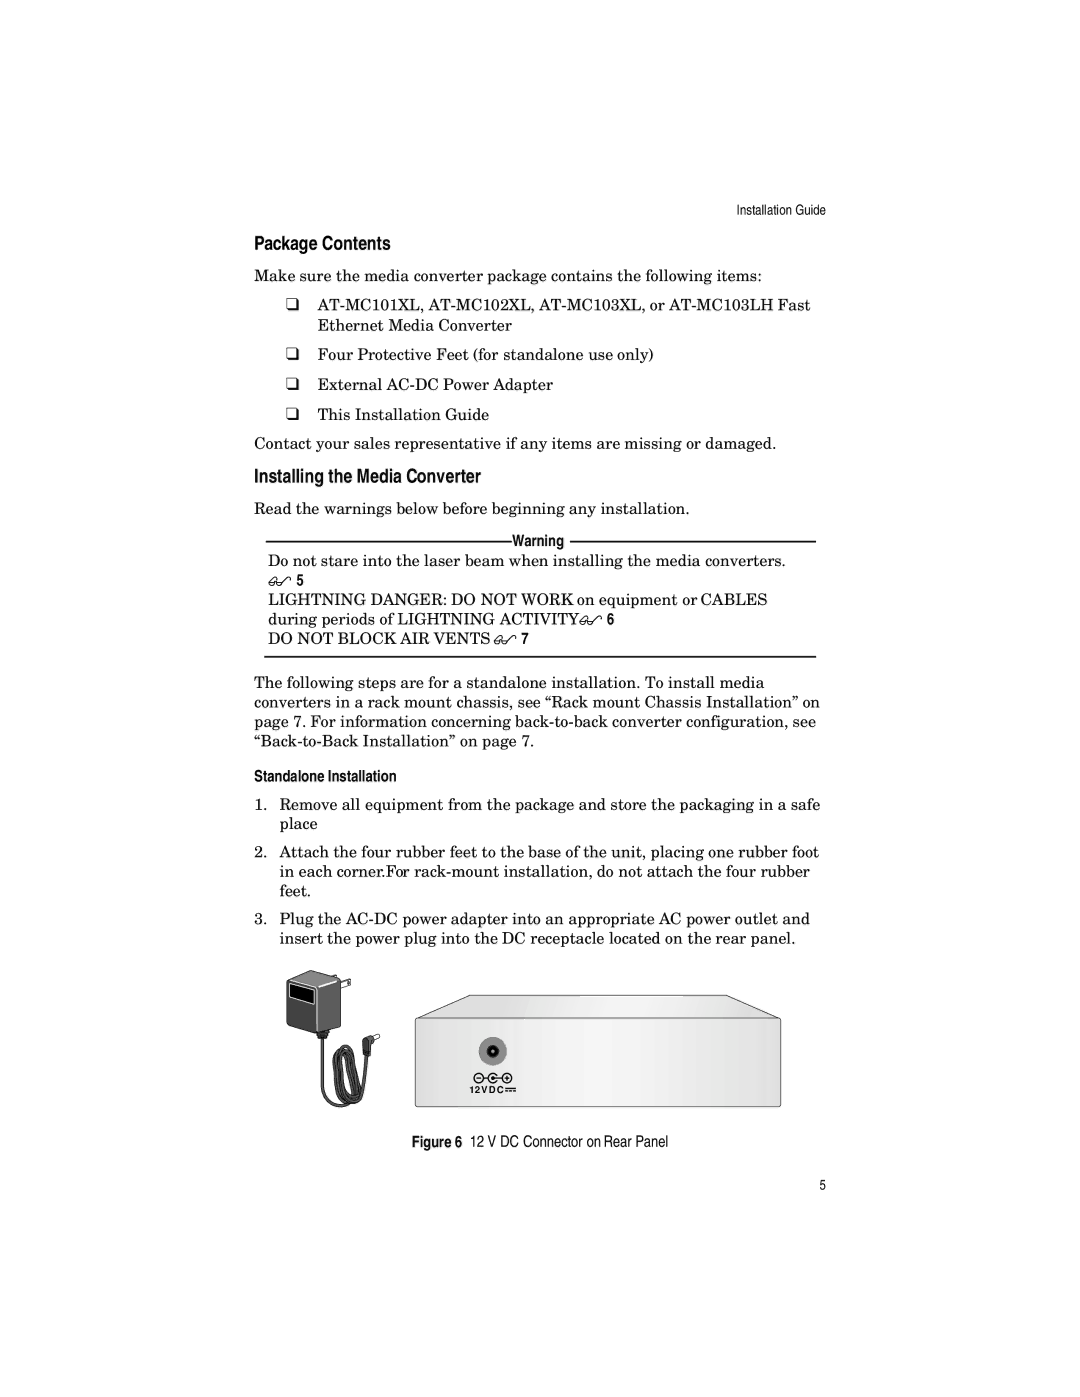
3.Plug the
12 V D C ![]()
Figure 6 12 V DC Connector on Rear Panel
5