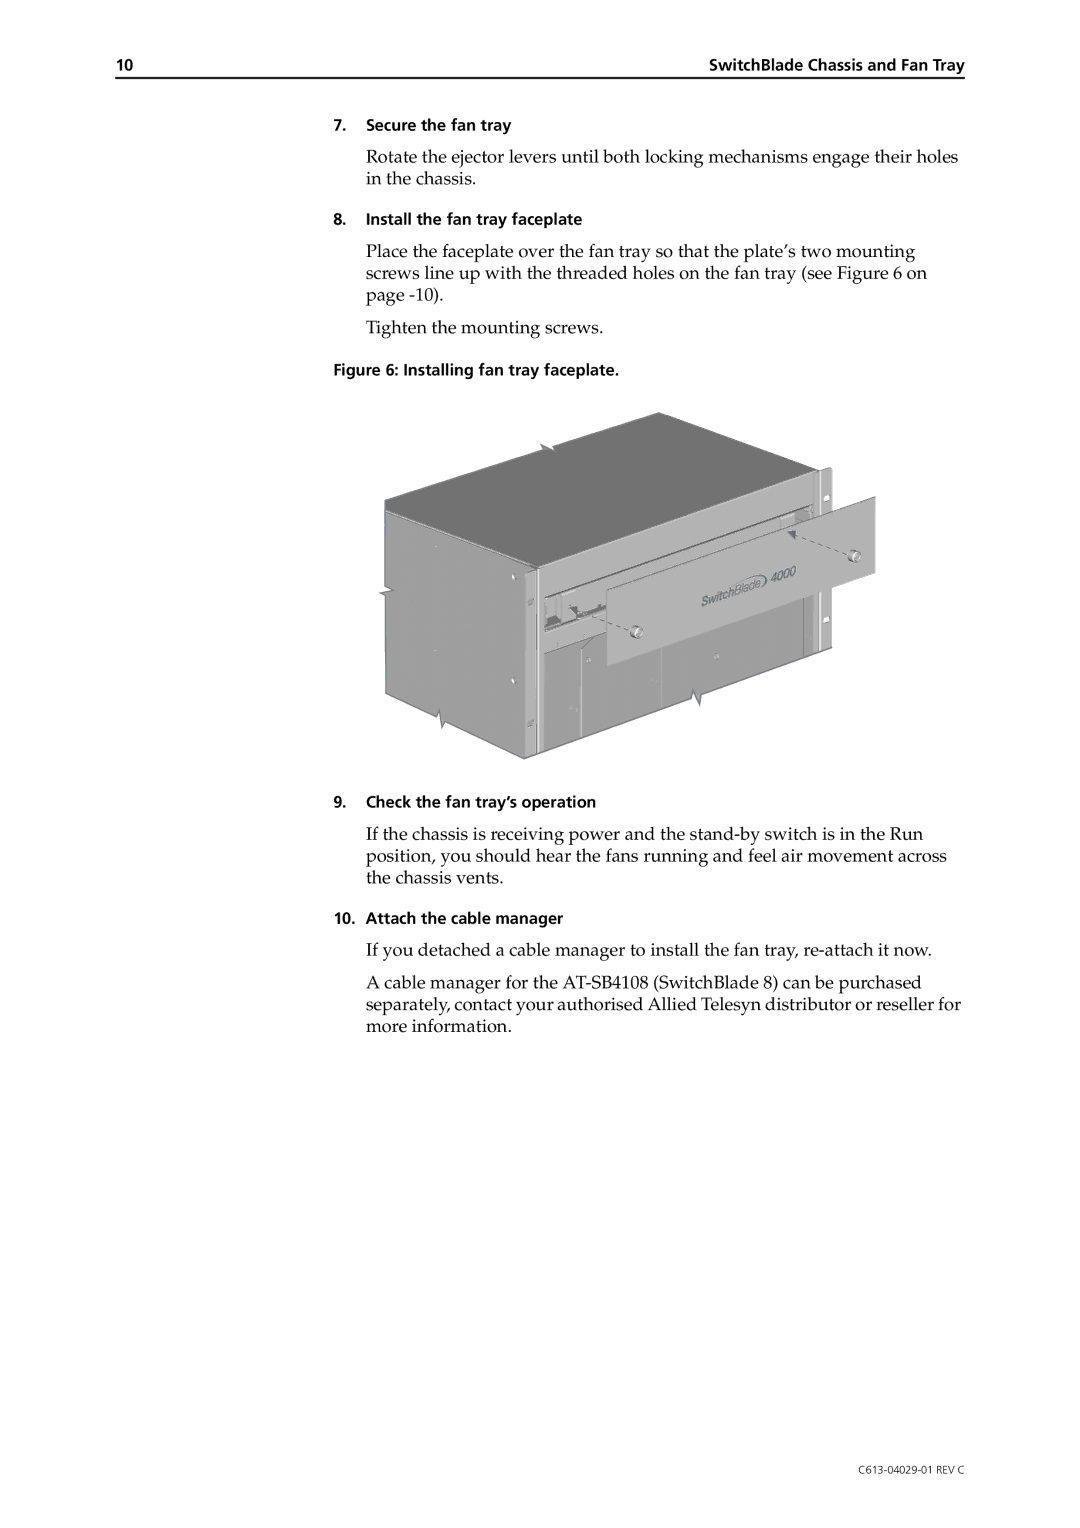
AT-SB4104-80, AT-SB4104-00, AT-SB4108-60, AT-SB4108-00, AT-SB4108-80 specifications
Allied Telesis has long been a recognized name in networking solutions, and their line of AT-SB4100 series products exemplifies their commitment to providing high-performance and reliable devices for a variety of networking needs. Among these, the AT-SB4104-80, AT-SB4108-80, AT-SB4108-00, AT-SB4104-00, and AT-SB4108-60 models stand out due to their advanced features and capabilities.The AT-SB4104-80 and AT-SB4108-80 models are equipped with an impressive array of ports, accommodating multiple devices in a single chassis. These switches support up to 4 or 8 Gigabit Ethernet ports, respectively, facilitating high-speed data transfer suitable for bandwidth-intensive applications. They help in streamlining network traffic and improving performance across connected devices.
One of the key characteristics of the AT-SB4100 series is their robust Layer 2 switching capabilities. The switches support a variety of network protocols, ensuring compatibility with various networking environments. Features such as VLAN support enhance network management, allowing for logical segmentation of traffic, which is essential for performance and security.
The AT-SB4108-00 and AT-SB4104-00 variants are designed with power efficiency in mind. They come with features suited for energy-efficient operation, which is critical in today’s environmentally conscious business landscape. These models help organizations reduce their overall power consumption without compromising on performance.
In addition, the AT-SB4108-60 model adds an extra layer of flexibility, with options for modular expansions. This adaptability allows businesses to tailor their network infrastructure according to their growth and changing requirements. The ability to integrate with various network technologies is a significant advantage, providing longevity to the investment.
Allied Telesis ensures that their devices are equipped with advanced security features. The AT-SB4100 series incorporates mechanisms to protect against unauthorized access, making them suitable for deployment in sensitive environments. With management tools that simplify configuration and monitoring, network administrators can achieve better control and visibility over their networks.
In summary, the Allied Telesis AT-SB4100 series—comprising the AT-SB4104-80, AT-SB4108-80, AT-SB4108-00, AT-SB4104-00, and AT-SB4108-60—offers a comprehensive solution for organizations seeking reliable, efficient, and secure networking options. Their advanced features, coupled with support for multiple protocols and energy-efficient designs, make them an excellent choice for businesses looking to enhance their network infrastructure.

