6 | SwitchBlade Switch Controller |
7.Prepare the switch controller bay
Remove the switch controller bay faceplate or existing switch controller
To remove a bay’s faceplate:
Loosen the faceplate’s two Phillips mounting screws until they disengage from the chassis, then remove the faceplate.
Keep the faceplate for future use. If you should remove a switch controller, replace the faceplate to prevent dust and debris from entering the chassis and to maintain proper airflow.
The switch may overheat or be damaged by dust and debris if bays are left uncovered.
To remove an existing switch controller:
Loosen the switch controller’s two Phillips mounting screws until they disengage from the chassis.
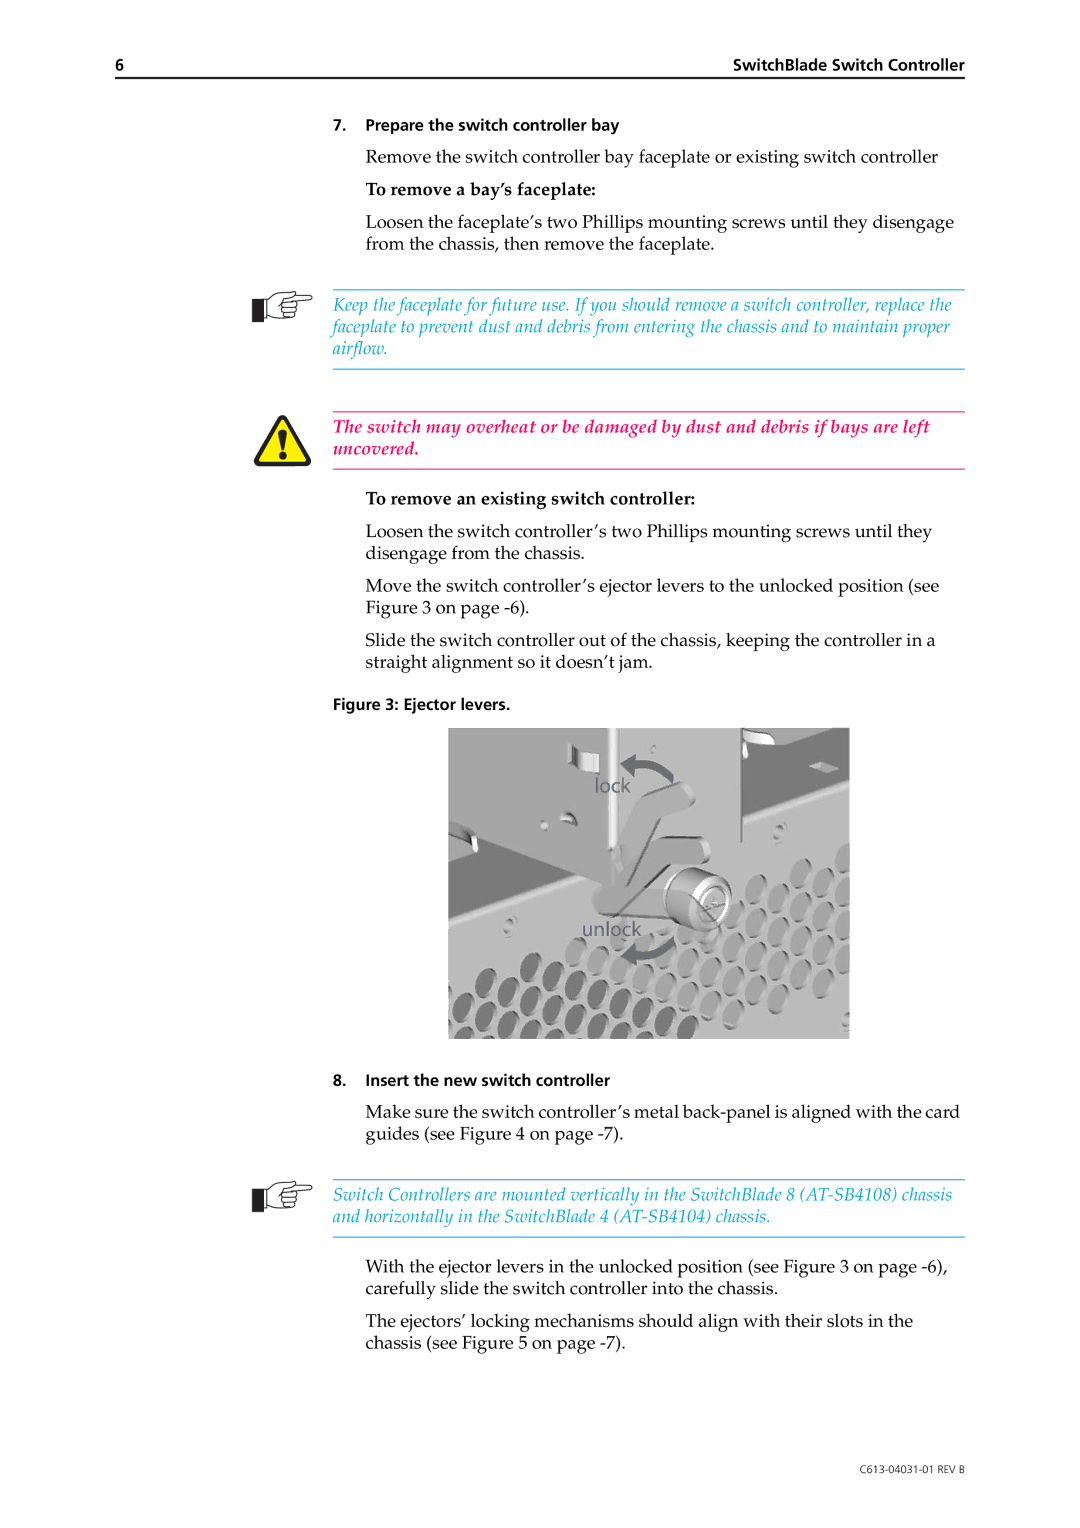
Move the switch controller’s ejector levers to the unlocked position (see
Figure 3 on page -6).
Slide the switch controller out of the chassis, keeping the controller in a straight alignment so it doesn’t jam.
Figure 3: Ejector levers.
8.Insert the new switch controller
Make sure the switch controller’s metal
Switch Controllers are mounted vertically in the SwitchBlade 8
With the ejector levers in the unlocked position (see Figure 3 on page
The ejectors’ locking mechanisms should align with their slots in the chassis (see Figure 5 on page