 F: OPERATION AND ADJUSTMENT
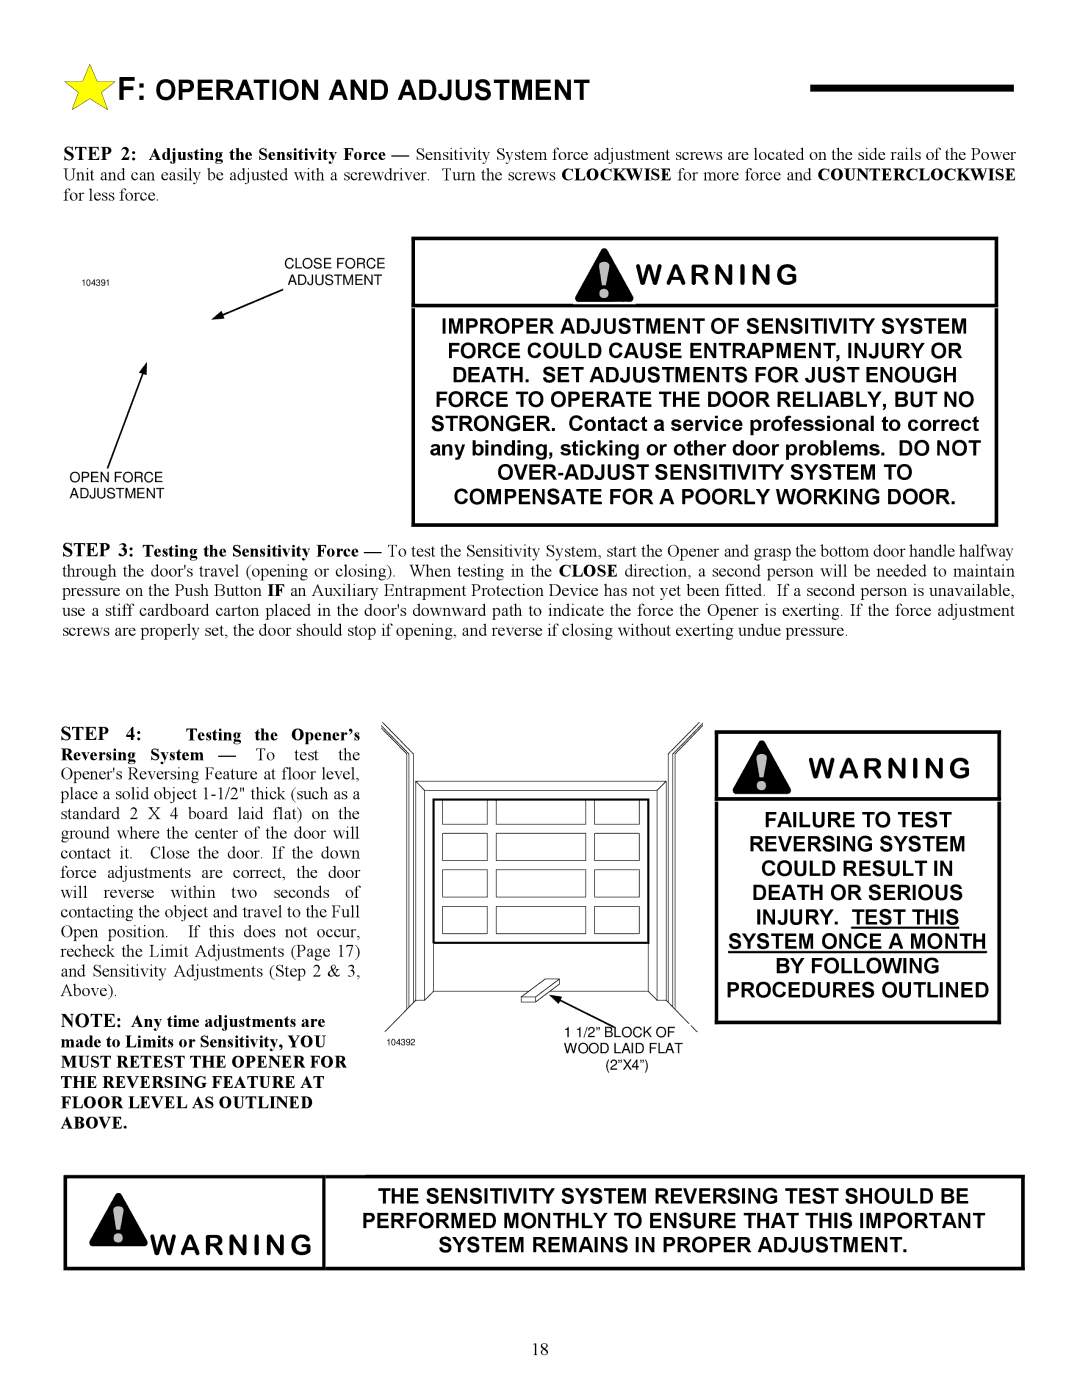
STEP 2: Adjusting the Sensitivity Force — Sensitivity System force adjustment screws are located on the side rails of the Power Unit and can easily be adjusted with a screwdriver. Turn the screws CLOCKWISE for more force and COUNTERCLOCKWISE for less force.
|
| CLOSE FORCE |
|
| ADJUSTMENT |
104391 |
| |
|
|
|
OPEN FORCE
ADJUSTMENT


 W A R NI N G
IMPROPER ADJUSTMENT OF SENSITIVITY SYSTEM FORCE COULD CAUSE ENTRAPMENT, INJURY OR DEATH. SET ADJUSTMENTS FOR JUST ENOUGH FORCE TO OPERATE THE DOOR RELIABLY, BUT NO STRONGER. Contact a service professional to correct any binding, sticking or other door problems. DO NOT
STEP 3: Testing the Sensitivity Force — To test the Sensitivity System, start the Opener and grasp the bottom door handle halfway through the door's travel (opening or closing). When testing in the CLOSE direction, a second person will be needed to maintain pressure on the Push Button IF an Auxiliary Entrapment Protection Device has not yet been fitted. If a second person is unavailable, use a stiff cardboard carton placed in the door's downward path to indicate the force the Opener is exerting. If the force adjustment screws are properly set, the door should stop if opening, and reverse if closing without exerting undue pressure.
STEP 4: Testing the Opener’s Reversing System — To test the Opener's Reversing Feature at floor level, place a solid object
NOTE: Any time adjustments are
made to Limits or Sensitivity, YOU 104392
MUST RETEST THE OPENER FOR THE REVERSING FEATURE AT FLOOR LEVEL AS OUTLINED ABOVE.
1 1/2” BLOCK OF WOOD LAID FLAT (2”X4”)
W A R NI N G |
FAILURE TO TEST
REVERSING SYSTEM
COULD RESULT IN
DEATH OR SERIOUS INJURY. TEST THIS SYSTEM ONCE A MONTH BY FOLLOWING PROCEDURES OUTLINED
 W A R NI N G
THE SENSITIVITY SYSTEM REVERSING TEST SHOULD BE PERFORMED MONTHLY TO ENSURE THAT THIS IMPORTANT SYSTEM REMAINS IN PROPER ADJUSTMENT.
18
