TDM-7582E specifications
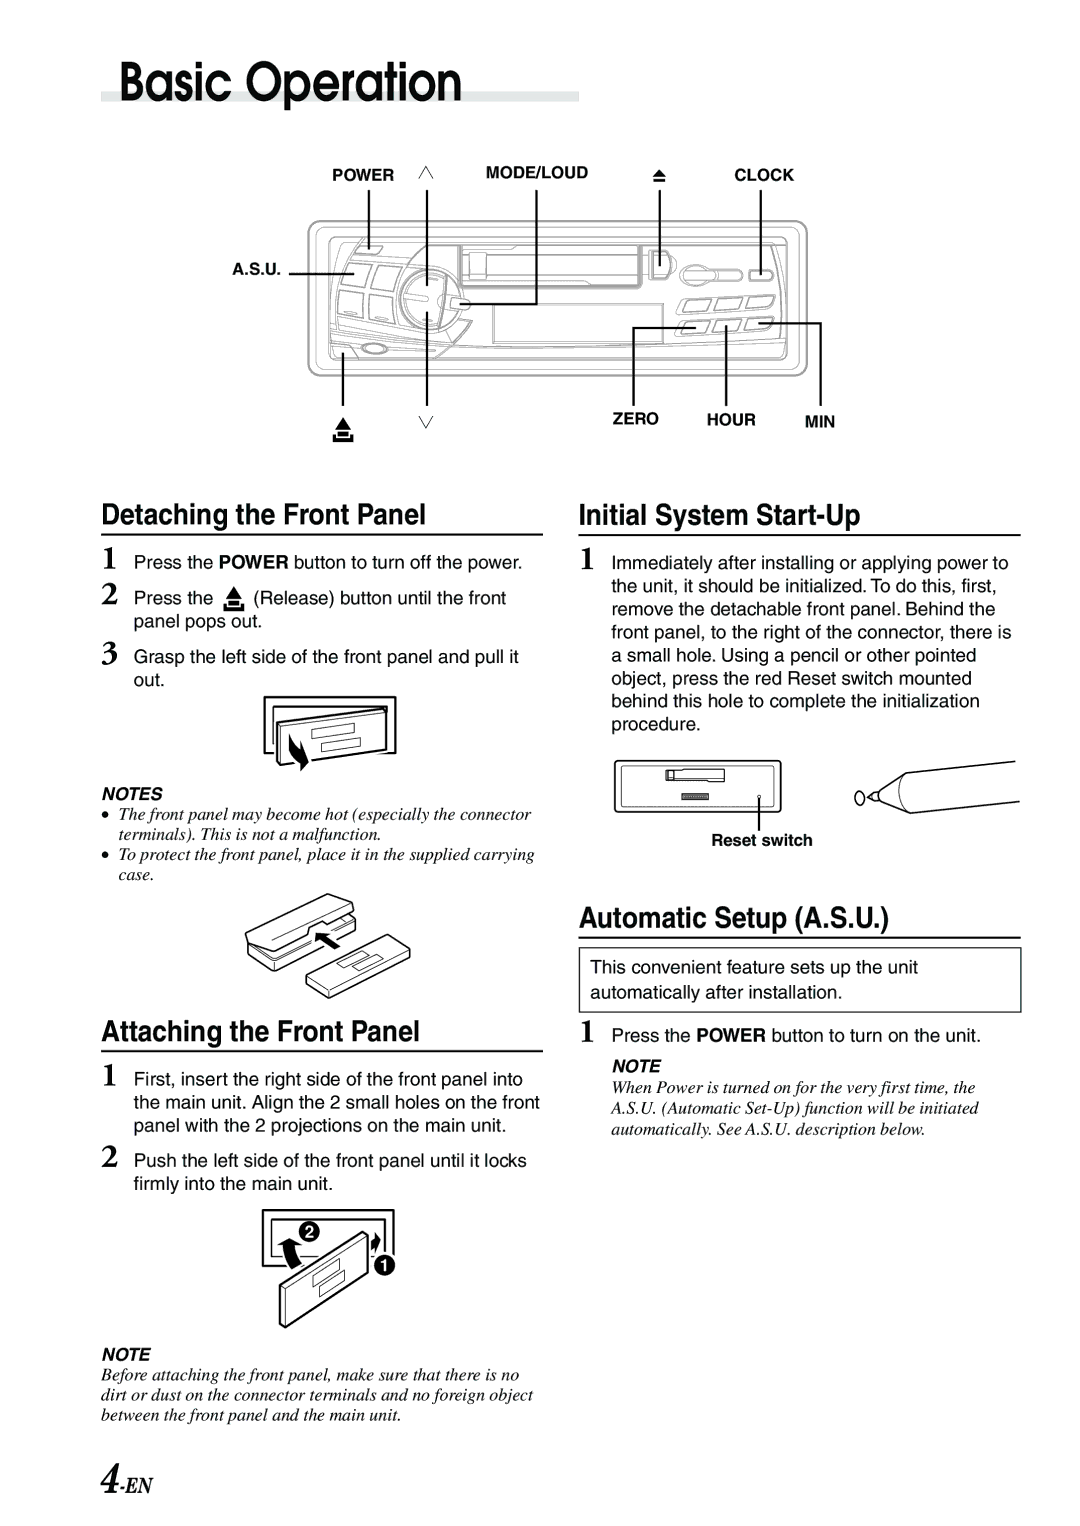
The Alpine TDM-7582E is an advanced multimedia receiver specifically designed to enhance the in-car entertainment experience. This versatile unit stands out due to its exceptional blend of quality audio performance, cutting-edge technology and user-centric features, making it an excellent choice for car enthusiasts and casual listeners alike.At the heart of the TDM-7582E is its robust audio processing capabilities. The unit supports high-resolution audio formats and offers a built-in digital signal processor (DSP), allowing users to customize their audio experience. With an extensive equalizer and preset sound modes, it caters to various musical tastes, ensuring every journey is accompanied by exceptional sound clarity and depth.
One of the most striking features of the TDM-7582E is its large, responsive touchscreen display. The 7-inch display makes navigation through menus and features intuitive, while also offering vibrant colors and sharp resolution. Additionally, it includes a user-friendly interface that ensures drivers can control their music and settings without distractions.
Connectivity is another highlight of the Alpine TDM-7582E. It comes with Bluetooth capabilities, enabling users to stream music wirelessly from their smartphones and make hands-free calls with ease. The built-in USB port facilitates quick access to digital music libraries, while the auxiliary input allows for additional devices to be connected, enhancing versatility.
The TDM-7582E also includes compatibility with various smartphone integration platforms, such as Apple CarPlay and Android Auto. This feature allows users to seamlessly connect their devices, enabling access to apps, navigation tools, and more directly from the display. The incorporation of these technologies not only enhances convenience but also promotes safety by minimizing distractions while driving.
In terms of installation, the Alpine TDM-7582E is designed to fit a range of vehicles, making it a flexible option for many different setups. It features an array of outputs, including RCA pre-outs for additional amplifiers or subwoofers, which provides the flexibility to create a custom audio system tailored to individual preferences.
Overall, the Alpine TDM-7582E is a stellar choice for anyone looking to upgrade their in-car audio system. With its combination of high-quality sound, modern connectivity options, and user-friendly interface, it elevates the driving experience, making every trip enjoyable and entertaining. Whether you are a music aficionado or simply looking for a reliable multimedia receiver, the TDM-7582E delivers on all fronts.

