The ULTRAPROBE 100 provides easy, accurate leak detection and mechanical inspection through advanced ultrasonic technology.
kit shot
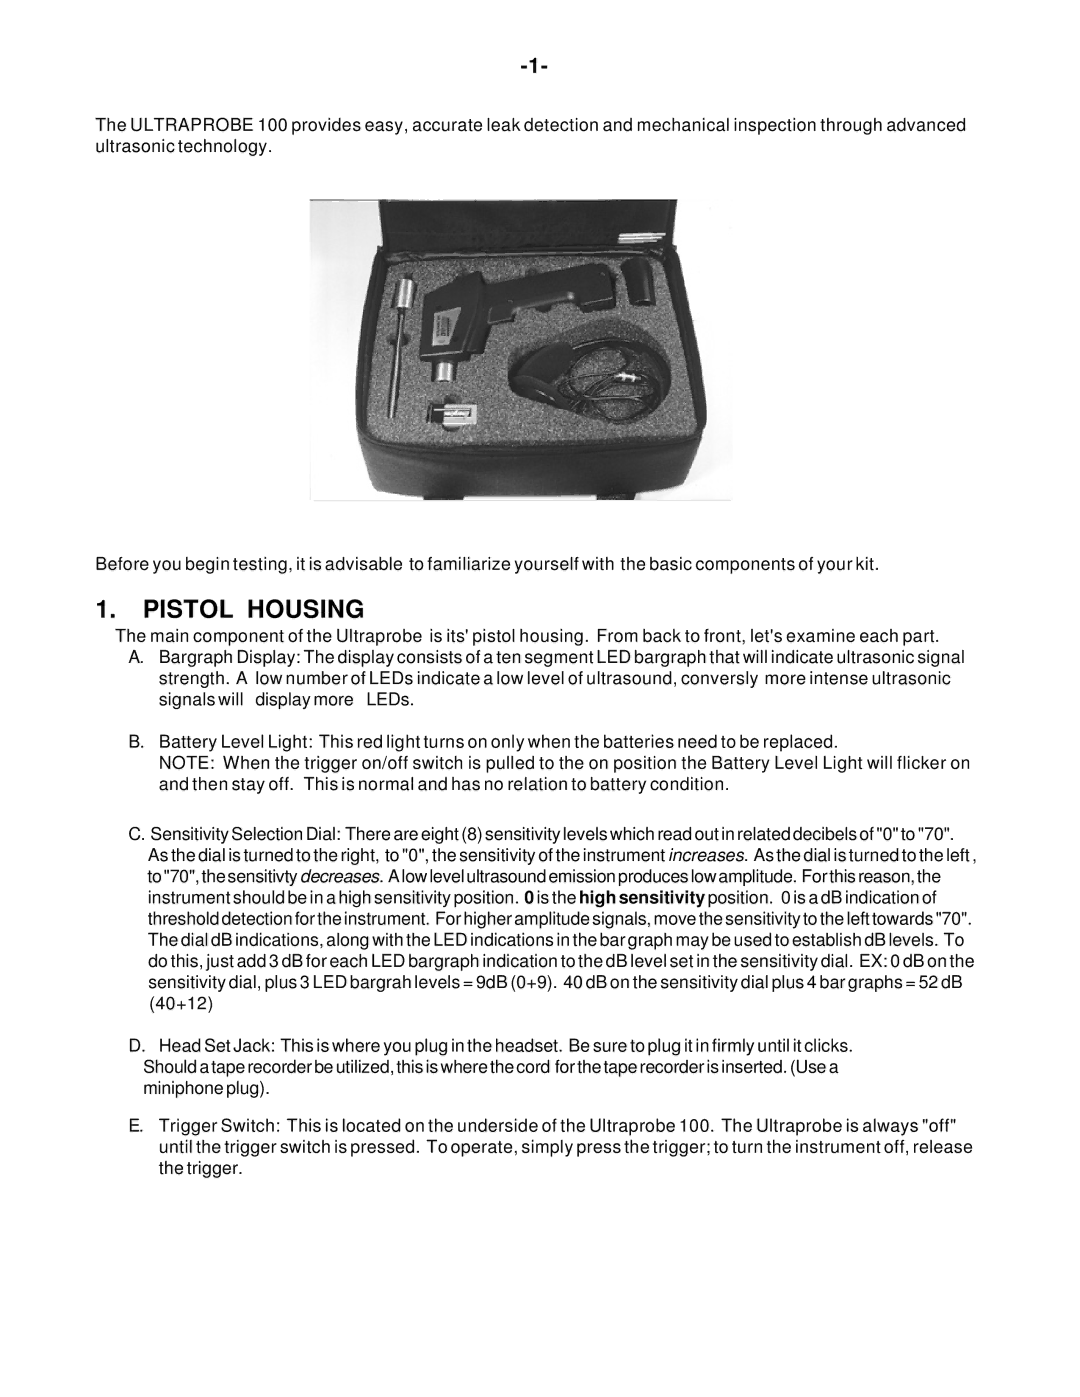
Before you begin testing, it is advisable to familiarize yourself with the basic components of your kit.
1.PISTOL HOUSING
The main component of the Ultraprobe is its' pistol housing. From back to front, let's examine each part.
A.Bargraph Display: The display consists of a ten segment LED bargraph that will indicate ultrasonic signal strength. A low number of LEDs indicate a low level of ultrasound, conversly more intense ultrasonic signals will display more LEDs.
B.Battery Level Light: This red light turns on only when the batteries need to be replaced.
NOTE: When the trigger on/off switch is pulled to the on position the Battery Level Light will flicker on and then stay off. This is normal and has no relation to battery condition.
C.Sensitivity Selection Dial: There are eight (8) sensitivity levels which read out in related decibels of "0" to "70". As the dial is turned to the right, to "0", the sensitivity of the instrument increases. As the dial is turned to the left , to "70", the sensitivty decreases. A low level ultrasound emission produces low amplitude. For this reason, the instrument should be in a high sensitivity position. 0 is the high sensitivity position. 0 is a dB indication of threshold detection for the instrument. For higher amplitude signals, move the sensitivity to the left towards "70". The dial dB indications, along with the LED indications in the bar graph may be used to establish dB levels. To do this, just add 3 dB for each LED bargraph indication to the dB level set in the sensitivity dial. EX: 0 dB on the sensitivity dial, plus 3 LED bargrah levels = 9dB (0+9). 40 dB on the sensitivity dial plus 4 bar graphs = 52 dB (40+12)
D.Head Set Jack: This is where you plug in the headset. Be sure to plug it in firmly until it clicks.
Should a tape recorder be utilized, this is where the cord for the tape recorder is inserted. (Use a miniphone plug).
E.Trigger Switch: This is located on the underside of the Ultraprobe 100. The Ultraprobe is always "off" until the trigger switch is pressed. To operate, simply press the trigger; to turn the instrument off, release the trigger.