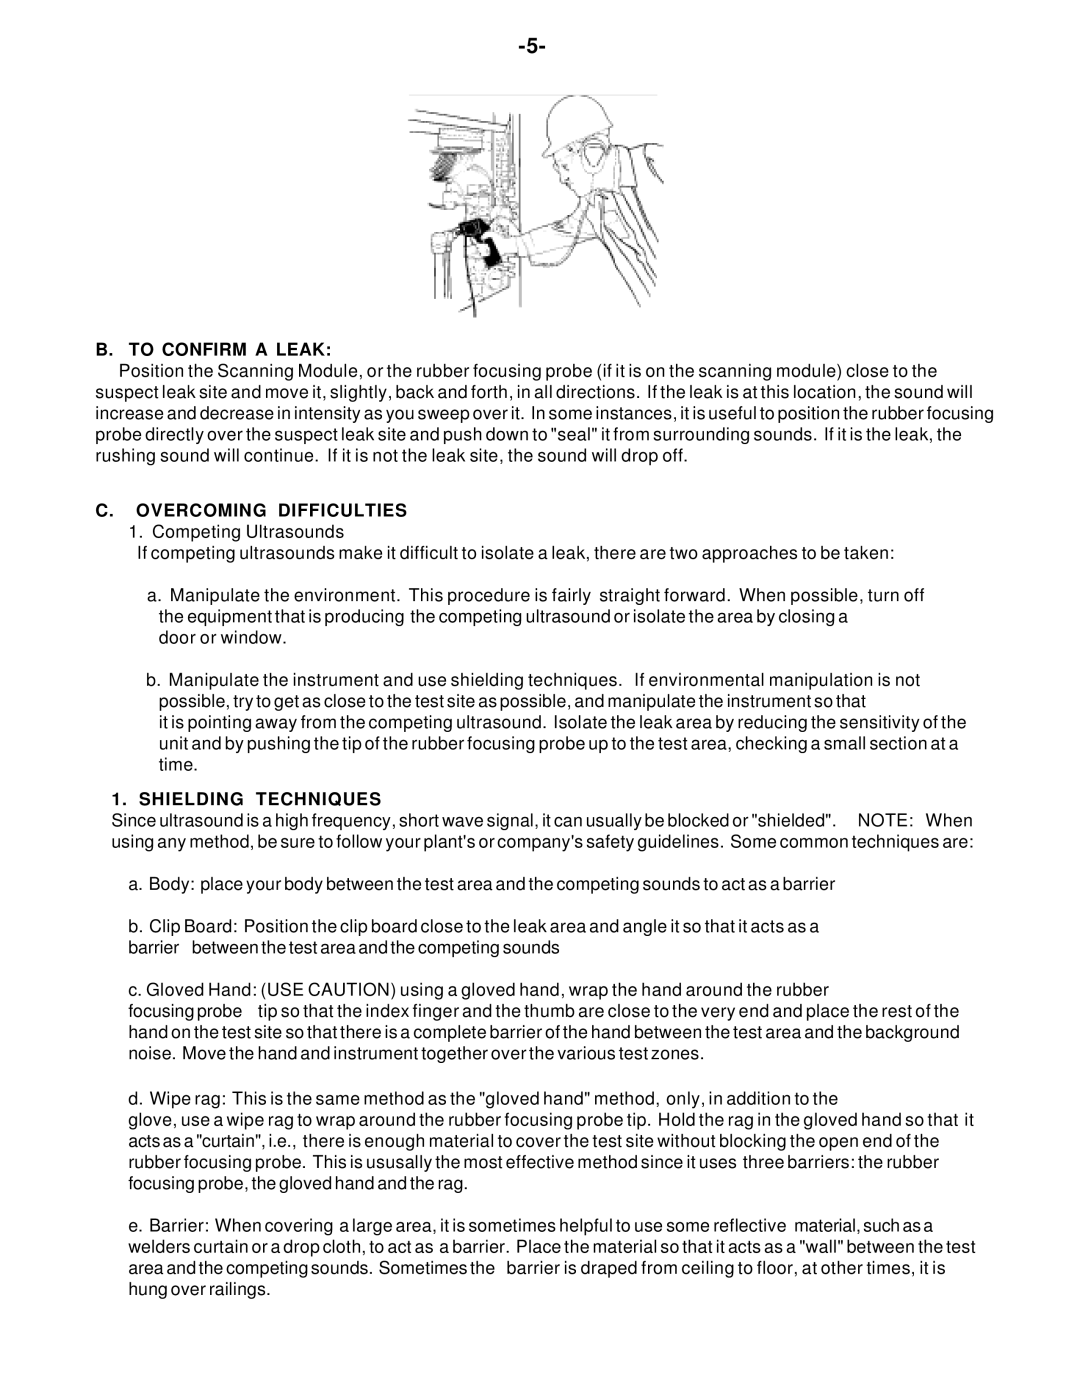
B. TO CONFIRM A LEAK:
Position the Scanning Module, or the rubber focusing probe (if it is on the scanning module) close to the suspect leak site and move it, slightly, back and forth, in all directions. If the leak is at this location, the sound will increase and decrease in intensity as you sweep over it. In some instances, it is useful to position the rubber focusing probe directly over the suspect leak site and push down to "seal" it from surrounding sounds. If it is the leak, the rushing sound will continue. If it is not the leak site, the sound will drop off.
C.OVERCOMING DIFFICULTIES
1.Competing Ultrasounds
If competing ultrasounds make it difficult to isolate a leak, there are two approaches to be taken:
a.Manipulate the environment. This procedure is fairly straight forward. When possible, turn off the equipment that is producing the competing ultrasound or isolate the area by closing a
door or window.
b.Manipulate the instrument and use shielding techniques. If environmental manipulation is not possible, try to get as close to the test site as possible, and manipulate the instrument so that
it is pointing away from the competing ultrasound. Isolate the leak area by reducing the sensitivity of the unit and by pushing the tip of the rubber focusing probe up to the test area, checking a small section at a time.
1.SHIELDING TECHNIQUES
Since ultrasound is a high frequency, short wave signal, it can usually be blocked or "shielded". NOTE: When using any method, be sure to follow your plant's or company's safety guidelines. Some common techniques are:
a.Body: place your body between the test area and the competing sounds to act as a barrier
b.Clip Board: Position the clip board close to the leak area and angle it so that it acts as a
barrier between the test area and the competing sounds
c. Gloved Hand: (USE CAUTION) using a gloved hand, wrap the hand around the rubber
focusing probe tip so that the index finger and the thumb are close to the very end and place the rest of the hand on the test site so that there is a complete barrier of the hand between the test area and the background noise. Move the hand and instrument together over the various test zones.
d. Wipe rag: This is the same method as the "gloved hand" method, only, in addition to the
glove, use a wipe rag to wrap around the rubber focusing probe tip. Hold the rag in the gloved hand so that it acts as a "curtain", i.e., there is enough material to cover the test site without blocking the open end of the rubber focusing probe. This is ususally the most effective method since it uses three barriers: the rubber focusing probe, the gloved hand and the rag.
e.Barrier: When covering a large area, it is sometimes helpful to use some reflective material, such as a welders curtain or a drop cloth, to act as a barrier. Place the material so that it acts as a "wall" between the test
area and the competing sounds. Sometimes the barrier is draped from ceiling to floor, at other times, it is hung over railings.