6. LOCATING FAULTY VALVES
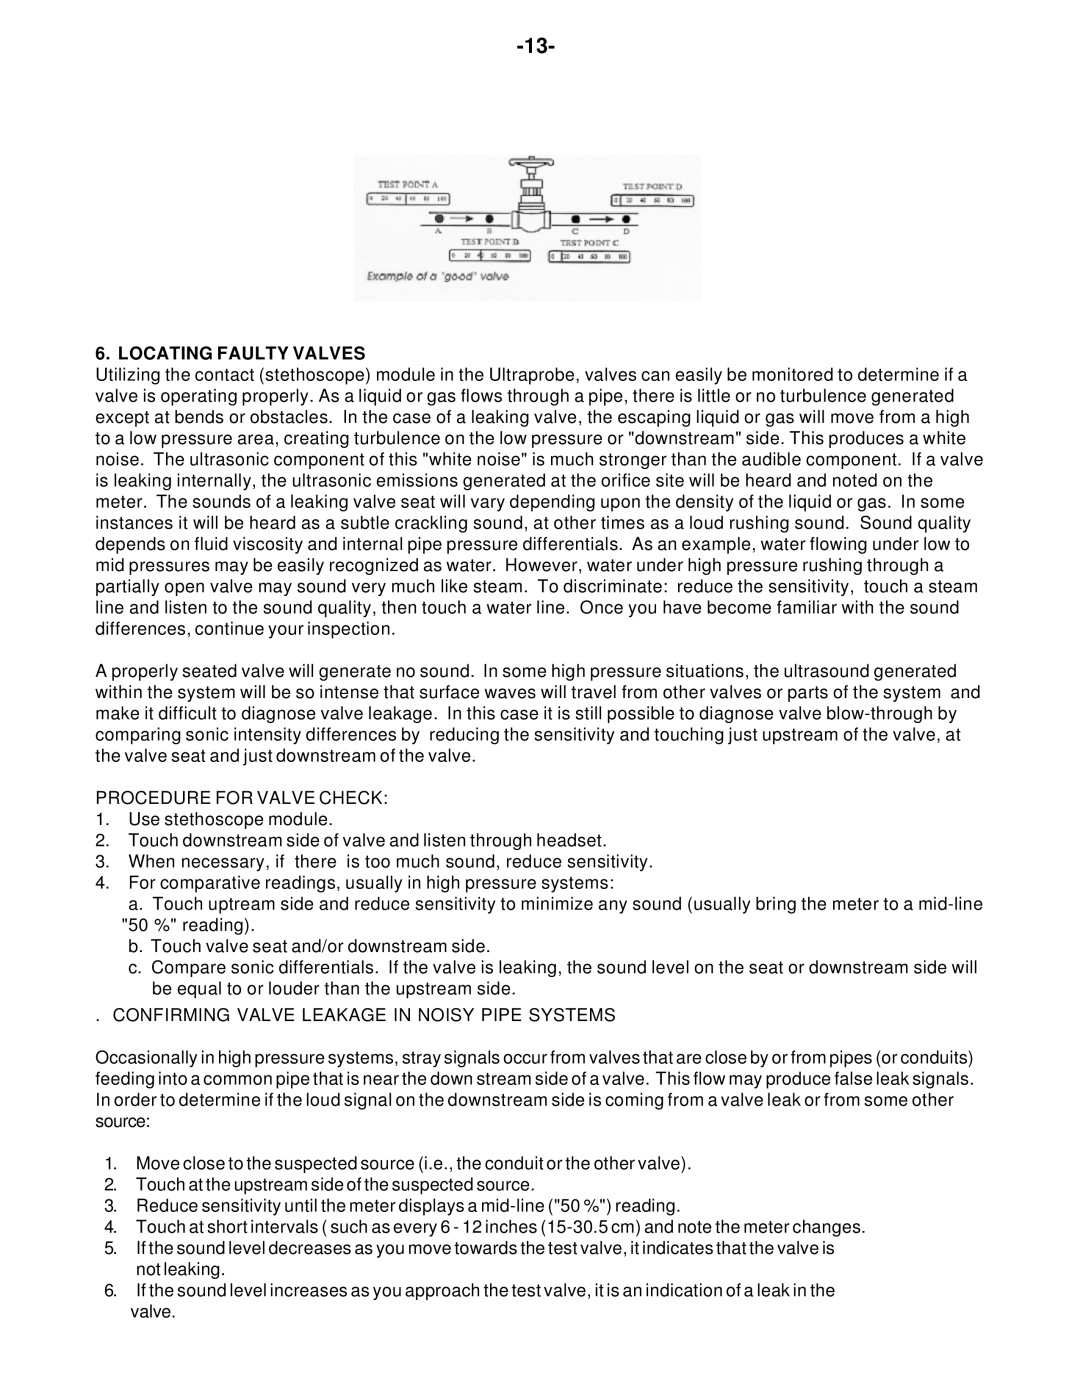
Utilizing the contact (stethoscope) module in the Ultraprobe, valves can easily be monitored to determine if a valve is operating properly. As a liquid or gas flows through a pipe, there is little or no turbulence generated except at bends or obstacles. In the case of a leaking valve, the escaping liquid or gas will move from a high to a low pressure area, creating turbulence on the low pressure or "downstream" side. This produces a white noise. The ultrasonic component of this "white noise" is much stronger than the audible component. If a valve is leaking internally, the ultrasonic emissions generated at the orifice site will be heard and noted on the meter. The sounds of a leaking valve seat will vary depending upon the density of the liquid or gas. In some instances it will be heard as a subtle crackling sound, at other times as a loud rushing sound. Sound quality depends on fluid viscosity and internal pipe pressure differentials. As an example, water flowing under low to mid pressures may be easily recognized as water. However, water under high pressure rushing through a partially open valve may sound very much like steam. To discriminate: reduce the sensitivity, touch a steam line and listen to the sound quality, then touch a water line. Once you have become familiar with the sound differences, continue your inspection.
A properly seated valve will generate no sound. In some high pressure situations, the ultrasound generated within the system will be so intense that surface waves will travel from other valves or parts of the system and make it difficult to diagnose valve leakage. In this case it is still possible to diagnose valve
PROCEDURE FOR VALVE CHECK:
1.Use stethoscope module.
2.Touch downstream side of valve and listen through headset.
3.When necessary, if there is too much sound, reduce sensitivity.
4.For comparative readings, usually in high pressure systems:
a.Touch uptream side and reduce sensitivity to minimize any sound (usually bring the meter to a
b.Touch valve seat and/or downstream side.
c.Compare sonic differentials. If the valve is leaking, the sound level on the seat or downstream side will be equal to or louder than the upstream side.
. CONFIRMING VALVE LEAKAGE IN NOISY PIPE SYSTEMS
Occasionally in high pressure systems, stray signals occur from valves that are close by or from pipes (or conduits) feeding into a common pipe that is near the down stream side of a valve. This flow may produce false leak signals. In order to determine if the loud signal on the downstream side is coming from a valve leak or from some other source:
1.Move close to the suspected source (i.e., the conduit or the other valve).
2.Touch at the upstream side of the suspected source.
3.Reduce sensitivity until the meter displays a
4.Touch at short intervals ( such as every 6 - 12 inches
5.If the sound level decreases as you move towards the test valve, it indicates that the valve is not leaking.
6.If the sound level increases as you approach the test valve, it is an indication of a leak in the valve.