Sensor Reheat
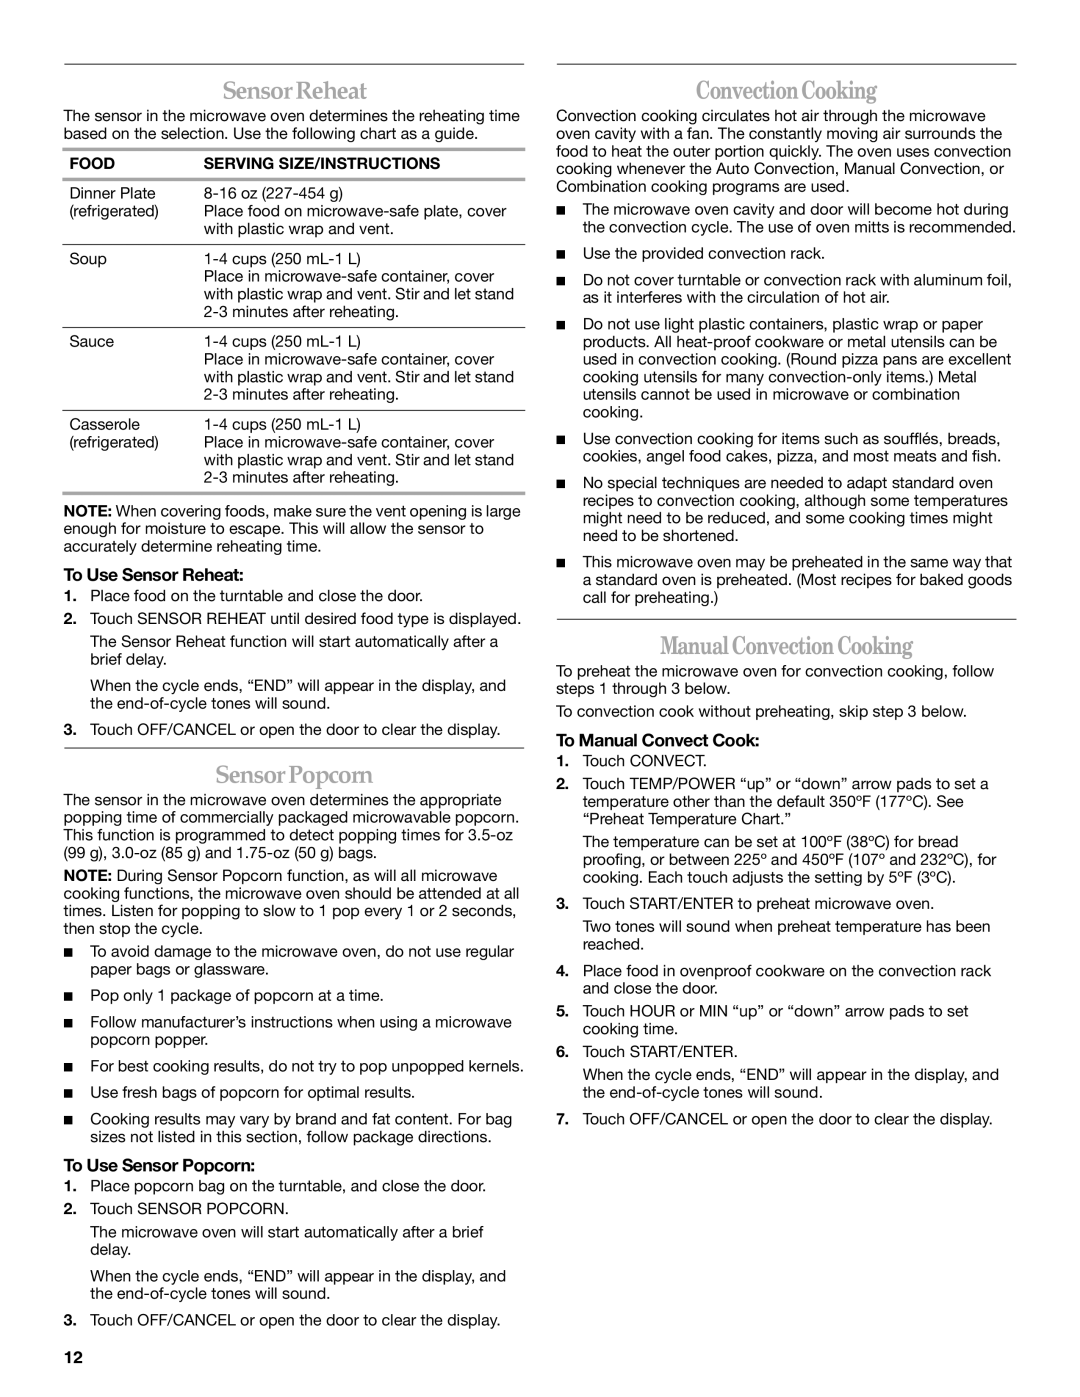
The sensor in the microwave oven determines the reheating time based on the selection. Use the following chart as a guide.
FOOD | SERVING SIZE/INSTRUCTIONS |
Dinner Plate | |
(refrigerated) | Place food on |
| with plastic wrap and vent. |
|
|
Soup | |
| Place in |
| with plastic wrap and vent. Stir and let stand |
| |
|
|
Sauce | |
| Place in |
| with plastic wrap and vent. Stir and let stand |
| |
|
|
Casserole | |
(refrigerated) | Place in |
| with plastic wrap and vent. Stir and let stand |
| |
|
|
NOTE: When covering foods, make sure the vent opening is large enough for moisture to escape. This will allow the sensor to accurately determine reheating time.
To Use Sensor Reheat:
1.Place food on the turntable and close the door.
2.Touch SENSOR REHEAT until desired food type is displayed.
The Sensor Reheat function will start automatically after a brief delay.
When the cycle ends, “END” will appear in the display, and the
3.Touch OFF/CANCEL or open the door to clear the display.
Sensor Popcorn
The sensor in the microwave oven determines the appropriate popping time of commercially packaged microwavable popcorn. This function is programmed to detect popping times for
NOTE: During Sensor Popcorn function, as will all microwave cooking functions, the microwave oven should be attended at all times. Listen for popping to slow to 1 pop every 1 or 2 seconds, then stop the cycle.
■To avoid damage to the microwave oven, do not use regular paper bags or glassware.
■Pop only 1 package of popcorn at a time.
■Follow manufacturer’s instructions when using a microwave popcorn popper.
■For best cooking results, do not try to pop unpopped kernels.
■Use fresh bags of popcorn for optimal results.
■Cooking results may vary by brand and fat content. For bag sizes not listed in this section, follow package directions.
To Use Sensor Popcorn:
1.Place popcorn bag on the turntable, and close the door.
2.Touch SENSOR POPCORN.
The microwave oven will start automatically after a brief delay.
When the cycle ends, “END” will appear in the display, and the
3.Touch OFF/CANCEL or open the door to clear the display.
ConvectionCooking
Convection cooking circulates hot air through the microwave oven cavity with a fan. The constantly moving air surrounds the food to heat the outer portion quickly. The oven uses convection cooking whenever the Auto Convection, Manual Convection, or Combination cooking programs are used.
■The microwave oven cavity and door will become hot during the convection cycle. The use of oven mitts is recommended.
■Use the provided convection rack.
■Do not cover turntable or convection rack with aluminum foil, as it interferes with the circulation of hot air.
■Do not use light plastic containers, plastic wrap or paper products. All
■Use convection cooking for items such as soufflés, breads, cookies, angel food cakes, pizza, and most meats and fish.
■No special techniques are needed to adapt standard oven recipes to convection cooking, although some temperatures might need to be reduced, and some cooking times might need to be shortened.
■This microwave oven may be preheated in the same way that a standard oven is preheated. (Most recipes for baked goods call for preheating.)
ManualConvectionCooking
To preheat the microwave oven for convection cooking, follow steps 1 through 3 below.
To convection cook without preheating, skip step 3 below.
To Manual Convect Cook:
1.Touch CONVECT.
2.Touch TEMP/POWER “up” or “down” arrow pads to set a temperature other than the default 350ºF (177ºC). See “Preheat Temperature Chart.”
The temperature can be set at 100ºF (38ºC) for bread proofing, or between 225º and 450ºF (107º and 232ºC), for cooking. Each touch adjusts the setting by 5ºF (3ºC).
3.Touch START/ENTER to preheat microwave oven.
Two tones will sound when preheat temperature has been reached.
4.Place food in ovenproof cookware on the convection rack and close the door.
5.Touch HOUR or MIN “up” or “down” arrow pads to set cooking time.
6.Touch START/ENTER.
When the cycle ends, “END” will appear in the display, and the
7.Touch OFF/CANCEL or open the door to clear the display.
12
