Freezer Features
Primary Features
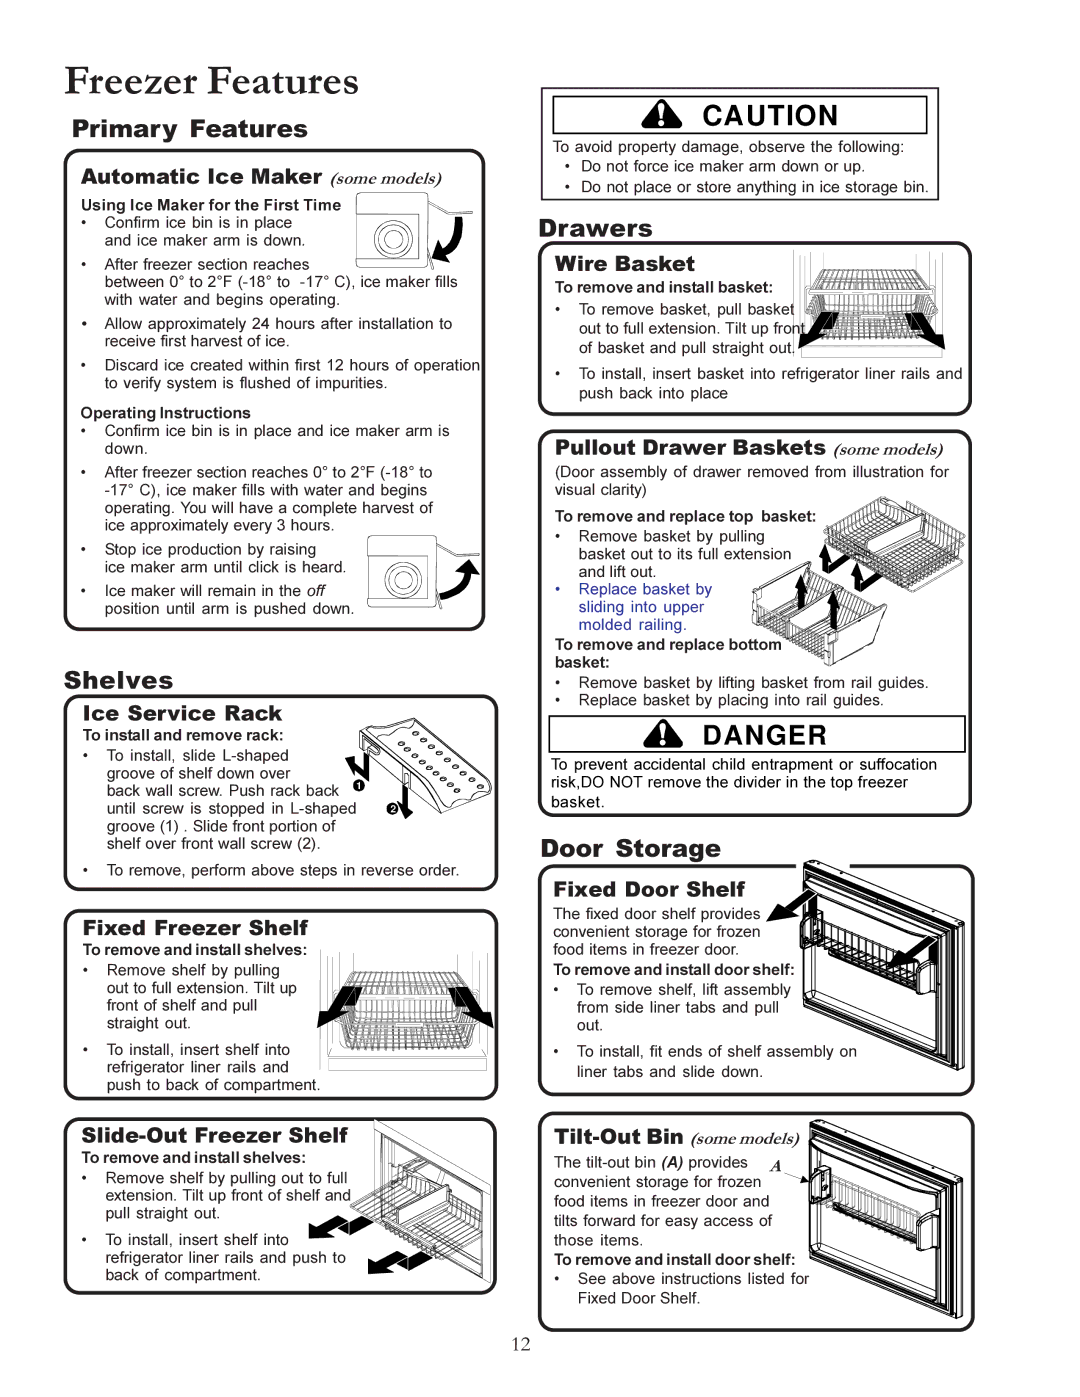
Automatic Ice Maker (some models)
Using Ice Maker for the First Time
• Confirm ice bin is in place and ice maker arm is down.
• After freezer section reaches
between 0° to 2°F
•Allow approximately 24 hours after installation to receive first harvest of ice.
•Discard ice created within first 12 hours of operation to verify system is flushed of impurities.
Operating Instructions
•Confirm ice bin is in place and ice maker arm is down.
•After freezer section reaches 0° to 2°F
• Stop ice production by raising ice maker arm until click is heard.
• Ice maker will remain in the off position until arm is pushed down.
Shelves
Ice Service Rack
To install and remove rack:
• To install, slide |
|
groove of shelf down over |
|
back wall screw. Push rack back 1 |
|
until screw is stopped in | 2 |
groove (1) . Slide front portion of |
|
shelf over front wall screw (2). |
|
•To remove, perform above steps in reverse order.
Fixed Freezer Shelf
To remove and install shelves:
•Remove shelf by pulling
out to full extension. Tilt up front of shelf and pull straight out.
•To install, insert shelf into refrigerator liner rails and push to back of compartment.
Slide-Out Freezer Shelf
To remove and install shelves:
• Remove shelf by pulling out to full extension. Tilt up front of shelf and pull straight out.
• To install, insert shelf into ![]() refrigerator liner rails and push to back of compartment.
refrigerator liner rails and push to back of compartment.
!CAUTION
To avoid property damage, observe the following:
•Do not force ice maker arm down or up.
•Do not place or store anything in ice storage bin.
Drawers
Wire Basket
To remove and install basket:
• To remove basket, pull basket ![]() out to full extension. Tilt up front
out to full extension. Tilt up front![]() of basket and pull straight out.
of basket and pull straight out. ![]()
![]()
•To install, insert basket into refrigerator liner rails and push back into place
Pullout Drawer Baskets (some models)
(Door assembly of drawer removed from illustration for visual clarity)
To remove and replace top basket:
•Remove basket by pulling
basket out to its full extension and lift out.
• Replace basket by sliding into upper molded railing.
To remove and replace bottom basket:
•Remove basket by lifting basket from rail guides.
•Replace basket by placing into rail guides.
!DANGER
To prevent accidental child entrapment or suffocation risk,DO NOT remove the divider in the top freezer
basket.
Door Storage
Fixed Door Shelf
The fixed door shelf provides convenient storage for frozen food items in freezer door.
To remove and install door shelf:
• To remove shelf, lift assembly ![]()
![]() from side liner tabs and pull
from side liner tabs and pull ![]() out.
out.
• To install, fit ends of shelf assembly on liner tabs and slide down.
Tilt-Out Bin (some models)
The ![]()
![]() convenient storage for frozen
convenient storage for frozen ![]()
![]()
![]()
![]()
![]()
![]()
![]()
![]() food items in freezer door and
food items in freezer door and ![]()
![]()
![]()
![]()
![]()
![]()
![]()
![]()
![]()
![]() tilts forward for easy access of
tilts forward for easy access of ![]()
![]() those items.
those items.![]()
![]()
To remove and install door shelf:
•See above instructions listed for
Fixed Door Shelf.
12