2: START UP
Connect Equipment to the UPS
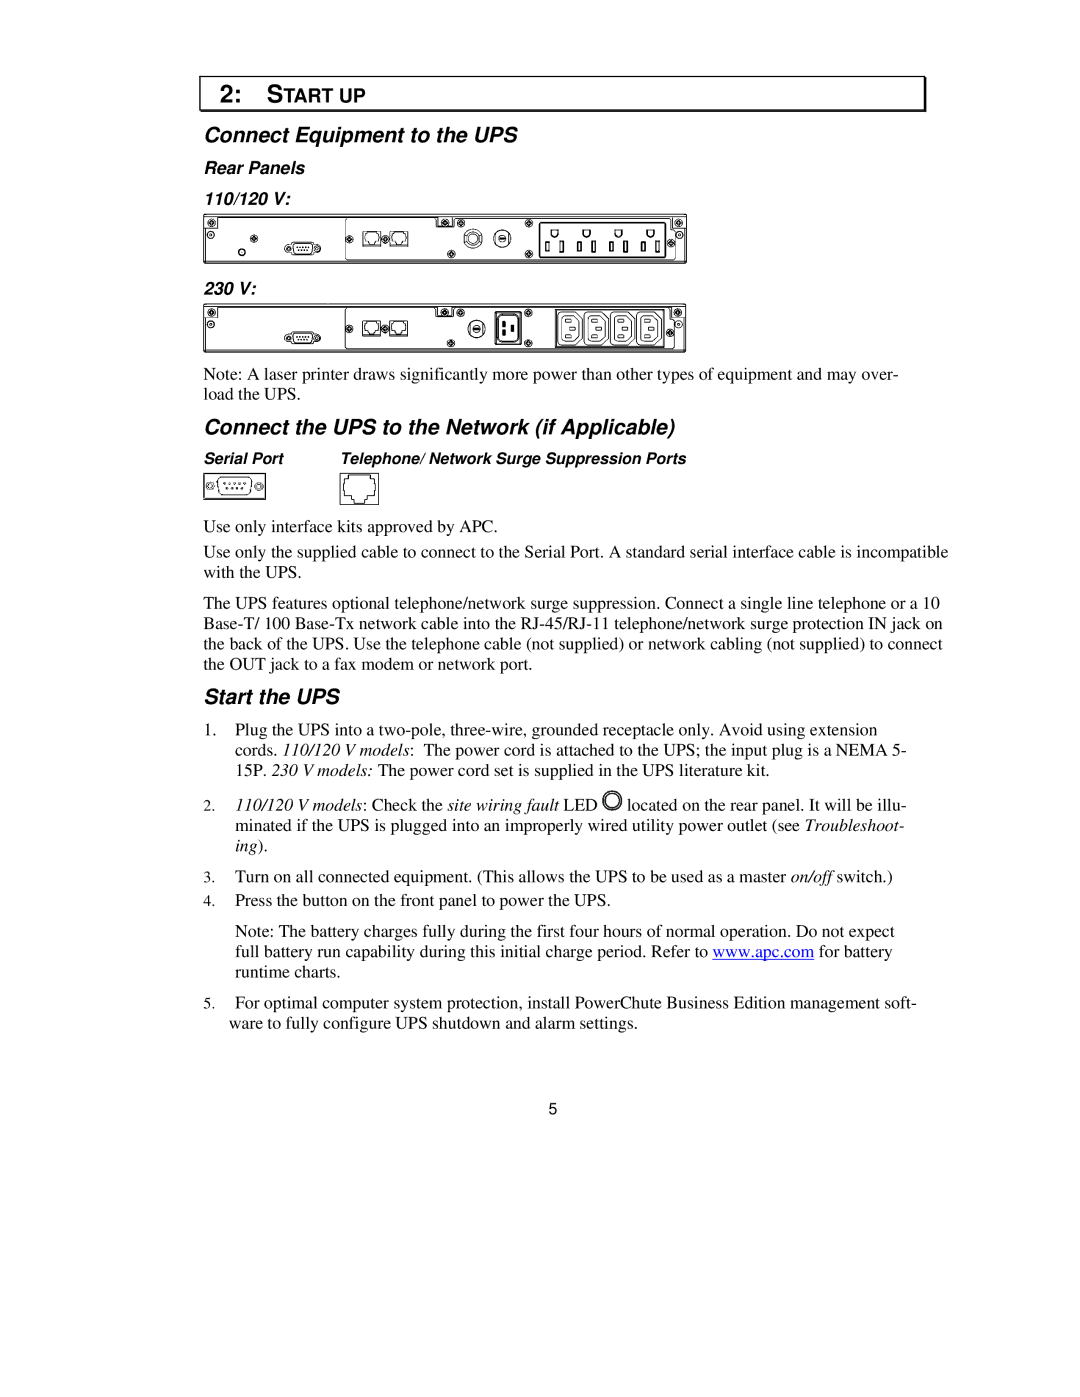
Rear Panels 110/120 V:
230 V:
Note: A laser printer draws significantly more power than other types of equipment and may over- load the UPS.
Connect the UPS to the Network (if Applicable)
Serial Port | Telephone/ Network Surge Suppression Ports |
Use only interface kits approved by APC.
Use only the supplied cable to connect to the Serial Port. A standard serial interface cable is incompatible with the UPS.
The UPS features optional telephone/network surge suppression. Connect a single line telephone or a 10
Start the UPS
1.Plug the UPS into a
2.110/120 V models: Check the site wiring fault LED ![]() located on the rear panel. It will be illu- minated if the UPS is plugged into an improperly wired utility power outlet (see Troubleshoot- ing).
located on the rear panel. It will be illu- minated if the UPS is plugged into an improperly wired utility power outlet (see Troubleshoot- ing).
3.Turn on all connected equipment. (This allows the UPS to be used as a master on/off switch.)
4.Press the button on the front panel to power the UPS.
Note: The battery charges fully during the first four hours of normal operation. Do not expect full battery run capability during this initial charge period. Refer to www.apc.com for battery runtime charts.
5.For optimal computer system protection, install PowerChute Business Edition management soft- ware to fully configure UPS shutdown and alarm settings.
5
