IMPORTANT
•Allow pan to reach room temperature before installation.
•Before you begin, locate appropriate product reference (see page 1).
•Read installation instructions carefully before starting project.
•Keep instructions for warranty information
RECOMMENDED TOOLS AND MATERIALS
Tape Measure | Pencil | Saber Saw | Screws, 1" Flathead, Stainless |
Safety Glasses | Drill | 24" Level |
|
INSTALLATION INSTRUCTIONS
STEP 1. PREPARING ALCOVE
• Strip alcove to bare studs.
• Shower stud pocket should be constructed as shown above.
• Floor must be clean, smooth, and level (check with level). Sub floor must be installed. Do not install shower base on open floor joists.
• Cut hole in sub floor as shown on page 1 to accommodate drain.
STEP 2. INSTALLING PAN
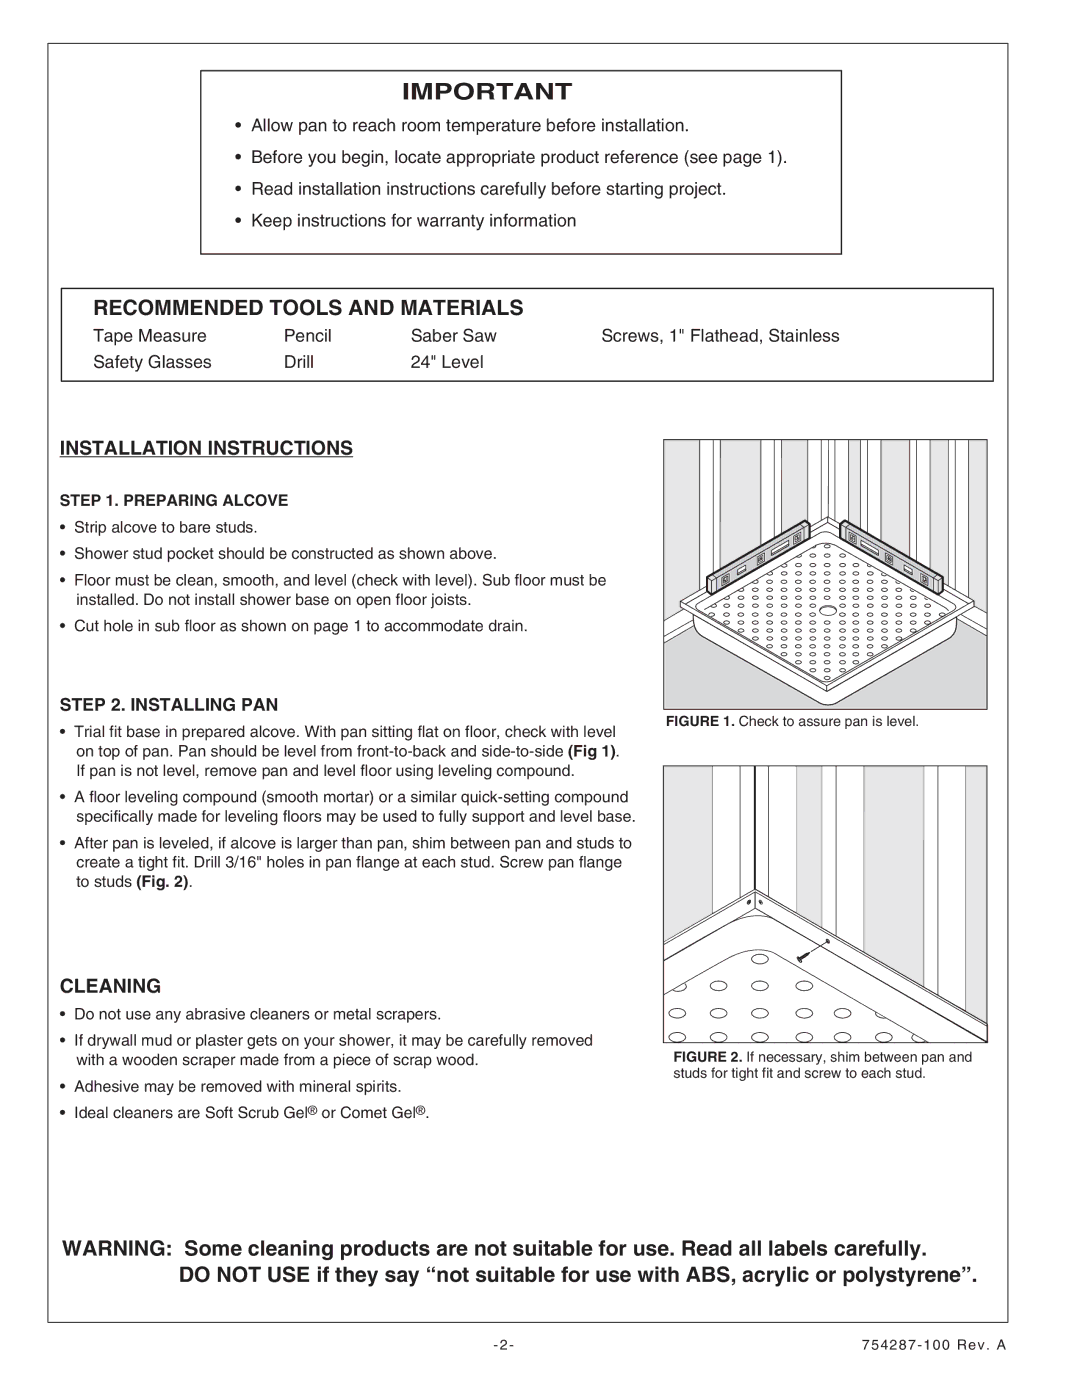
• Trial fit base in prepared alcove. With pan sitting flat on floor, check with level on top of pan. Pan should be level from
FIGURE 1. Check to assure pan is level.
• A floor leveling compound (smooth mortar) or a similar quick-setting compound specifically made for leveling floors may be used to fully support and level base.
• After pan is leveled, if alcove is larger than pan, shim between pan and studs to create a tight fit. Drill 3/16" holes in pan flange at each stud. Screw pan flange to studs (Fig. 2).
CLEANING
•Do not use any abrasive cleaners or metal scrapers.
•If drywall mud or plaster gets on your shower, it may be carefully removed with a wooden scraper made from a piece of scrap wood.
•Adhesive may be removed with mineral spirits.
•Ideal cleaners are Soft Scrub Gel® or Comet Gel®.
FIGURE 2. If necessary, shim between pan and studs for tight fit and screw to each stud.
WARNING: Some cleaning products are not suitable for use. Read all labels carefully.
DO NOT USE if they say “not suitable for use with ABS, acrylic or polystyrene”.