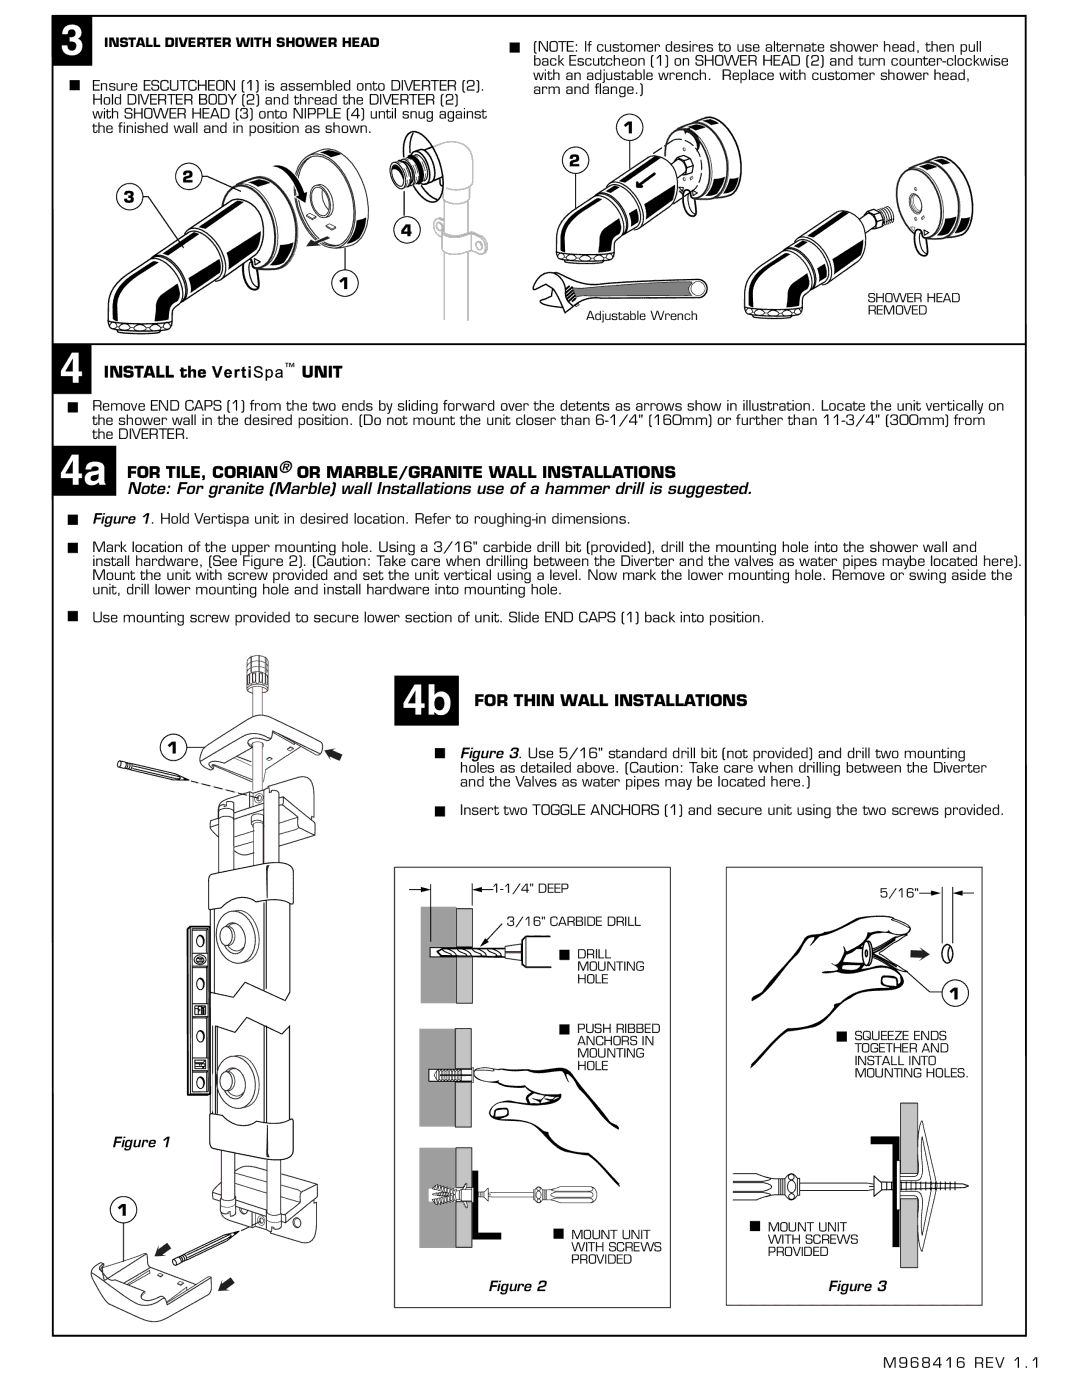
6035 specifications
The American Standard 6035 is a high-performance bathroom fixture designed for modern comfort and efficiency. This innovative model offers a combination of cutting-edge technologies and thoughtful design, making it a top choice for homeowners seeking both functionality and style in their bathroom.One of the standout features of the American Standard 6035 is its water-saving technology. With a focus on sustainability, this model is designed to reduce water consumption without compromising performance. It utilizes a low-flow system that maintains a satisfying pressure while using significantly less water than traditional fixtures. This helps homeowners save on their water bills and reduces their environmental footprint.
Moreover, the American Standard 6035 incorporates an easy-to-clean design, featuring smooth lines and a sleek surface that minimizes crevices where dirt and grime can accumulate. This makes maintaining the fixture a hassle-free experience, allowing users to spend more time enjoying their bathroom rather than cleaning it. The finishing touches include a durable finish that resists scratching and tarnishing, ensuring that the fixture retains its aesthetic appeal over time.
In terms of technology, the American Standard 6035 is equipped with advanced flushing capabilities. The dual flush system allows users to choose between a full flush for solid waste and a lighter flush for liquids, further enhancing water conservation. This flexibility is not only eco-friendly but also tailored to meet individual needs.
The ergonomic design of the American Standard 6035 ensures comfort for all users. The height and shape have been carefully considered to accommodate a variety of body types, making it an inclusive choice suitable for families. Additionally, the model is crafted from high-quality materials, ensuring durability and long-lasting performance that can withstand the rigors of daily use.
Lastly, American Standard is known for its commitment to innovation, and the 6035 embodies this ethos. With a wide range of models and styles, consumers can easily find a fixture that complements their bathroom decor. The American Standard 6035 is more than just a bathroom fixture; it is a testament to the brand’s dedication to quality, sustainability, and customer satisfaction. By choosing this model, homeowners invest in a product that enhances their daily routines while contributing positively to the environment.

