At Antec, we continually refine and improve our products to ensure the highest quality. So it's possible that your new case may differ slightly from the descriptions in this manual. This isn't a problem; it's simply an improvement. As of the date of publication, all features, descriptions, and illustrations in this manual are correct.
Disclaimer
This manual is intended only as a guide for Antec's Computer Enclosures. For more comprehensive instructions on installing your motherboard and peripherals, please refer to the user's manuals which come with your components and drives.
TAKE 4 — STUDIO SERIES USER'S MANUAL
CONNECTING THE POWER
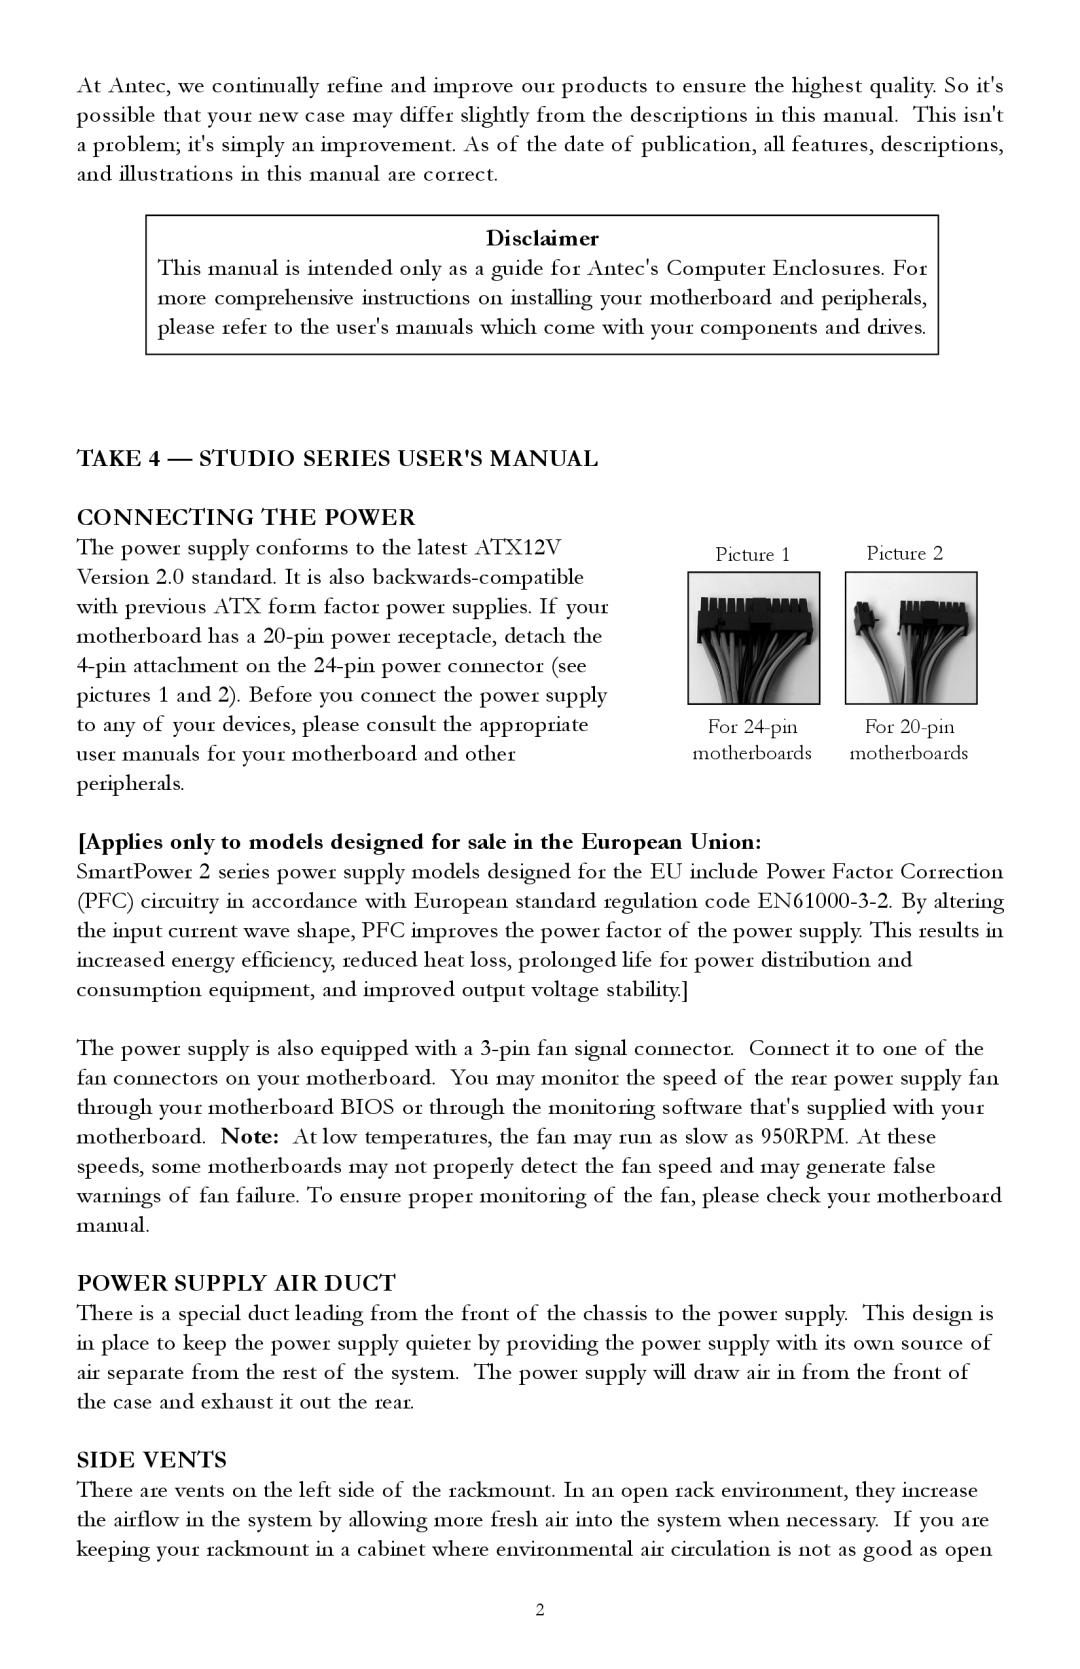
The power supply conforms to the latest ATX12V Version 2.0 standard. It is also
Picture 1 |
| Picture 2 |
|
|
|
For | For |
motherboards | motherboards |
[Applies only to models designed for sale in the European Union:
SmartPower 2 series power supply models designed for the EU include Power Factor Correction (PFC) circuitry in accordance with European standard regulation code
The power supply is also equipped with a
POWER SUPPLY AIR DUCT
There is a special duct leading from the front of the chassis to the power supply. This design is in place to keep the power supply quieter by providing the power supply with its own source of air separate from the rest of the system. The power supply will draw air in from the front of the case and exhaust it out the rear.
SIDE VENTS
There are vents on the left side of the rackmount. In an open rack environment, they increase the airflow in the system by allowing more fresh air into the system when necessary. If you are keeping your rackmount in a cabinet where environmental air circulation is not as good as open
2
