3.5" DEVICE INSTALLATION
With the front bezel facing you, turn the latch and swing the front door. You can see there are two 5.25" and two 3.5" external drive bays. Inside the case there are four 3.5" drive cages.
For external 3.5" devices:
1.Locate the external 3.5" drive bays. They are to the right of the 5.25" drive bays.
2.Unscrew the 4 small Phillips head screws located on the front panel around the drive cage.
3.Pull the cage and unscrew the drive bay covers.
4.Install your external 3.5" devices.
5.Reattach the cage and devices to the chassis.
Note: Don't take off the covers and plates for the drive bays that you are not using now.
For Internal devices:
6.Loosen the thumbscrews on each side of the drive bay, for the drive bay that you wish to install a device.
7.Pull the drive tray forward all the way out of the chassis.
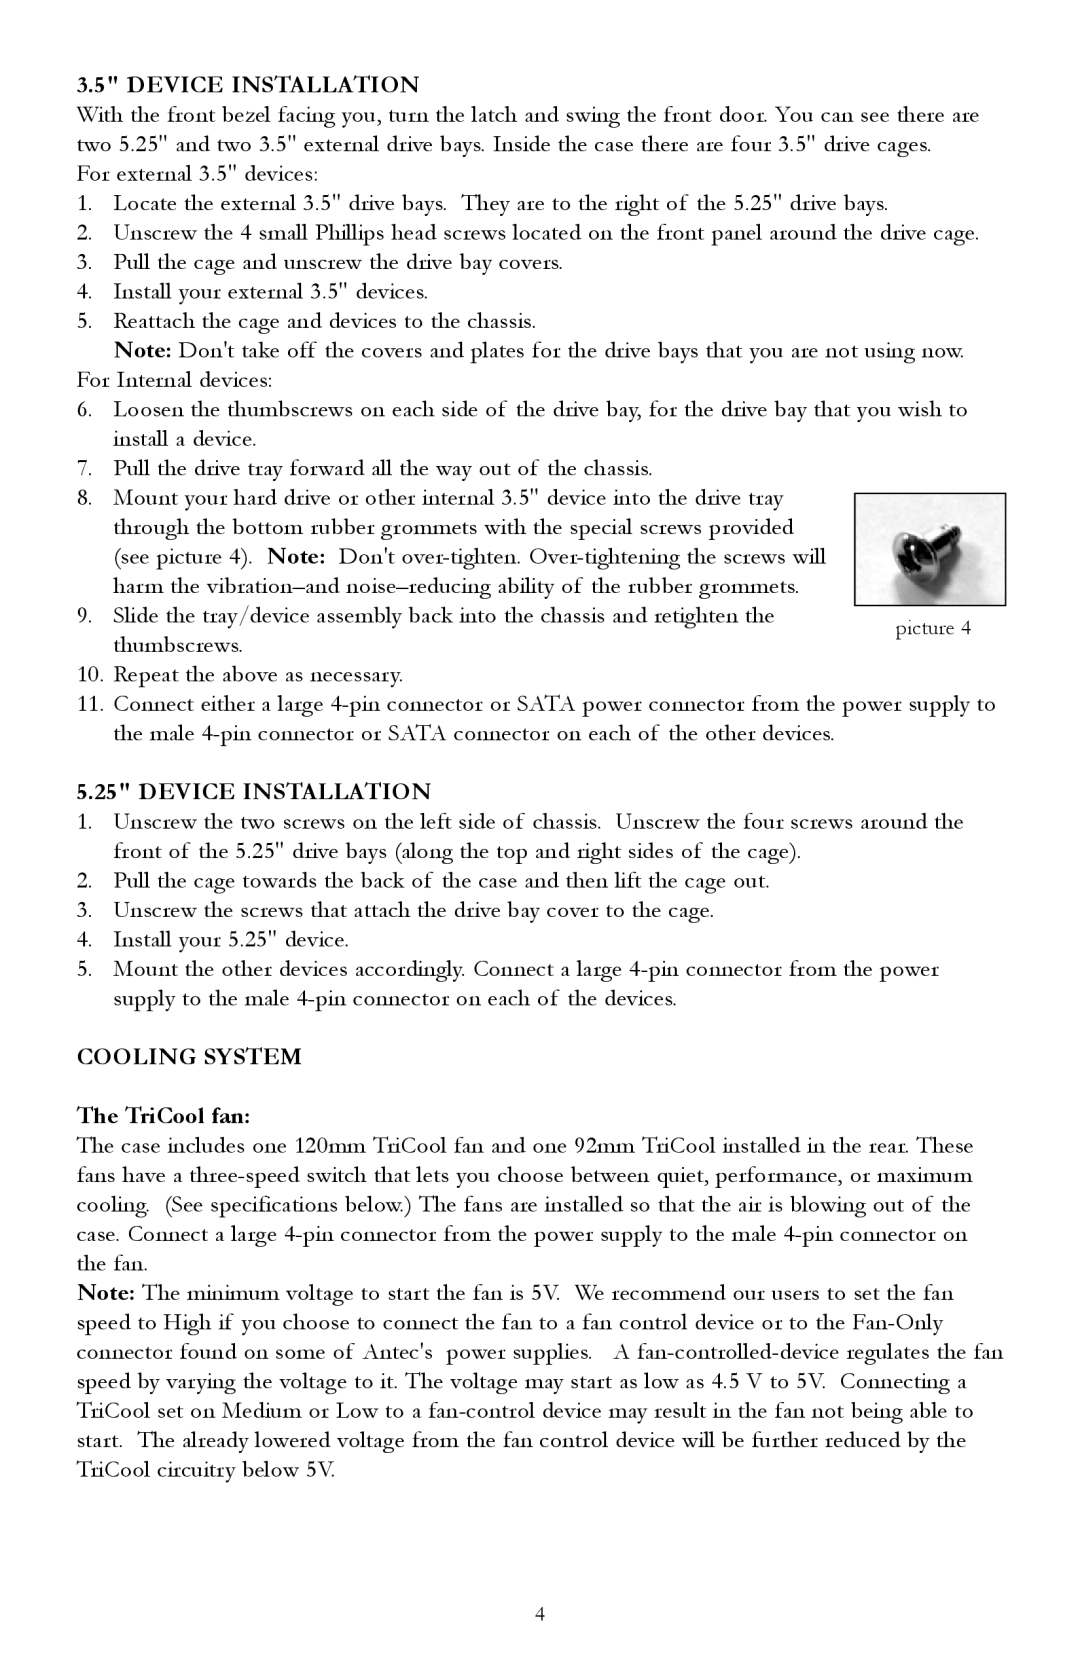
8.Mount your hard drive or other internal 3.5" device into the drive tray through the bottom rubber grommets with the special screws provided (see picture 4). Note: Don't
9. Slide the tray/device assembly back into the chassis and retighten the thumbscrews.
10.Repeat the above as necessary.
11.Connect either a large
5.25" DEVICE INSTALLATION
1.Unscrew the two screws on the left side of chassis. Unscrew the four screws around the front of the 5.25" drive bays (along the top and right sides of the cage).
2.Pull the cage towards the back of the case and then lift the cage out.
3.Unscrew the screws that attach the drive bay cover to the cage.
4.Install your 5.25" device.
5.Mount the other devices accordingly. Connect a large
COOLING SYSTEM
The TriCool fan:
The case includes one 120mm TriCool fan and one 92mm TriCool installed in the rear. These fans have a
Note: The minimum voltage to start the fan is 5V. We recommend our users to set the fan speed to High if you choose to connect the fan to a fan control device or to the
4
