Although care has been taken to prevent sharp edges in your Antec case, we strongly recommend taking the appropriate time and caution when working with it. Please take reasonable precautions.

MOTHERBOARD INSTALLATION

This manual does not cover CPU, RAM, or expansion card installation. Please consult your motherboard manual for specific mounting instructions and troubleshooting.

1.Lay the case down so that the open side is up. You should be able to see the drive cage and power supply.

2.Make sure you have the appropriate I/O panel for the motherboard. If the panel provided is not suitable for the motherboard, please contact the motherboard manufacturer for the correct I/O panel.

3.Line up the motherboard with the standoff holes. Determine which holes line up and remember where they are. Not all motherboards will match with all of the provided screw holes, and this is not necessary for proper functionality.

Some standoffs may be pre-installed for your convenience.

4.Remove the motherboard by lifting it up.

5.Screw in the brass standoffs to the threaded holes that line up with the motherboard.

6.Place the motherboard on the standoffs.

7.Screw in the motherboard to the standoffs with the provided Phillips-head screws.

8.The motherboard is now installed.

POWER/LED CONNECTIONS

The power supply is an ATX12V form factor power supply. It has a single 24-pin Main Power Connector, and a 4-pin +12V Power Connector for the motherboard. It is backwards compatible to previous ATX form factor power supplies. If your motherboard does not support the +12V 4-pin Power Connector, you can still use this power supply. It also comes with three 4-pin Peripheral Power Connectors, one SATA Power Connector and one 4-pin Floppy Drive Power Connector for your drives.

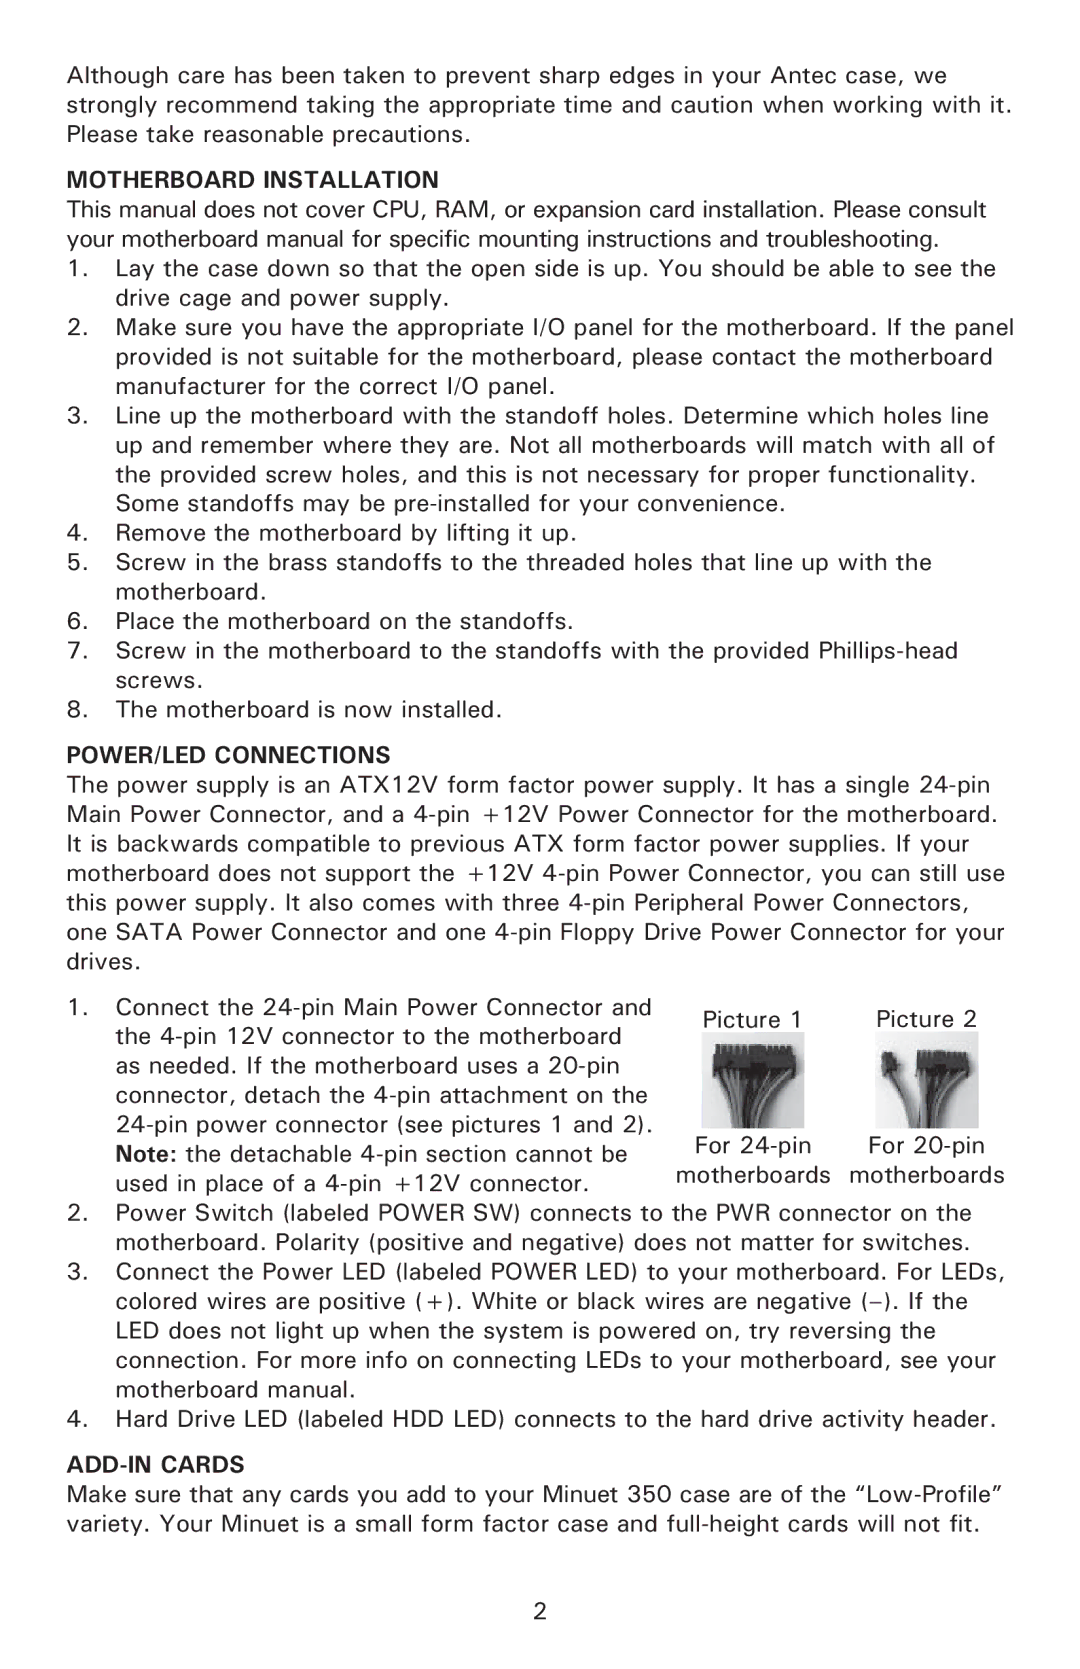
1. Connect the 24-pin Main Power Connector and

Picture 1

Picture 2

the 4-pin 12V connector to the motherboard


as needed. If the motherboard uses a 20-pin


connector, detach the 4-pin attachment on the


24-pin power connector (see pictures 1 and 2).

For 24-pin

For 20-pin

Note: the detachable 4-pin section cannot be

motherboards

motherboards

used in place of a 4-pin +12V connector.


2.Power Switch (labeled POWER SW) connects to the PWR connector on the motherboard. Polarity (positive and negative) does not matter for switches.

3.Connect the Power LED (labeled POWER LED) to your motherboard. For LEDs, colored wires are positive (+). White or black wires are negative (–). If the LED does not light up when the system is powered on, try reversing the connection. For more info on connecting LEDs to your motherboard, see your motherboard manual.

4.Hard Drive LED (labeled HDD LED) connects to the hard drive activity header.

ADD-IN CARDS

Make sure that any cards you add to your Minuet 350 case are of the “Low-Profile” variety. Your Minuet is a small form factor case and full-height cards will not fit.

2

Page 3
Image 3
Antec Minuet 350 user manual Motherboard Installation, POWER/LED Connections, ADD-IN Cards

Minuet 350 specifications

The Antec Minuet 350 is a compact PC case that seamlessly blends functionality, aesthetics, and technology, making it an ideal choice for users seeking a balance between performance and space efficiency. Designed primarily for micro ATX motherboards, this case stands out for its slim profile and sleek design, which allows it to fit effortlessly into any home or office setting.

One of the main features of the Minuet 350 is its ability to accommodate standard-sized components while maintaining a compact footprint. The mid-tower design supports a variety of graphics cards, making it suitable for gaming and multimedia setups. Despite its limited size, the Minuet 350 provides ample space for CPU cooling solutions, with support for air and liquid cooling systems, enabling users to customize their cooling strategies for optimal performance.

Another highlight of the Antec Minuet 350 is its comprehensive connectivity options. The front panel is equipped with USB 3.0 and USB 2.0 ports, allowing for speedy data transfer and easy access to peripherals. Additionally, it includes audio jacks for connecting headset and microphone, ensuring that users remain connected without the hassle of reaching around to the back of the case.

For storage, the Minuet 350 offers flexibility with its support for multiple drive bays, including both 3.5-inch and 2.5-inch drives. This versatility allows users to expand their storage options as needed without compromising on internal space.

The case is also designed with cooling in mind. It features ventilation areas that promote adequate airflow, ensuring that components remain cool during intensive tasks. Users can install multiple fans if additional cooling is required, and the thoughtfully designed interior layout minimizes cable clutter, enhancing both aesthetics and airflow.

The build quality of the Antec Minuet 350 is impressive, with a sturdy construction that ensures durability. Its sleek, minimalistic appearance is further accentuated by the brushed aluminum front panel, which adds a touch of elegance suitable for any environment.

In conclusion, the Antec Minuet 350 is a versatile and feature-rich case that caters to users looking for a compact solution without sacrificing performance or style. With thoughtful design and plenty of room for expansion, it stands as a strong contender in the realm of small form factor PC cases. Whether for gaming, office use, or media consumption, the Minuet 350 delivers on all fronts.