
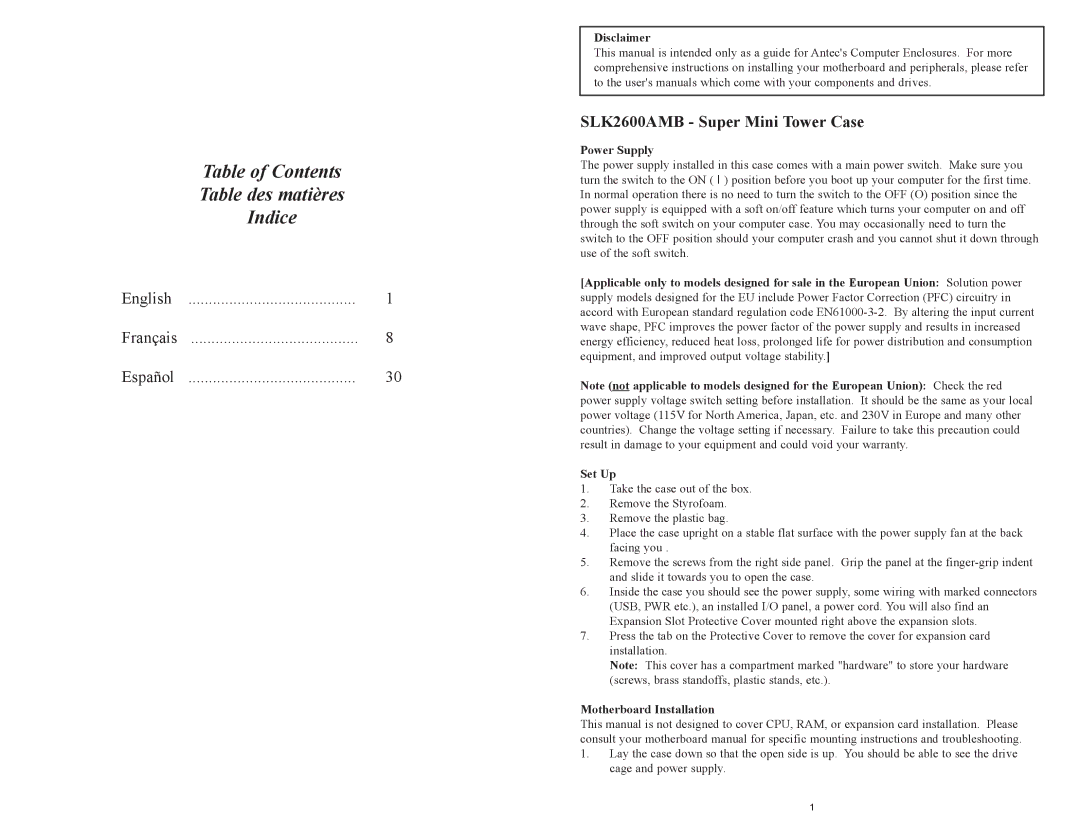
SLK2600AMB specifications
The Antec SLK2600AMB is a mid-tower ATX computer case that has garnered attention for its combination of style, functionality, and effective cooling solutions. Designed for both gamers and professionals, this case provides ample space for comprehensive builds while incorporating several unique features.One of the standout aspects of the SLK2600AMB is its sleek and understated design. The case has a brushed aluminum exterior that adds a touch of sophistication, making it suitable for both home and office environments. Its black finish is complemented by a clear acrylic side panel, allowing users to showcase their internal components and lighting setups.
In terms of housing capacity, the SLK2600AMB supports standard ATX, micro-ATX, and mini-ITX motherboards, providing versatility for different build requirements. It also includes sufficient drive bays, accommodating up to three 5.25-inch external optical drives and ample space for hard drives, with up to four 3.5-inch drives and an additional two 2.5-inch SSDs. This flexibility is essential for users who require a combination of storage options.
Cooling is another critical feature of the Antec SLK2600AMB. The case is designed with optimal airflow in mind, featuring multiple fan mounting locations. It comes equipped with an exhaust fan at the rear and has room for additional intake fans at the front. This configuration allows for improved thermal management, helping to maintain lower system temperatures during heavy workloads or gaming sessions. Additionally, the case includes ventilation grilles and filtered dust screens, ensuring that airflow remains efficient while keeping dust accumulation at bay.
Cable management is also a focal point of the SLK2600AMB's design. It features strategically placed cutouts and tie-down points that enable users to route cables neatly, leading to an organized interior that enhances airflow and aesthetics. This feature is particularly beneficial for those who take pride in a clean and professional-looking build.
Furthermore, the SLK2600AMB incorporates Antec's proprietary high-performance materials, ensuring durability and resilience. Its sturdy construction not only enhances longevity but also provides a sense of security for users planning to invest in higher-end components.
In conclusion, the Antec SLK2600AMB stands out as a reliable and stylish computer case that meets the needs of a wide range of users. With its ample space, effective cooling solutions, and thoughtful design features, it continues to be a popular choice for both casual and serious PC builders.