Manuals
/
AOC
/
Computer Equipment
/
Computer Monitor
AOC
E2243FWK, E2243FWU
manual
LED Indicator
Models:
E2243FWK
E2243FWU
1
37
64
64
Download
64 pages
25.01 Kb
34
35
36
37
38
39
40
41
Page 37
Image 37
LED Indicator
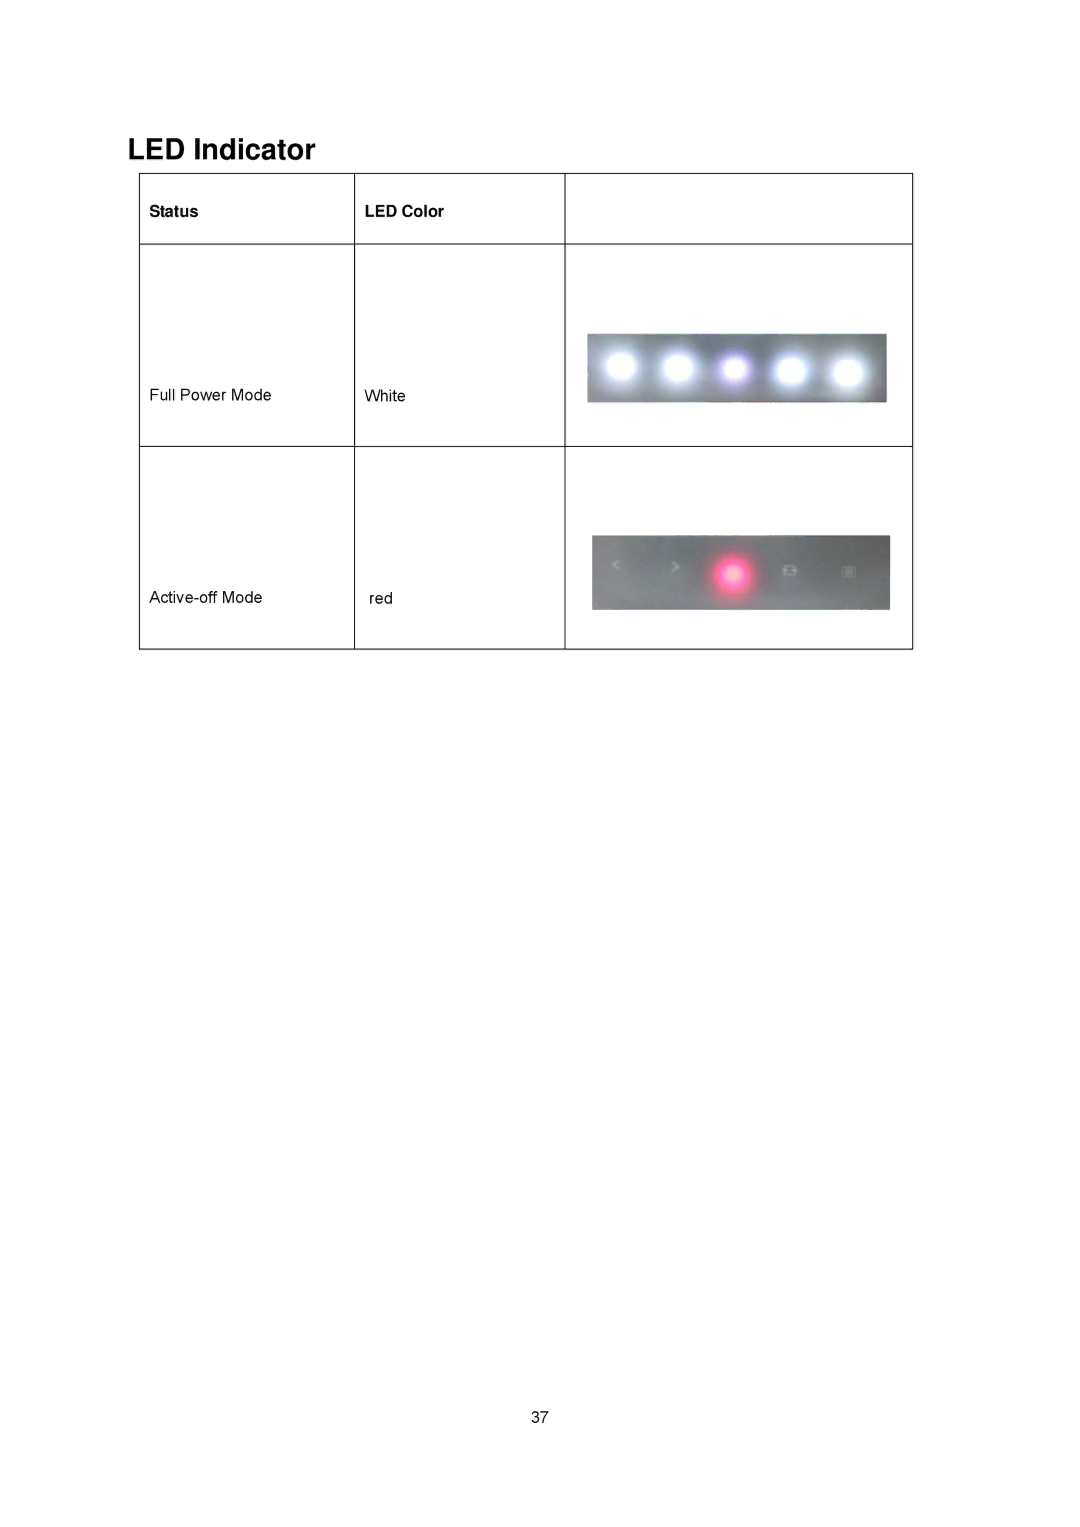
Status
LED Color
Full Power Mode
White
Active-off
Mode
red
37
Page 36
Page 38
Page 37
Image 37
Page 36
Page 38
Contents
Page
Page
Page
National Conventions
Safety
Power
Installation
Cleaning
Other
Contents in Box
Setup
Setup Stand & Base
Adjusting Viewing Angle
Connecting the Monitor
Wall Mounting
Setting Optimal Resolution
Adjusting
Windows Vista
Click Display Settings
Windows XP
Windows ME/2000
Hotkeys
Eco Mode
Basic and simple instruction on the control keys
OSD Setting
Luminance
DCR
Image Setup
Clock 100 Adjust Picture Reduce Vertical-Line noise Phase
Color Temperature
Page
Color Boost
Page
Picture Boost
Page
OSD
OSD Setup
OSD
Extra
DVI
Reset
Reset Yes or no Reset the menu to default
Exit
LED Indicator
Monitor Driver
Driver
Windows
Click the Monitor tab and then click the Properties button
Page
Page
Windows Vista
Page
Windows XP
Page
Page
Windows ME
Menu
Saver
Screen+
Troubleshoot
Problem & Question
Blue
General Specification
Specification
Preset Display Modes
GND-B
Pin Assignments
Plug and Play
Plug & Play DDC2B Feature
FCC Notice
Regulation
HG Declaration
Weee Declaration
Epeat Declaration
Warranty Statement for Europe
Service
Page
Page
Page
Limited THREE-YEAR Warranty
Warranty Statement for AP
Top
Page
Image
Contents