6.Locate the position on the pole where the Power Supply is to be located.
7.Drill two 3/4” holes vertically spaced 6” (15.2 cm) apart.
8.Attach the top of the mounting bracket to the pole using a 5/8” pole bolt and washer. Repeat this procedure for the bottom of the bracket.
9.Ensure that the power supply enclosure is closed and locked.
10.Holding the Power Supply above the bracket slide the unit down the bracket. The lip of the bracket must slide under the lip at the top of the Power Supply cabinet.
11.Replace the
Wiring
1.Unlock the FRP enclosure. Let the lid slide down and then pull out at the top. The lid will remain attached to the Power Supply.
2.Check the line power switch to ensure that it is OFF.
3.Install a pin type connector (not furnished) in the chassis connector located on the bottom of the Power Supply.
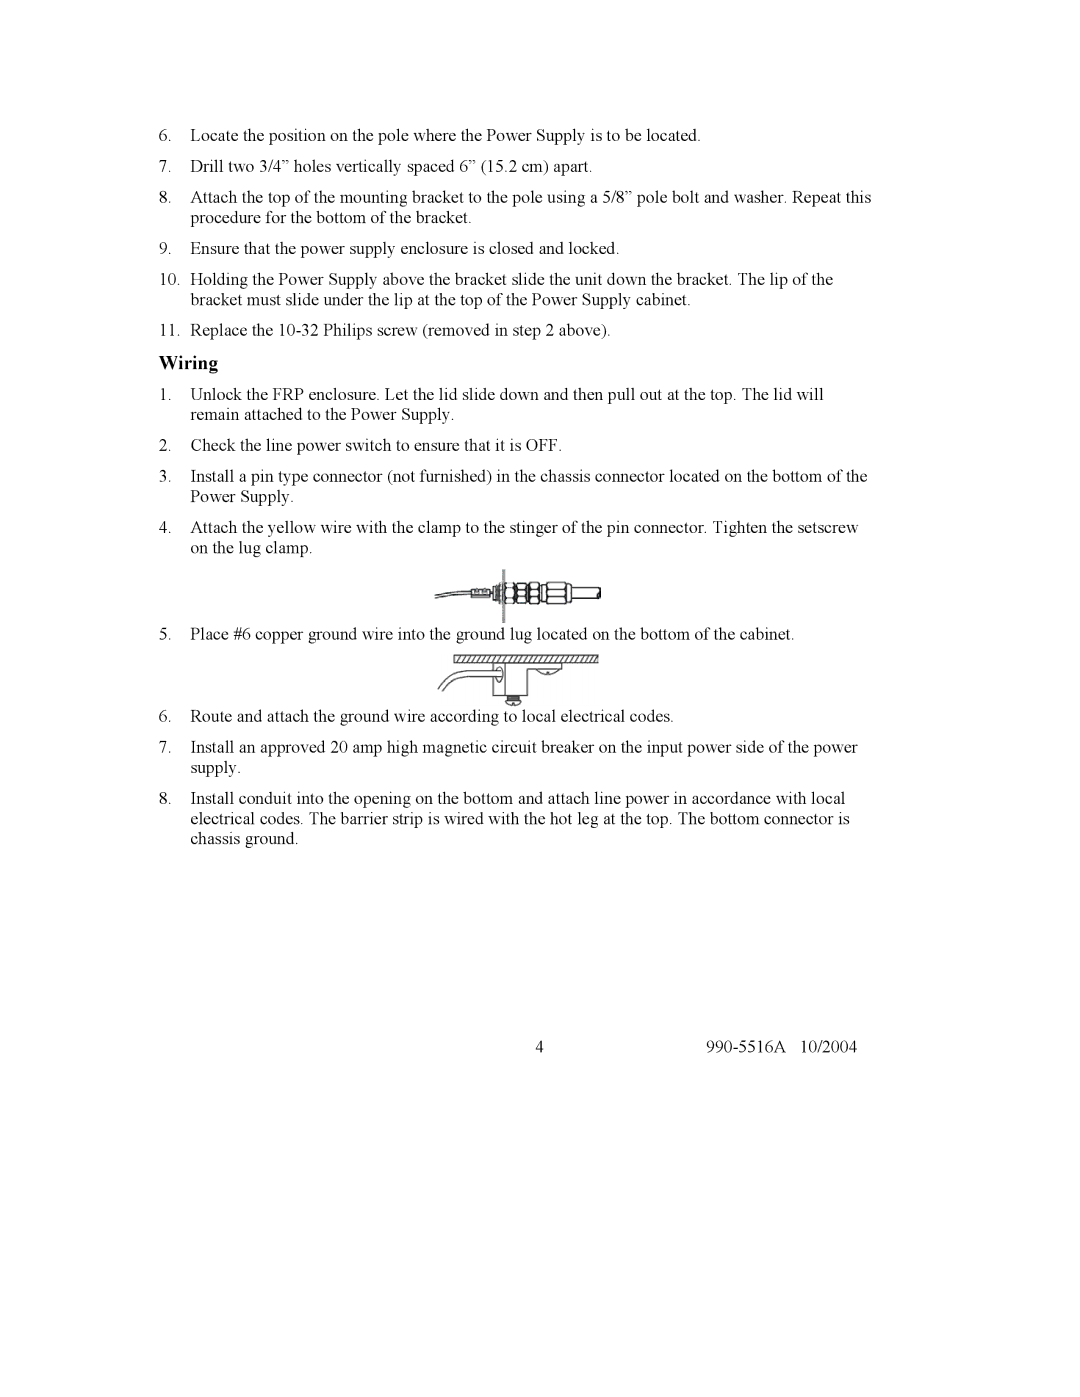
4.Attach the yellow wire with the clamp to the stinger of the pin connector. Tighten the setscrew on the lug clamp.
5.Place #6 copper ground wire into the ground lug located on the bottom of the cabinet.
6.Route and attach the ground wire according to local electrical codes.
7.Install an approved 20 amp high magnetic circuit breaker on the input power side of the power supply.
8.Install conduit into the opening on the bottom and attach line power in accordance with local electrical codes. The barrier strip is wired with the hot leg at the top. The bottom connector is chassis ground.
4 |
