External Charger specifications
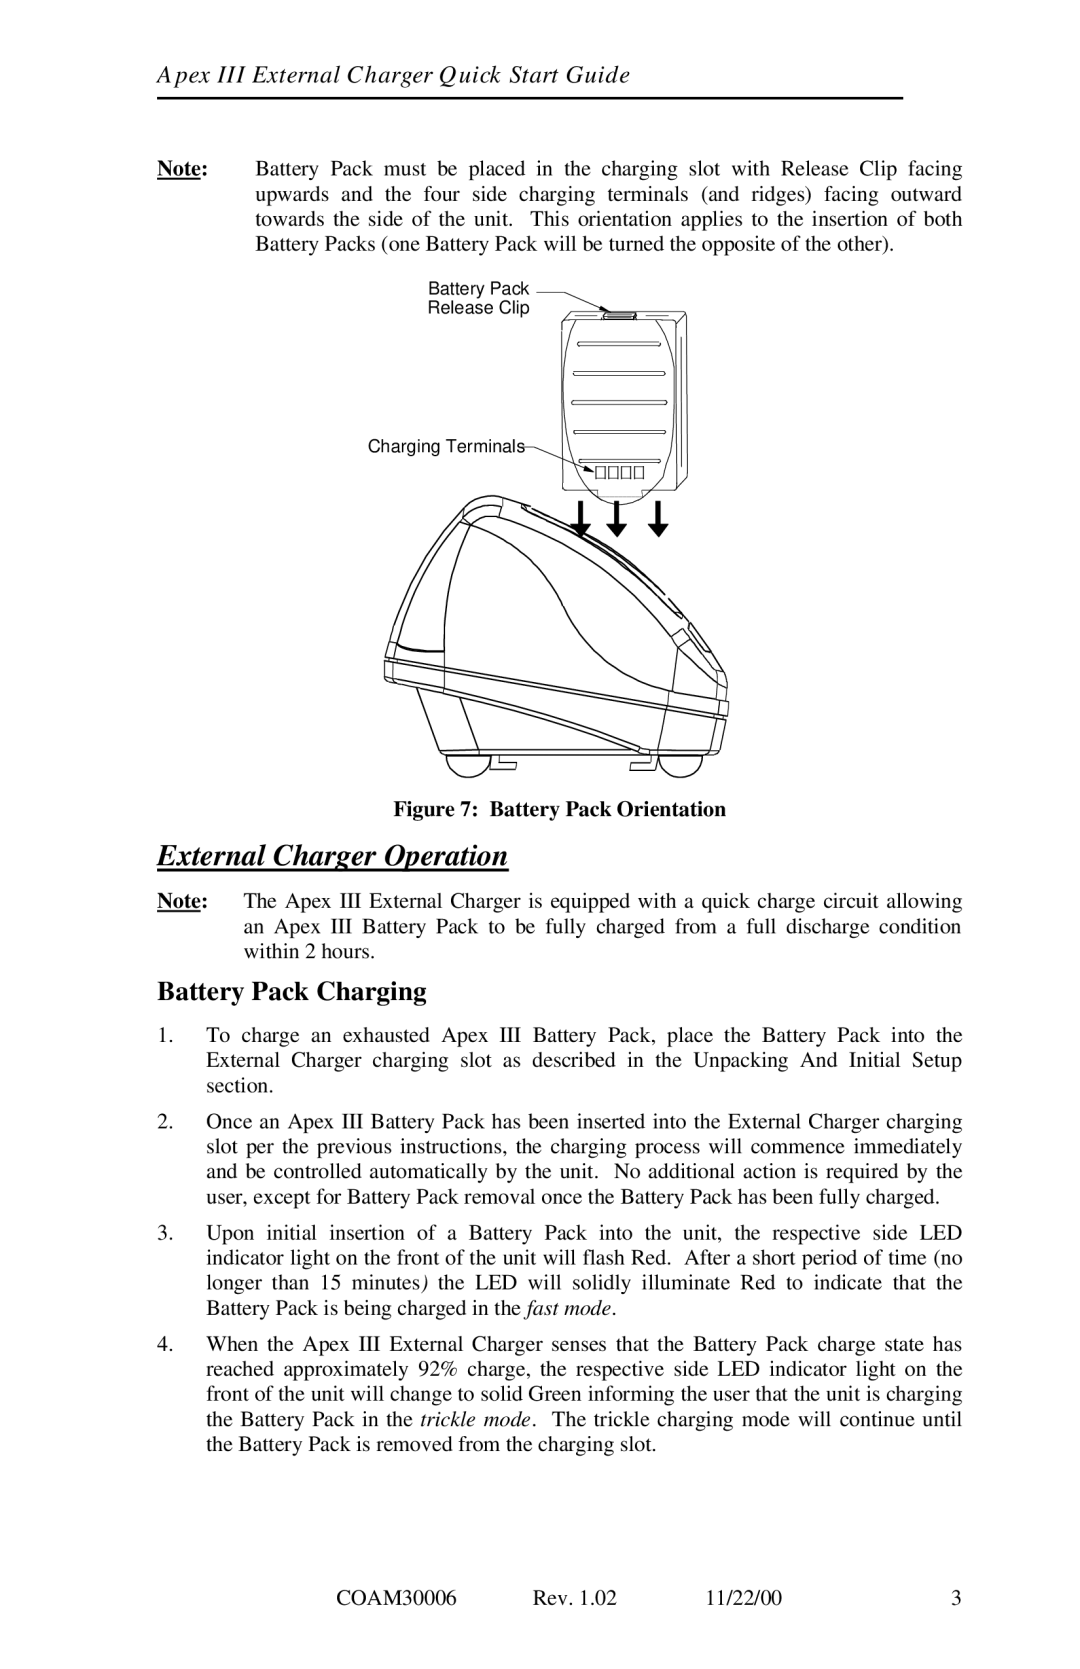
Apex Digital External Charger is a versatile and innovative charging solution designed to meet the demands of today’s tech-savvy consumers. This external charger is not just another power bank; it combines advanced technology with user-friendly features to ensure that your devices are always charged and ready to go.One of the standout features of the Apex Digital External Charger is its high-capacity lithium-ion battery. With capacities ranging from 10,000mAh to 20,000mAh, it can easily charge a smartphone multiple times or provide a significant boost to tablets and other devices. This makes it an essential accessory for travel, outdoor activities, or anyone on the go, ensuring you are never caught with a low battery.
The charger is equipped with multiple output ports, including USB-A and USB-C, allowing simultaneous charging of multiple devices. Some models even support fast charging technology, such as Quick Charge 3.0 and Power Delivery, which dramatically decrease charging times. This versatility means that users can charge a wide array of devices, including smartphones, tablets, Bluetooth headphones, and other USB-powered gadgets, without compromising on speed or efficiency.
One of the key technologies integrated into the Apex Digital External Charger is its smart charging capability. This feature automatically detects the optimal charging current for the connected device, ensuring that it receives the most efficient charge without the risk of overheating or overcharging. Additionally, the charger often comes with built-in safeguards against short circuits, overloads, and over-voltage, providing peace of mind to users regarding the safety of their devices.
Portability is another notable characteristic of the Apex Digital External Charger. Its lightweight design and compact size make it easy to slip into a backpack or purse, making it an ideal companion for travelers. The charger often features a sleek and modern design, available in various colors to suit personal style preferences.
Furthermore, the Apex Digital External Charger typically incorporates LED indicators that display the remaining battery life, giving users a quick and clear view of how much power is left. This facilitates better planning and ensures that users can charge their devices well ahead of time.
In summary, the Apex Digital External Charger stands out for its high-capacity battery, multiple output options, fast charging capabilities, smart charging technology, and portable design. Whether for everyday use or special excursions, it is a reliable power solution for anyone who relies on electronic devices.

