GHP-4H, GHPS-4H, GHPS-6H, GHP-6H, GHPW-2H specifications
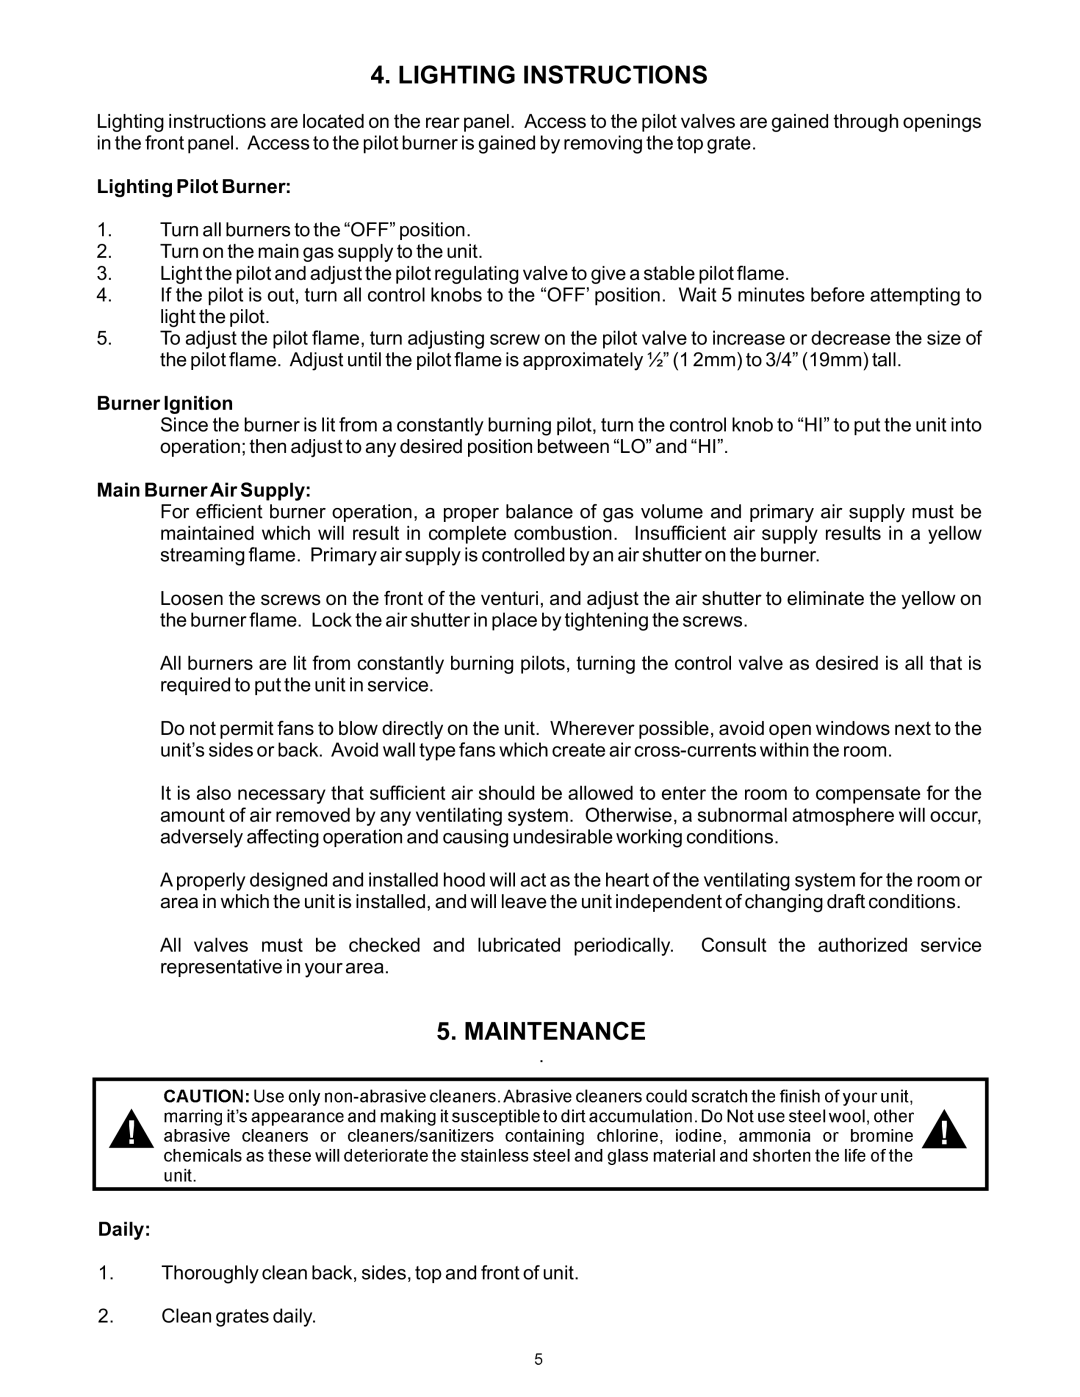
The APW Wyott GHPS series of food warmers, which includes models GHPS-6H, GHPS-4H, GHPS-2H, GHP-4H, and GHP-6H, represents a leading solution for maintaining the ideal serving temperature in commercial kitchens, buffets, and catering operations. Renowned for their efficient design and robust performance, these products are essential in ensuring that food remains hot and ready to serve without compromising quality or taste.One of the standout features of the GHPS series is its versatility. These food warmers are designed to hold multiple pans, accommodating various types of food items, from soups and sauces to side dishes and entrees. The GHPS-6H model, with its six wells, is particularly beneficial for establishments that need to serve a larger volume of food at once, while the GHPS-2H, with two wells, is commonly chosen for smaller operations or specific foodservice events.
APW Wyott warmers are equipped with advanced heating technologies that ensure even heat distribution across all food wells. This technology minimizes cold spots, which can be crucial when serving food for extended periods. The adjustable thermostatic controls on these models allow for precise temperature settings, enabling users to keep dishes at the optimal serving temperature as per food safety standards.
Another key characteristic of the GHPS models is their construction quality. Made from durable stainless steel, they are built to withstand the rigors of everyday use in a busy kitchen environment. This material not only provides longevity but also makes the warmers easy to clean and maintain, which is a significant advantage for busy kitchen staff.
Safety is also a top priority with the GHPS series. Each warmer features a sturdy design with non-slip feet that help to prevent accidents in fast-paced kitchen environments. The inclusion of front-facing heat indicators provides visual confirmation of operational status, ensuring that staff can quickly assess system readiness.
Overall, the APW Wyott GHPS series food warmers – whether it is the GHPS-6H, GHPS-4H, GHPS-2H, GHP-4H, or GHP-6H – combines functionality, reliability, and ease of use. They meet the diverse needs of foodservice operators, making them an invaluable addition to any kitchen looking to enhance food presentation and service efficiency while adhering to safety and quality standards.